


E-5
Muting
The volume is muted temporarily when pressing the button on the remote
control. Press again to restore the volume.
X-Bass control
When the power is fi rst turned on, the unit will enter the extra bass mode which
emphasizes the bass frequencies, and “X-Bass On” will appear. To cancel the
extra bass mode, press the X-BASS button on the remote control.
Bass control
Treble control
Press the BASS/TREBLE button to select “Treble”.1
Within 5 seconds, press the VOLUME (+ or -) button to adjust the treble.2
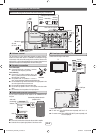
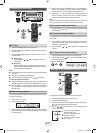
Function
When the FUNCTION button on main unit is pressed, the current function will
change to different mode. Press the FUNCTION button repeatedly to select
desired function.
FM STEREOCD FM MONO
Line In
Audio In iPod USB
Note:
The backup function will protect the memorized function mode for a few hours
should there be a power failure or the AC power cord becomes disconnected.
Volume auto fade-in
If you turn off and on the main unit with the volume set to 27 or higher, the
volume starts at 16 and fades in to the last set level.
Auto power on function
When you press any of the following buttons, the unit turns on.
iPod, CD, USB, AUDIO / LINE (INPUT), TUNER on the remote control:
Selected function is activated.
button on the main unit: The unit turns on and playback of the last
function will start (CD, TUNER, USB, iPod, AUDIO IN, LINE IN)
Volume control
Turn the volume knob toward VOLUME +/- (on main unit) or press VOL
+/- (on remote control) to increase or decrease the volume.
Auto power off function
The main unit will enter the stand-by mode (when iPod or iPhone is not
docked) after 15 minutes of inactivity during:
iPod: No connection.
CD / USB: In the stop mode.
AUDIO IN / LINE IN: No detection of input signal or very low sound audibility.
Note:
However, if iPod or iPhone is docked, the unit will begin charging.
“Charge Mode” will be displayed.
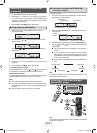
General control
To turn the power on
Display brightness control
To dim the display brightness, press the DEMO/DIMMER button on the
remote control.
Dimmer 1
Dimmer 2
Dimmer off
(Display is dim).
(Display gets dimmer).
(Display is bright).
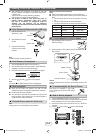
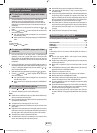
Remote control
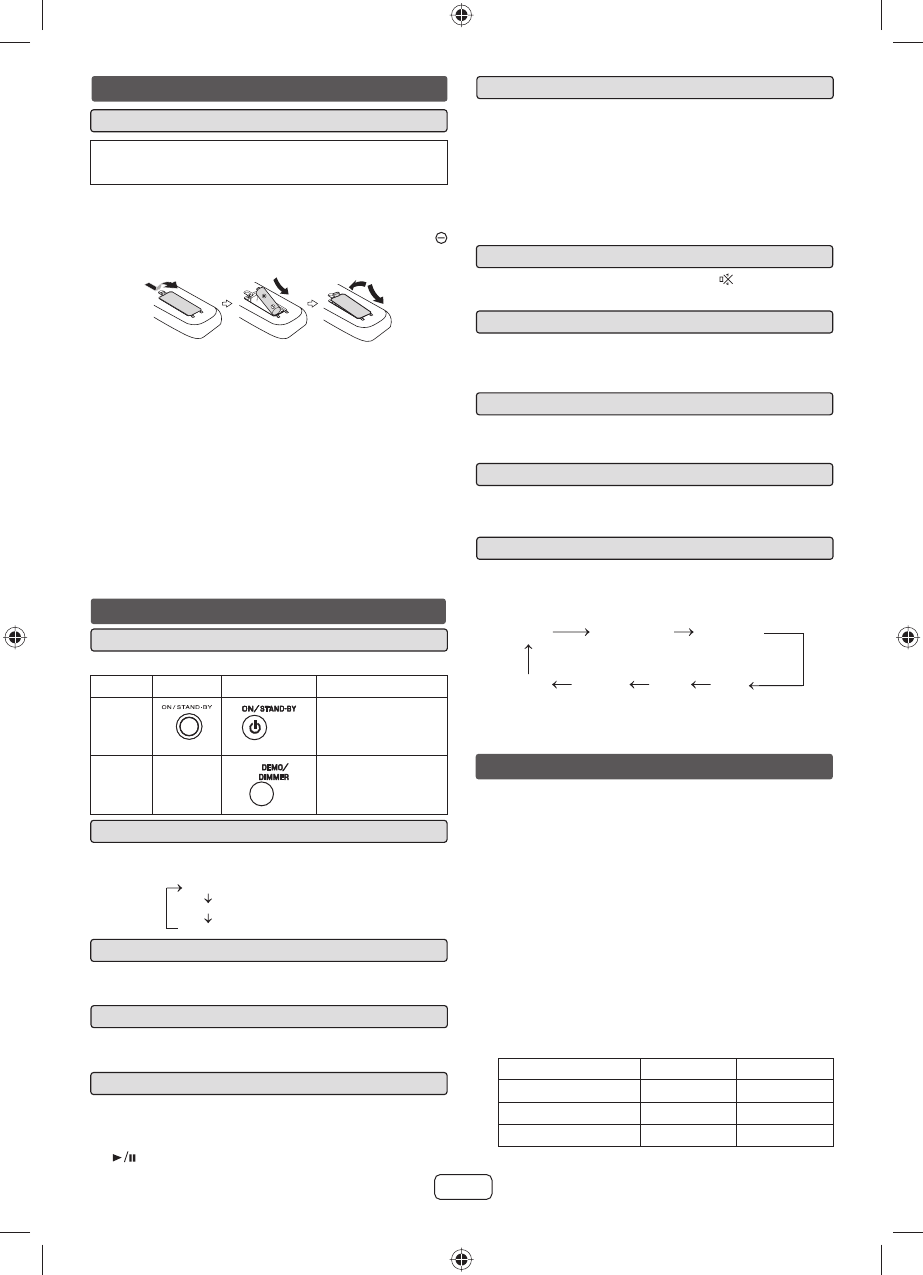
Battery installation
Use a “AA” size battery (UM/SUM-3, R6, HP-7 or similar). Battery
are not included.
Open the battery cover.
1
Insert the battery according to the direction indicated in the battery 2
compartment.
When inserting or removing the battery, push them toward the
battery terminals.
Close the battery cover.
3
Caution:
Remove the battery if the unit will not be used for a long period of time.
This will prevent potential damage due to battery leakage.
Do not use rechargeable battery (nickel-cadmium battery, etc.).
Installing the battery incorrectly may cause the unit to malfunction.
Battery (battery pack or battery installed) shall not be exposed to
excessive heat such as sunshine, fi re or the like.
Notes concerning use:
Replace the battery if the operating distance is reduced or if the operation
becomes erratic. Purchase a “AA” size battery (UM/SUM-3, R6, HP-7 or
similar).
Periodically clean the transmitter on the remote control and the sensor
on the unit with a soft cloth.
Exposing the sensor on the unit to strong light may interfere with
operation. Change the lighting or the direction of the unit.
Keep the remote control away from moisture, heat, shock, and
vibrations.
Press the BASS/TREBLE button to select “Bass”.
1
Within 5 seconds, press the VOLUME (+ or -) button to adjust the bass.2
Listening to the iPod, iPhone or iPad
Made for:
iPod touch (4
th
generation)
iPod touch (3
rd
generation)
iPod touch (2
nd
generation)
iPod touch (1
st
generation)
iPod classic
iPod nano (6
th
generation)
iPod nano (5
th
generation)
iPod nano (4
th
generation)
iPod nano (3
rd
generation)
iPod nano (2
nd
generation)
iPhone 4
iPhone 3GS
iPhone 3G
iPhone
iPad
Caution:
Please update your iPod, iPhone and iPad unit to the latest software
version before using it. Please visit Apple’s homepage to download the
latest version for your iPod, iPhone and iPad.
Notes:
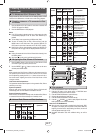
Charging terminal for iPod, iPhone and iPad:
Condition DOCK USB
USB function NO YES
Other function YES NO
Stand-by YES NO
The fi rst time the unit is plugged in, the unit will enter the demonstration mode.
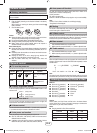
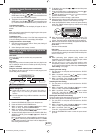
Function Main unit Remote control Operation
Power
on/off
Press to turn the power
on or to go to stand-by
mode.
Demo
on/off
____
Press to enter to
demonstration on or
off mode.
XL-HF201P_HF301P_US.indd 5XL-HF201P_HF301P_US.indd 5 3/7/2012 10:35:22 AM3/7/2012 10:35:22 AM