


14
CX1H_UK11-16.fm00/12/17
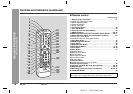
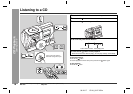
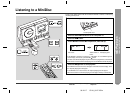
Preparation for Use
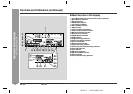
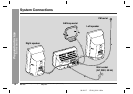
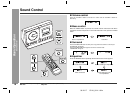
System Connections
System Connections (continued)
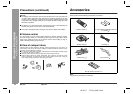
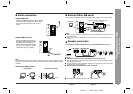
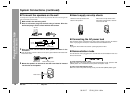
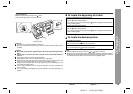
To mount the speakers on the wall
The design of the speakers allows them to be hung on the wall. Be sure to use the type and
size of screw that is shown below.
1
Make a hole in the wall using a drill.
2
Drive a wall mount plug into the hole using a hammer. Drive the
wall mount plug in until it is flush with the wall surface.
3
Drive one screw into the wall for each speaker as shown in the
illustration.
Drive the screws, so there is about a 5 mm (3/16") space between the wall and the
head of the screw.
4
Mount the speaker on the wall so that the screw head is inserted
into the slot on the speaker.
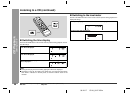
How to apply non-slip sheets
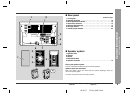
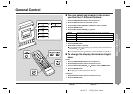
Connecting the AC power lead
After checking all the connections have been made correctly, plug the unit into the
mains. If you plug the unit first, the unit will enter the demonstration mode.
Note:
Unplug the unit if it will not be used for a prolonged period of time.
Demonstration mode
The first time the unit is plugged in, the unit will enter the demonstration mode. You
will see words scroll.
To cancel the demonstration mode:
When the unit is in the power stand-by mode (demonstration mode), press the AUX
(DEMO) button. The unit will enter the low power consumption mode.
To return to the demonstration mode:
When the unit is in the power stand-by mode, press the AUX (DEMO) button again.
32 mm
(1-1/4")
8-9 mm (3/8")
3.2 mm (1/8")
9 mm (3/8")
5 mm
(3/16")
Min.22 mm (7/8")
Wall surface
Wall mounting screw
Wall surface
Adhere the non-slip sheets to the
bottom of the speaker.
Adhere the non-slip sheets on the
lower back of the speaker, and then
mount it to the wall.
Web-site:
www.sharp.co.uk/support
Help Line:
08705 274277 (office hours)