34
Recording Settings
1. Turn the TV on and select input from the DVD recorder. (For details
on operation methods, refer to your TV’s manual.)
2. Press SYSTEM MENU to display the System Menu.
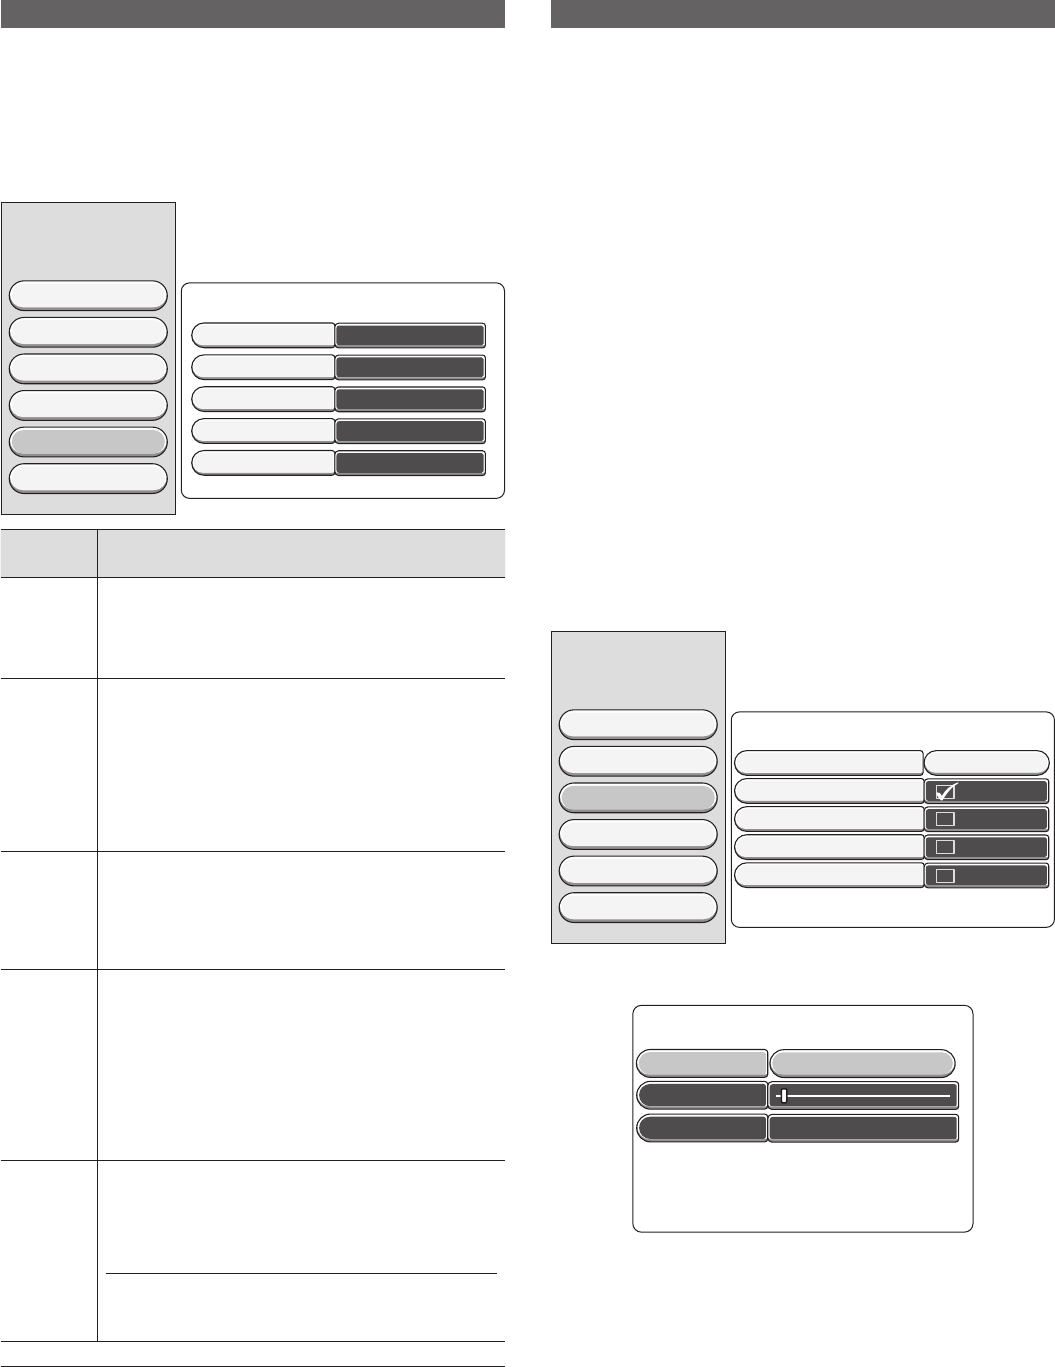
3. Select “Recording” using 8 or 2, and press 6 once. The setting
items at "Recording Options" on the right of the screen can now be
selected using 8 or 2.
4. Select the item to be changed using 8 or 2, and change the set-
tings.
Recording Options
Video
Sound
Feature
Language
Recording
Setup
SP
Record Mode
Standard
Filter Mode
Off
Auto Chapters
Off
SAT Record
Language 1
Dual Language
System Menu
Setting
Item
Explanation
Record
Mode
Set the picture quality during recording. When you
press the k button, the selection items are displayed.
Select the desired item using 8 or 2, and press the
k button.
See Page 17.
Filter
Mode
The fi lter can be set to “Standard” (Normal) or “Sport”
(for fast movements)
In LP, EP or EP+ recording mode, you can select the Sport
setting in Filter Mode to optimize the video recording
for images that contain fast movements, like sports. The
setting does not infl uence HQ or SP recording mode.
When you press the k button, the selection items are
displayed. Select the desired item using 8 or 2, and
press the k button.
Auto
Chapters
When this feature is turned On, chapters can be auto-
matically marked with chapter markers at several minute
intervals during recording.
When you press the k button, the selection items are
displayed. Select the desired item using 8 or 2, and
press the k button.
SAT
Record
When a satellite tuner or other equipment on which timer
recording can be set are connected to the DVD recorder,
video can be recorded synchronized with the start of the
broadcast without having to reserve recording on the
DVD recorder. When using this feature, specify the input
terminal that the equipment is connected to. When this
feature is not used, set to Off.
When you press the k button, the selection items are
displayed. Select the desired item using 8 or 2, and
press the k button.
Dual
Language
When recording dual language programmes, set which
language to record. When you press the k button, the
selection items are displayed. Select the desired item
using 8 or 2, and press the k button.
NOTE:
- When recording input from the DV-IN (DV socket on
the front panel), stereo 1 language from DV equipment
is recorded regardless of the setting of this item.
NOTE:
- When you press 4, other items in the System Menu can be se-
lected.
Set other items as necessary.
5. To end setting, press SYSTEM MENU.
Parental Level Control
Films on pre-recorded DVD discs may contain scenes not suitable for
children. Therefore, some discs may contain “Parental Control” rating
(level) information that applies to the entire disc or to certain scenes on
the disc. The appropriate scenes have fi lter values that reach from 1-8.
If such a scene is detected during playback, the fi lter value set on the
DVD recorder is compared to the scene. If the fi lter value is higher than
the setting, an alternative scene will be played (if available).
What do the Rating (Level) mean?
Rating (Level) Off (displayed as “--”) means that parental level control is
not active. Rating (Level) 1 is most restrictive. It means without entering
correct password, child cannot view the scenes that are not suitable for
children, Rating (Level) 8 is least restrictive. Without entering the passcode,
the scenes can be viewed.
What happens if a DVD scene contains a higher level than the rating
set?
If the recorder does not fi nd a suitable alternative, playback will stop and
you must enter the four-digit passcode.
Setting parental level control
Set parental level control as follows.
1. Turn the TV on and select input from the DVD recorder. (For details
on operation methods, refer to your TV's manual.)
2. Press SYSTEM MENU to display the System Menu.
3. Select "Feature" using 8 or 2, and press 6 once. The setting items
at "Feature Options" on the right of the screen can now be selected
using 8 or 2.
4. Select "Access Control", and press the k button.
System Menu
Feature Options
Video
Sound
Feature
Language
Recording
Setup
Access Control Press OK
Status Display
Resume
Auto Standby
Clock Display: Off
5. Select the item to be changed using 8 or 2, and change the set-
tings.
Set Parental Controls
[ ] [ ] [ ] [ ]
Enter Code
Level:Off
Set Country United Kingdom OK
Press SYSTEM to Save and Exit
DVR_HT120_UK_INS_MANUAL.indd 34DVR_HT120_UK_INS_MANUAL.indd 34 6/13/2005 11:16:11 AM6/13/2005 11:16:11 AM
