


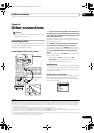

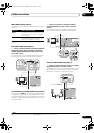

Other connections
09
60
En
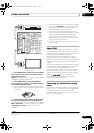
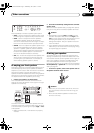
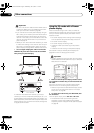
Using the MULTI-ZONE controls
The following steps use the front panel controls to adjust
the sub zone volume and select sources.
1
See MULTI-
ZONE remote controls below.
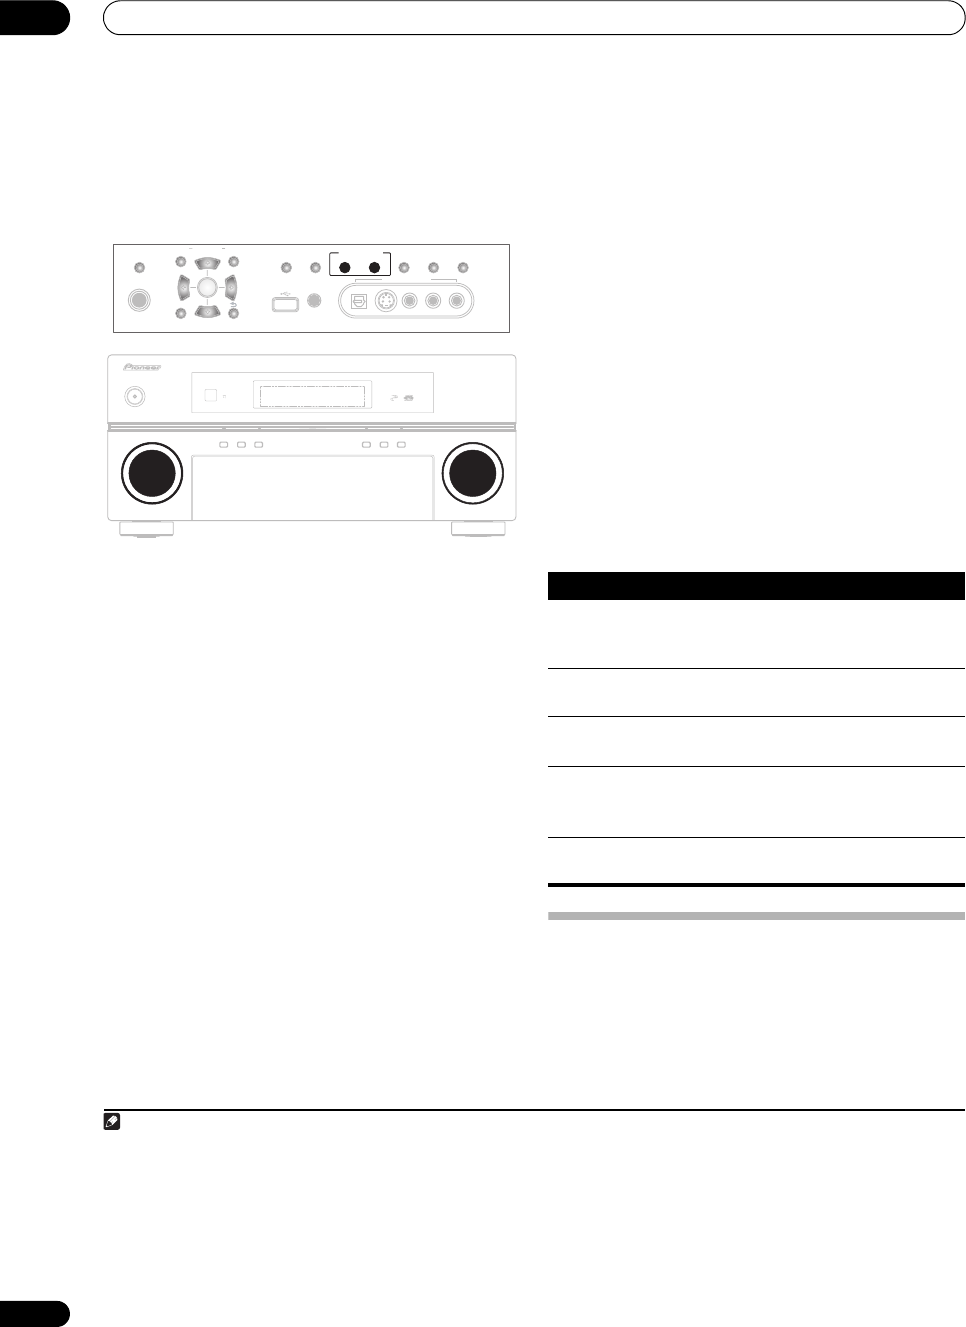
1 Press the
MULTI-ZONE & SOURCE ON/OFF
button
on the front panel.
Each press selects a MULTI-ZONE option:
• ZONE 2 ON – Selects your primary (ZONE 2) sub
zone
• ZONE 2&3 ON – Select both sub zones
• ZONE 3 ON – Selects your secondary (ZONE 3) sub
zone
• MULTI ZONE OFF – Switches the MULTI-ZONE
feature off
The MULTI-ZONE indicator lights when the MULTI-ZONE
control has been switched ON.
2 Press CONTROL to select the sub zone(s) you want.
2
If you selected ZONE 2&3 ON above, you can toggle
between ZONE 2 and ZONE 3.
• When the receiver is on,
3
make sure that any
operations for the sub zone are done while ZONE and
your selected sub zone(s) show in the display. If this
is not showing, the front panel controls affect the
main zone only.
3Use the
INPUT SELECTOR
dial to select the source
for the zone you have selected.
For example, ZONE 2 CD-R sends the source connected
to the CD-R inputs to the primary (ZONE 2) sub room.
•If you select TUNER, you can use the TUNER controls
to select a preset station (see Saving station presets
on page 36 if you’re unsure how to do this).
4
• You can’t use the iPod, HOME MEDIA GALLERY
(VSX-LX70 only) or USB (VSX-LX60 only) functions
simultaneously using the MULTI-ZONE feature.
4Use the
MASTER VOLUME
dial to adjust the
volume.
This is only possible if you selected the VARIABLE
volume control in ZONE Audio Setup on page 68.
5
5 When you’re finished, press
CONTROL
again to
return to the main zone controls.
You can also press the MULTI-ZONE & SOURCE ON/
OFF button on the front panel to switch off all output to
the sub zone(s).
6
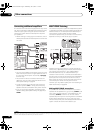
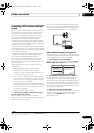
MULTI-ZONE remote controls
The following table shows the possible MULTI-ZONE
remote controls:
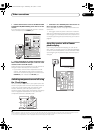
Connecting an IR receiver
If you keep your stereo components in a closed cabinet or
shelving unit, or you wish to use the sub zone remote
control in another zone, you can use an optional IR
receiver (such as a Niles or Xantech unit) to control your
system instead of the remote sensor on the front panel of
this receiver.
7
Note
1 When you use ZONE 2, you must set ZONE 2 / RECSEL Setting in the ZONE Audio Setup menu to ZONE 2 (page 68).
2 Note that when recording, this also selects the RECOUT input source. See Making an audio or a video recording on page 72 for more on this.
3 If the receiver is in standby, the display is dimmed, and ZONE and your selected sub zone(s) continue to show in the display.
(TUNE)
(TUNE)
PHONES
PARAMETER
SETUP
(ST) (ST)
AUDIO VIDEO
TUNER EDITSPEAKERS BAND
CONTROL ON/OFF
SIGNAL
SELECT
STEREO/
F.S.SURR
SB ch
PROCESSING
VIDEO/GAME 2 INPUT
DIGITAL IN S-VIDEO VIDEO L RAUDIO
MULTI – ZONE &
SOURCE/REC SEL
MCACC
SETUP MIC
RETURN
ENTER
USB
VSX-LX70
MASTER
VOLUME
STANDBY/ON
INPUT
SELECTOR
PHASE
CONTROL
PHASE
CONTROL
AUTO SURR/
STREAM DIRECT
MCACC
POSITION
ADVANCED
MCACC
DIGITAL VIDEO
SCALER HDMI
DIGITAL PRECISION
PROCESSING
HOME
THX
STANDARD
SURROUND
ADVANCED
SURROUND
4 The tuner cannot be tuned to more than one station at a time. Therefore, changing the station in one zone also changes the station in the other zone.
Please be careful not to change stations when recording a radio broadcast.
5 The volume levels of the main and sub zones are independent.
6 • You won’t be able to switch the main zone off completely unless you’ve switched off the MULTI-ZONE control first.
• If you don’t plan to use the MULTI-ZONE feature for awhile, turn off the power in both the sub and main rooms so that this receiver is in standby.
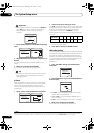
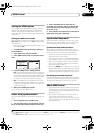
Button What it does
SHIFT+
RECEIVER
Selects the sub zone you want to control,
shown in the display as RCV/Z2 (ZONE2) or
RCV/Z3 (ZONE3).
Switches on/off power in the currently
selected sub zone.
INPUT
SELECT
Use to select the input source in the currently
selected sub zone.
Input
source
buttons
Use to select the input source directly (this
may not work for some functions) in the cur-
rently selected sub zone.
VOL +/–
Use to set the listening volume in the currently
selected sub zone (ZONE2 only).
7 • Remote operation may not be possible if direct light from a strong fluorescent lamp is shining on the IR receiver remote sensor window.
• Note that other manufacturers may not use the IR terminology. Refer to the manual that came with your component to check for IR compatibility.
• If using two remote controls (at the same time), the IR receiver’s remote sensor takes priority over the remote sensor on the front panel.
VSX_LX60LX70.book Page 60 Wednesday, June 6, 2007 3:13 PM