


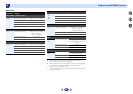
Home Menu
7
7
56
4
61
9
2
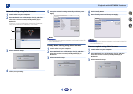
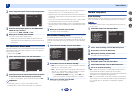
Select ‘Component Input’ from the Input Assign menu.
3
Select the desired input option for the COMPONENT
VIDEO IN1 input terminal.
Select between DVD, SAT/CBL or OFF.
4
When you’re finished, press
RETURN
.
You return to the Input Assign menu.
•
Make sure you have connected the audio from the
component to the corresponding inputs on the rear of
the receiver.
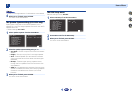
The Auto Power Down menu
Set to automatically turn off the receiver after a specified time
has passed (when the power has been on with no operation
and no audio signal).
•
Default setting: OFF
1
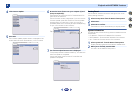
Select ‘Auto Power Down’ from the Home Menu.
2
Specify the amount of time to allow before the power
is turned off (when there has been no operation).
•
Select 15 minutes or 30 minutes, 60 minutes or OFF.
Important
•
Auto power down will occur if the HDMI AUDIO
PARAMETER is set to THRU and there is no operation.
•
Even if images are being output, if the input volume level is
exceptionally low, it will automatically turn OFF.
•
Depending on the connected device, the static caused by
the device may prevent the auto power down function from
activating.
•
If the input volume level is exceptionally low, in some cases
the auto power down function may be activated.
•
During photo viewer playback, continuing playback without
performing any control operations will activate auto power
down.
3
When you’re finished, press
RETURN
.
You return to the Home Menu.
The Network Standby menu
This setting allows the AirPlay function for operating the
receiver from a computer connected on the same LAN as the
receiver to be used even when the receiver is in the standby
mode.
1
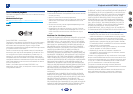
Select ‘Network Standby’ from the Home Menu.
2
Choose ON or OFF for the Network Standby.
•
ON – The AirPlay function can be used even when the
receiver is in the standby mode.
•
OFF – The AirPlay function cannot be used when the
receiver is in the standby mode (This lets you reduce
power consumption in the standby mode).
-
If the Network Standby setting is set to ON, the
power consumption during standby will increase.
3
When you’re finished, press
RETURN
.
You return to the Home Menu.
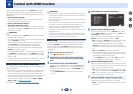
The MHL Setup menu
Auto Switching
Select whether or not to switch the input automatically to the
MHL input when an MHL-compatible device is connected.
Note
•
This is only valid for MHL-compatible devices supporting
this function.
1
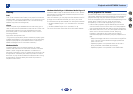
Select ‘MHL Setup’ from the Home Menu.
2
Select ‘Auto Switching’ from the MHL Setup menu.
3
Choose ON or OFF for the MHL Setup.
4
When you’re finished, press
RETURN
.
You return to the Home Menu.
Setup ROKU standby mode
1
Select ‘MHL Setup’ from the Home Menu.
2
Select ‘ROKU Standby’ from the MHL Setup menu.
3
Use
/
to select the setting
.
•
OFF - When the receiver is in the standby mode, power is
not provided to the Roku Streaming Stick. Energy
consumption will decrease but it will take approximately 90
seconds for the images to be played back.
•
ON - Will provide power to the Roku Streaming Stick even
if the receiver is in the standby mode. Energy consumption
will increase but will be able to immediately playback
images.
3
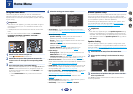
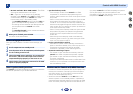
. Input Assign
Return
a
. Analog Input
b
. Component Input
3b
. Component Input
Return
Component DVD
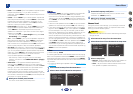
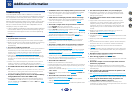
Home Menu
1
. Auto MCACC
2
. Manual SP Setup
3
. Input Assign
4. Auto Power Down
5. HDMI Setup
6. Network Standby
7. MHL Setup
8. Speaker System
9. OSD Setup
4
. Auto Power Down
Return
Auto Power Down
OFF
VSX-1024
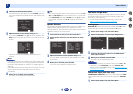
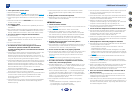
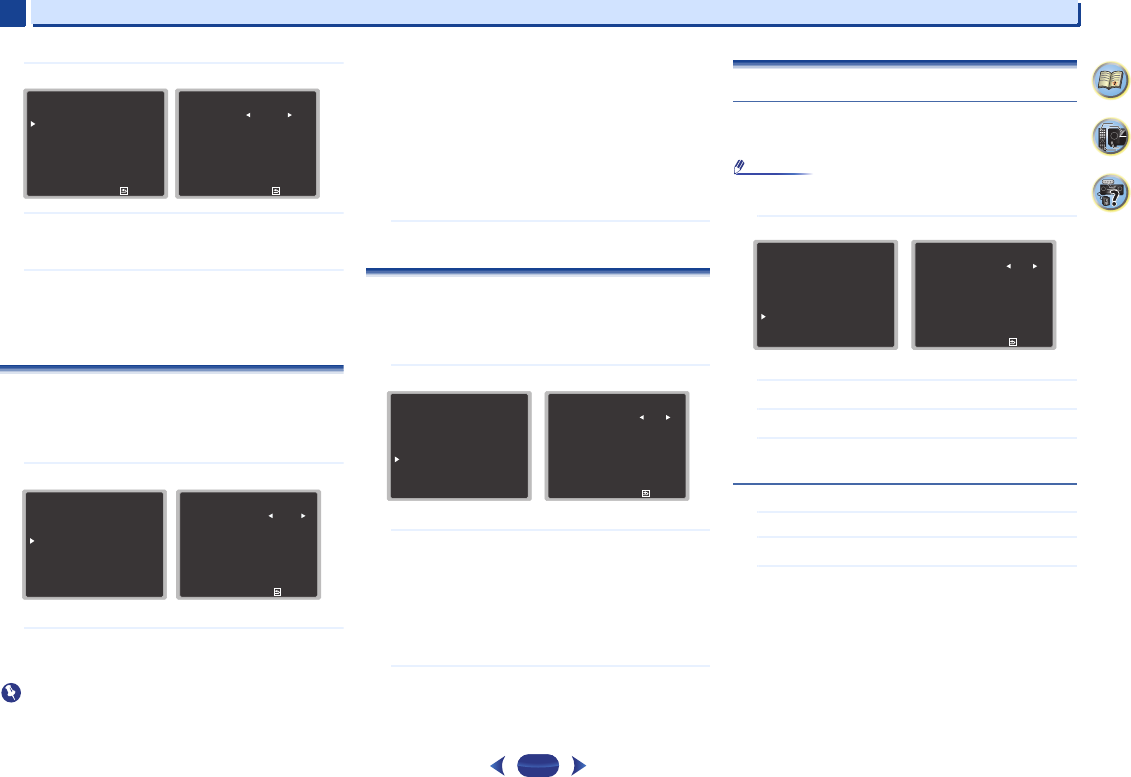
6
. Network Standby
Return
Network Standby
OFF
Home Menu
1
. Auto MCACC
2
. Manual SP Setup
3
. Input Assign
4. Auto Power Down
5. HDMI Setup
6. Network Standby
7. MHL Setup
8. Speaker System
9. OSD Setup
VSX-1024
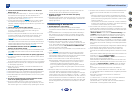
7
. MHL Setup
Return
Auto Switching
ON
ROKU Standby
[ OFF ]
Home Menu
1
. Auto MCACC
2
. Manual SP Setup
3
. Input Assign
4. Auto Power Down
5. HDMI Setup
6. Network Standby
7. MHL Setup
8. Speaker System
9. OSD Setup
VSX-1024