19
Set up
Preparations
FL
CT FR
SR
SL
SW
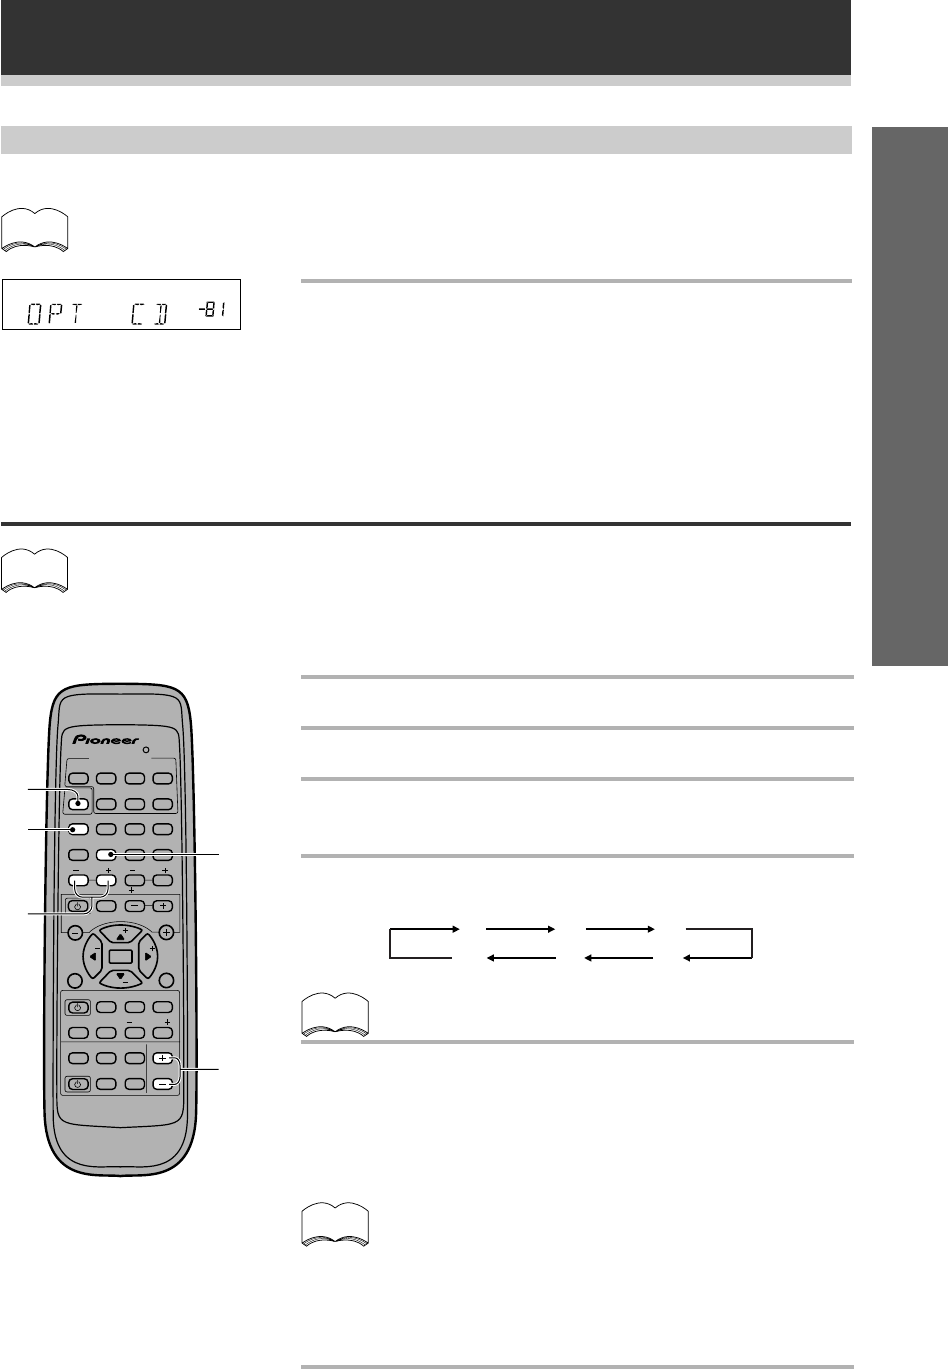
Setting the volume level of each channel (Adjusting the
speaker volume balance)
• Since the SUB WOOFER transmits an ultra-low frequency its sound may seem quieter
than it actually is.
• The speaker volume can be adjusted without outputting the test tone by pressing
CHANNEL LEVEL or CHANNEL SELECT .
• Initial setting is 0 dB.
3
4,6
5
memo
memo
memo
MULTI CONTROL
DVD/LD TV/SAT VCR/DVR CD
LOUDNESS FUNCTION MUTING
RECEIVER
D.ACCESS CHANNEL
ATT
VOL
MENU
TOP
MENU
VOL
CH
2
DSP MODE
MIDNIGHT
5.1CH
CD-R/
TAPE/MD
CHANNEL
SELECT
CHANNEL
LEVEL
EFFECT
ENTER
ENTER
FQ
FQ
ST ST
FL
DIMMER
REMOTE
SETUP
MASTER
VOLUME
AUDIO/VIDEO PRE-PROGRAMMED
REMOTE CONTROL UNIT
TV CONTROL
FUNC
10 DISC
SIGNAL
SELECT
TEST
TONE
RECEIVER
TUNER
TV CONT
Î
1234
1 ¡ 4 ¢
7 8 3
5678
90
‡
SOURCE CLASS MPX BAND
Optical digital input setting
Sets the input component to be assigned to the optical input jack.
• Initial setting is “CD”.
Press % or fi to select the optical digital input 1
(DVD, TV, CD, CD-R, VCR, or OFF).
After you assign the component to a digital jack, like optical one,
whenever you select that component, for example CD, the receiver will
automatically change to the digital input setting. You can see this in the
DIGITAL/ANALOG indicator on the front of the receiver.
dB
memo
2
1
Press RECEIVER.
2
Press 2 .
3
Press VOL + or – to adjust the volume to an
appropriate level.
4
Press TEST TONE to output the test tone.
The test tone is output in the following order.
• Test tone is only output in Dolby/DTS modes.
5
Adjust speaker levels so that you hear the
test tone at the same volume from each
speaker when seated in the main listening
position.
The channel level ranges ± 10 dB.
• Levels can be set for each surround mode.
• The CH. LEVEL and CH. SELECT buttons can be used
to set levels even when the TEST TONE is not
employed.
• The initial setting is 0dB.
• The subwoofer test tone may seem softer than the
actual sound.
6
Press TEST TONE to turn off the test tone.
1


