30 Digital Output, Night Mode
• You can activate Night Mode
quickly by pressing NIGHT on the
remote control.
Helpful Hint
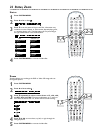
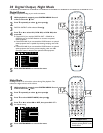
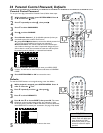
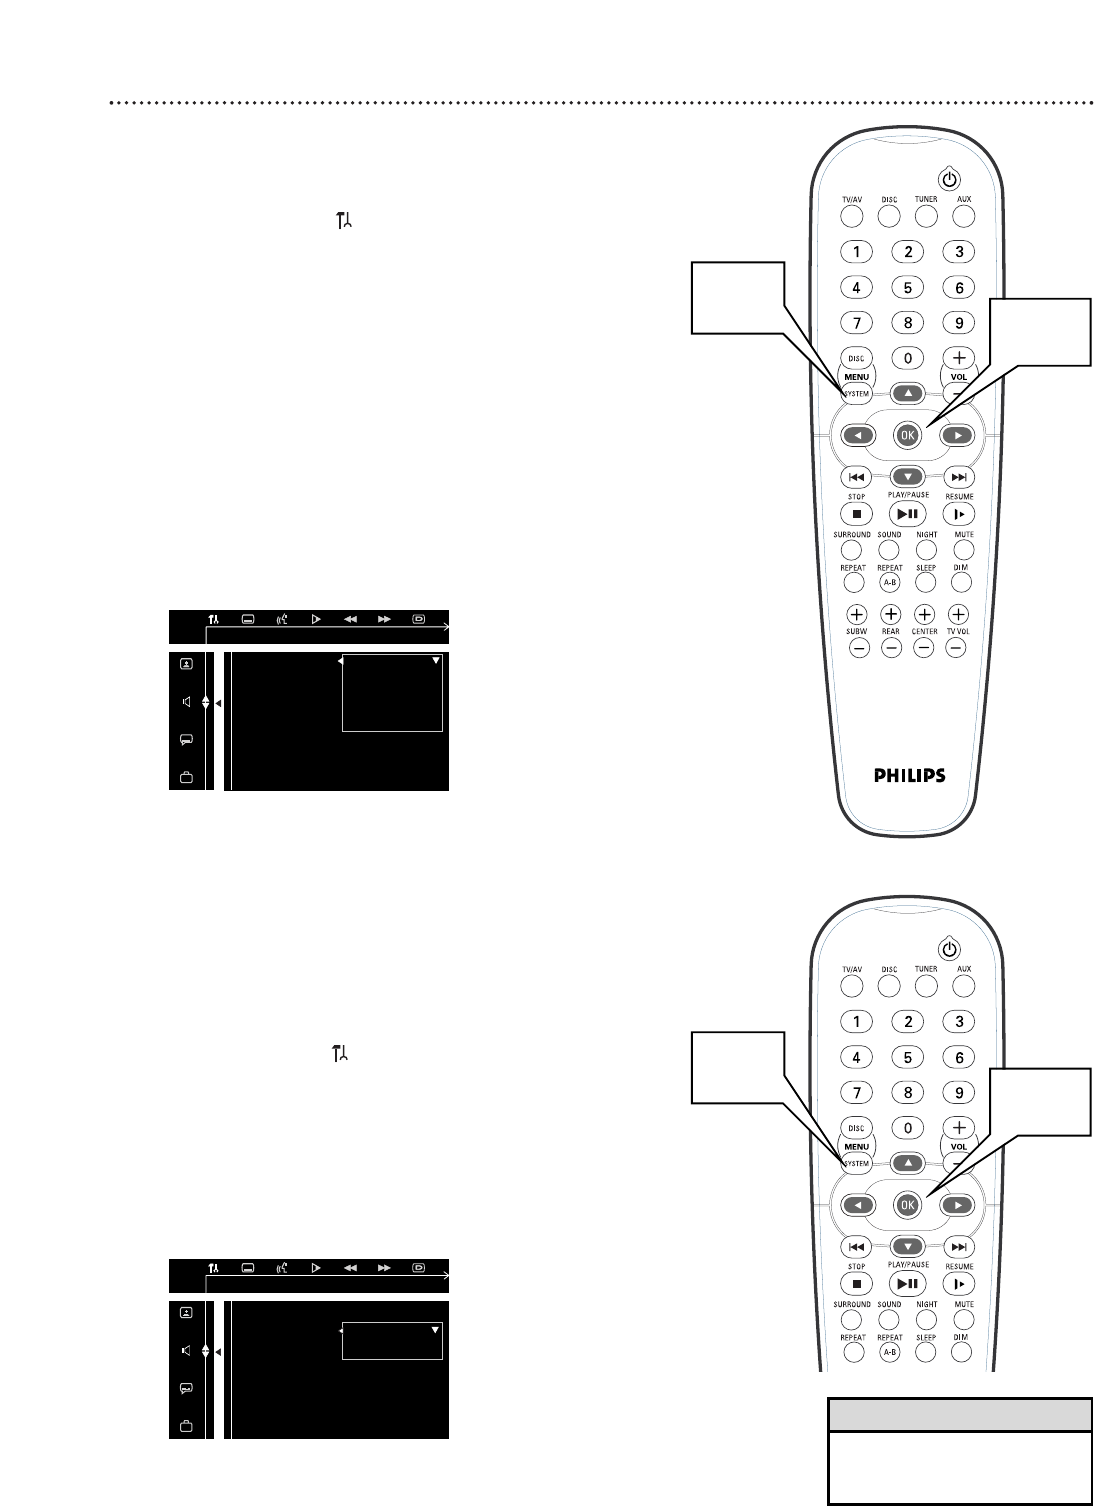
Digital Output
Set Digital Output according to your audio connection.
1
While playback is stopped, press SYSTEM MENU. Press ;
or - to select the icon.
2
Press 9 repeatedly to select
zz
, then press
::
.
3
DIGITAL OUTPUT will be selected. Press
::
.
4
Press 9 or 8 to select ALL, PCM 96K, or PCM 48K, then
press OK.
● Choose ALL if you used the DIGITAL OUT - COAXIAL or
OPTICAL jack on the DVD Receiver to connect to optional
audio equipment.
● Choose PCM 96K if you connected the DVD Receiver to optional
audio equipment that is capable of processing sampling rates of 96
kHz.
● Choose PCM 48K if you connected the DVD Receiver to optional
audio equipment that cannot process sampling rates over 48K.
Check the owner’s manual of the optional audio equipment.
5
Press SYSTEM MENU to remove the menu.
DIGITAL OUTPUT ALL
NIGHT MODE PCM 96K
CENTER DELAY PCM 48K
REAR DELAY OFF
TEST TONE
SPDIF/RAW OUTPUT
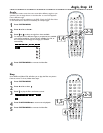
Night Mode
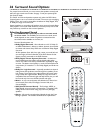
Set Night Mode to On to level the volume during Disc playback. This
reduces the highs and lows of the volume.
1
While playback is stopped, press SYSTEM MENU. Press ;
or - to select the icon.
2
Press 9 repeatedly to select
zz
, then press
::
.
3
Press 9 to select NIGHT MODE, then press
::
.
4
Press 9 or 8 to select ON or OFF, then press OK. OFF is
the default setting.
5
Press SYSTEM MENU to remove the menu.
DIGITAL OUTPUT
NIGHT MODE OFF
CENTER DELAY ON
REAR DELAY
TEST TONE
NIGHT MODE SET TO OFF
1,5
1-4
1,5
1-4


