


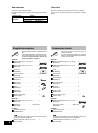


RQT8572
8
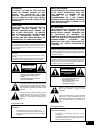
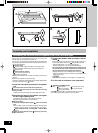
•Do not apply an unreasonable force to the net at the front of the
speaker unit. You cannot remove the front net.
•You can carry out assembly work stably by placing the cushions in
the packing case beneath each speaker. Place the speaker with the
net side face downward. ( page 6)
Be sure to spread a cloth, for example, on the floor to protect it from
damage.
•After each task, tighten the screws securely.
Tighten the height adjusting bolts using the hexagonal wrench
provided.
•Keep the removed parts carefully aside.
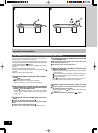
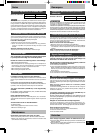
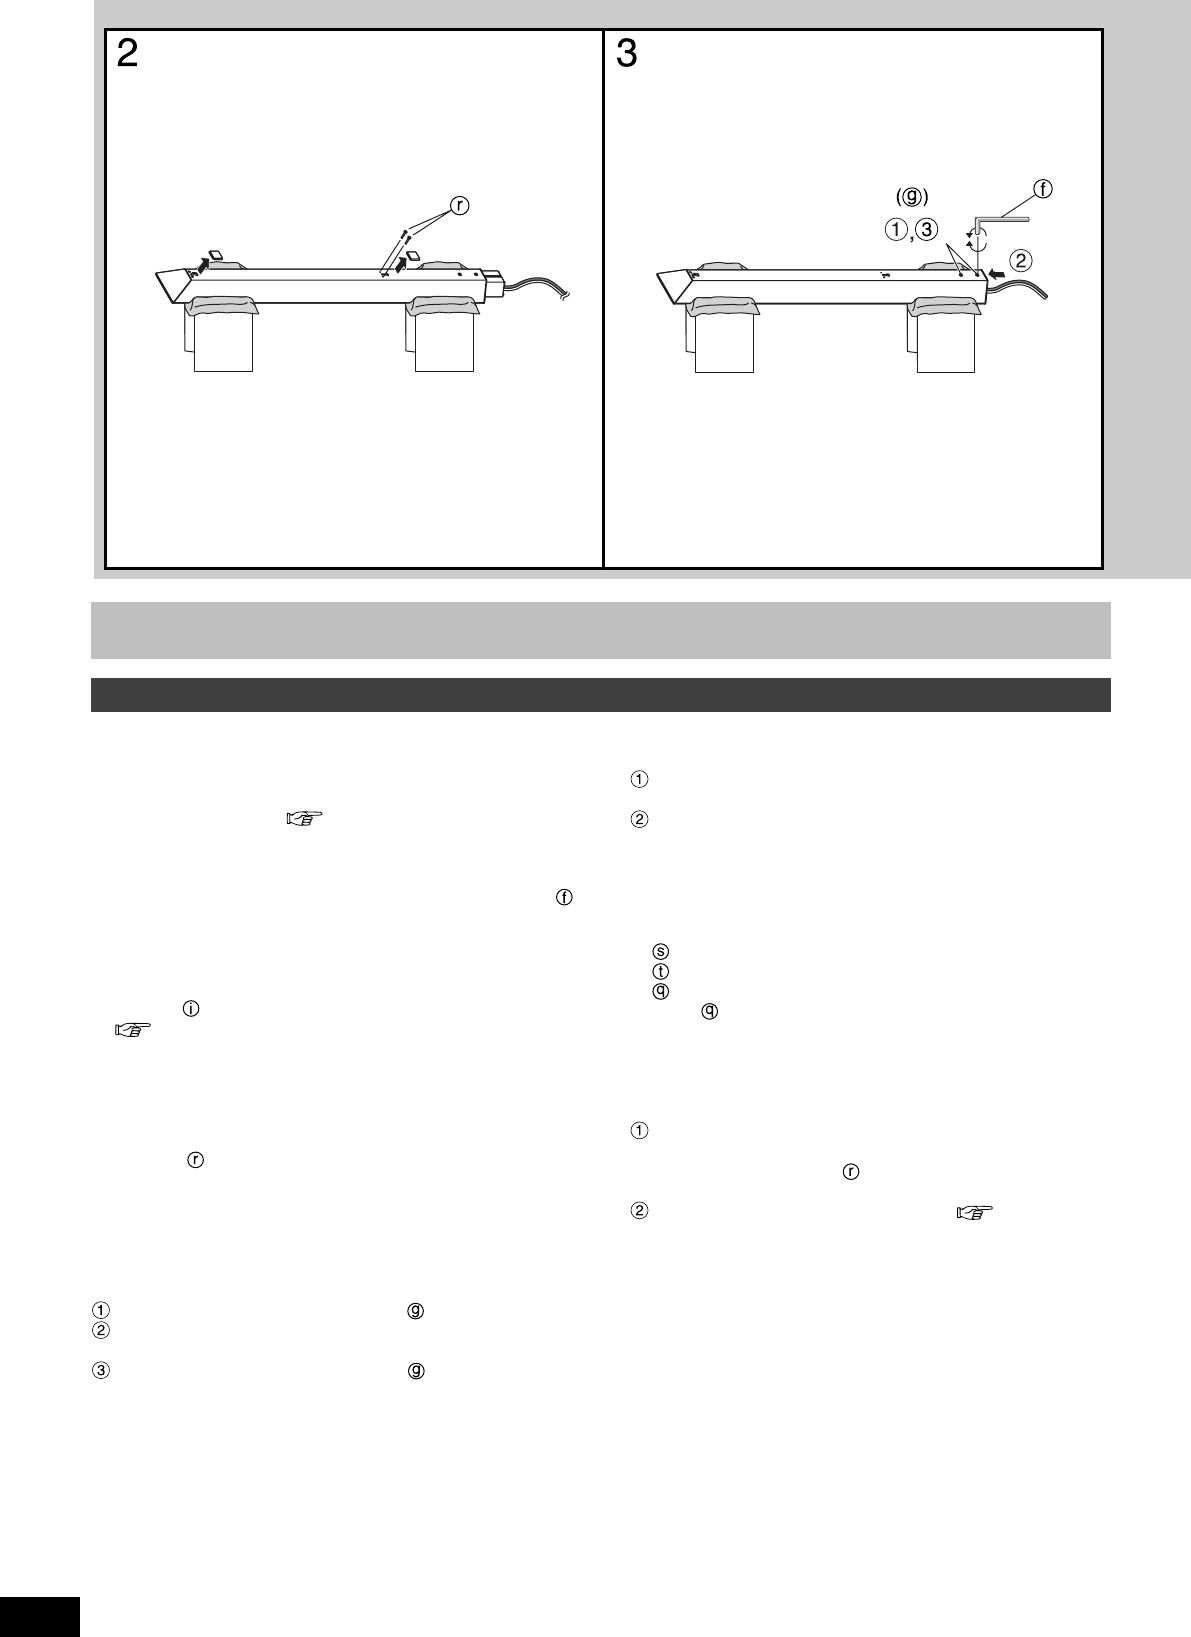
1.Connect the speaker cable (provided) to the ter-
minals .
Refer to step 3 on page 6.
•Speaker cable (short, 4 m): For the front speaker
Speaker cable (long, 10 m): For the surround speaker
2.Remove the upper and lower covers from the back
of the speaker unit, and remove the two stopper
screws from the lower cover.
•Unless wall-mounting the speaker, do not remove the stopper
screws. These screws determine the minimum height of the
speaker unit.
3.Fit the stand onto the speaker unit, and fix it in
place.
Loosen the two height adjusting bolts .
Push the stand to the rear of the bottom part of the speaker
unit.
Tighten the two height adjusting bolts .
•Tighten the screws alternately and finally tighten them hard.
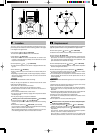
Assembly and Installation
Wall-mounting the front and surround speakers (SB-FS100)
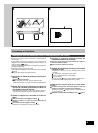
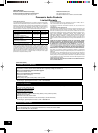
4.Fit the bottom cover (provided) into the lower end
of the speaker unit.
Bring the cable out from the side of the bottom cover, and
then insert the bottom cover.
Fit the bottom cover into the speaker unit.
5.Apply the spacers (provided), and mount the
speaker on the wall.
•Apply the spacers to the two points beneath the cover as shown
in the illustration.
When the screws are in this position, the speaker may drop off.
Fit the speaker securely so the screws are in this position.
Screw (not included)
Screw the wood screw into a thick and hard part of the wall.
The surface must be able to support over 25 kg (55 lb.).
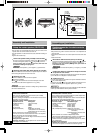
Assembling a wall-mounted speaker system as a stand
type
Return the speaker to the original condition by carrying out
the opposite procedure to the above.
•Insert the stopper screws of step 2 above into the holes in the
speaker unit.
Assemble the speaker as a stand type. ( page 6)