RQT7114
24
Other functions
Before use
•Switch [PLAY SELECT] to select the media to be used
•Turn [MODE] on the rear panel to TURNTABLE
•Insert the SD Memory Card or CD to be used
Linking different tracks
(e.g.) Using the DJ Mixer, link track A that is currently being played
with track B that will be played next.
Before use:
•Connect main unit 1 (track A) with DJ mixer CH1 and main unit 2
(track B) with CH4. ( page 8)
•Adjust buttons and control knobs of CH1 and CH4 on the DJ mixer
so mixed sound is output from the master output.
(Refer to the DJ mixer’s operating instructions.)
•Push the cross fader to the CH1 side to play track A.
(Only track A audio is output from the master output (speaker).)
1 Cue track B using the DJ mixer moni-
tor (headphone)
(Refer to the DJ mixer’s operating instructions.)
•Search for the track’s cue point (first beat) and set the cue
point.
2 Match with track A being played on the
speaker, on unit 2 (track B)
Press [PLAY/PAUSE] to play track B
•Track A is only output on the speaker, track B is output from
the monitor headphones.
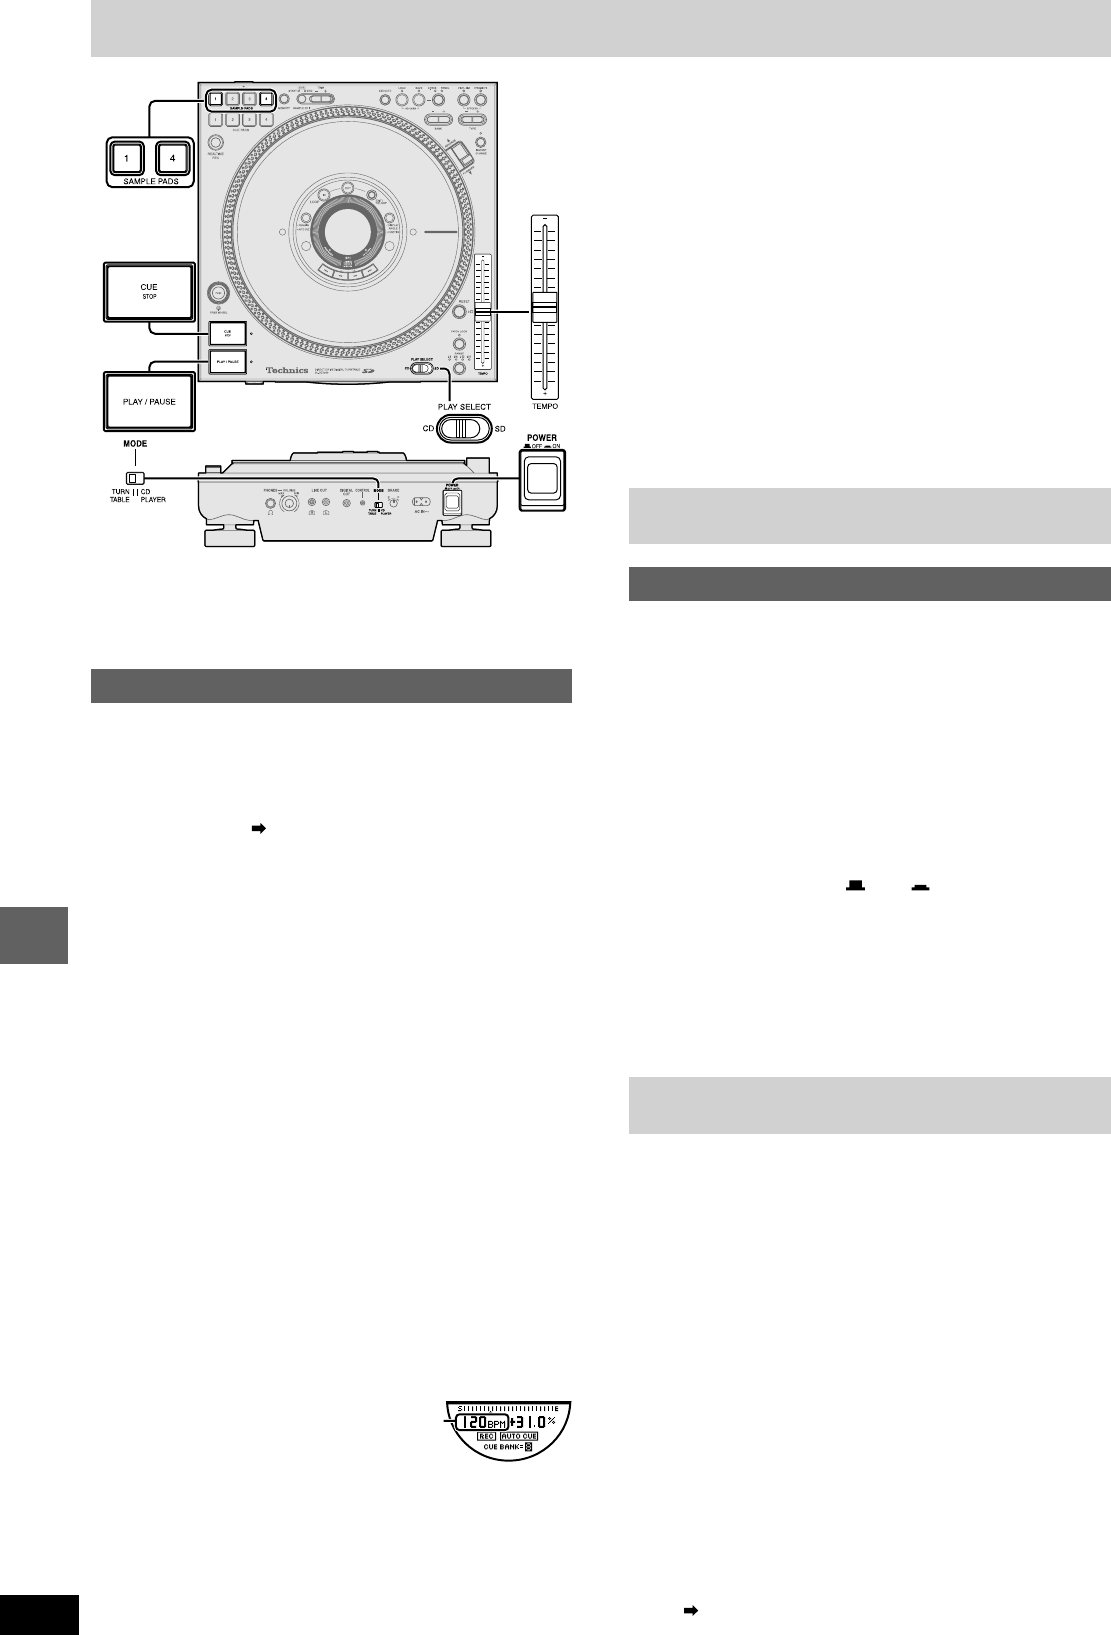
3 Adjust [TEMPO] on unit 2 (track B) and
match the BPM (beats per minute) on
track A and track B by listening
•Use [TEMPO] on unit 2 (track B)
to adjust track B’s BPM value to
approximately match the BPM
value of track A indicated in the
display.
4 On unit 2 (track B),
Stop the platter slip surface and press
[CUE STOP] to return to the cue point
5
Match with track A again, on unit 2 (track B)
Press [PLAY/PAUSE] and play track B
6 Checking the audio through the moni-
tor (headphones), gradually slide the
mixer’s cross fader towards the CH4
side
•Track B audio is mixed with track A audio from the speaker
and output.
•When the cross fader has been completely moved to the
CH4 side, the transition from track A to track B is complete.
BPM
Using with other equipment
Initializing this unit’s memory
Unit’s initialize memory function
You can re-initialize all memory content on this unit, restoring it to
factory settings.
Re-initializing will erase the following memory.
•Cue bank, cue pad, loop play
•Vinyl simulator, dynamic effect settings
•Auto Cue on, off settings and auto cue level settings
•Instant change settings
50 CDs or SD Memory Cards worth of data items of the above indi-
cated media data.
•Display angle, display contrast settings
When the power is off
While holding down [SAMPLE PADS 1] and [SAMPLE
PADS 4], press [POWER OFF ON] to turn the power
on, and release [SAMPLE PADS 1] and [SAMPLE PADS
4] after “INITIALIZED” appears in the display
•All memory content is re-initialized.
•The display returns to its original state and you can begin operat-
ing.
Glossary
•SD Audio
An audio standard for SD Memory Cards. An encryption technology is
used in order to protect copyrights and the legal rights of the con-
sumer as well as help develop a healthy music culture. There are
restrictions upon the copying of data etc. Use an application like SD-
Jukebox etc. for creating data.
•Cue
Used to begin play. On this unit the cue point is used to store the
beginning of a track or an arbitrary point of a track to memory and
then to instantly begin play from this point.
•Platter slip surface
The rotatable surface on an analog turntable which you place a record.
Although this unit is a digital turntable, play functionality is the same
as when operating a platter slip surface on an analog turntable.
•MP3 album
When creating multiple MP3 files on a computer and writing to a CD-
ROM, you can organize the files using folders. These folders are called
albums on this unit. When you want to play tracks in sequential order
on this unit, use numbers like 001 and 002 etc. for naming the al-
bums. ( Page 22)
