30
Playing Your Components—Continued
You can display various information about
the current input source as follows.
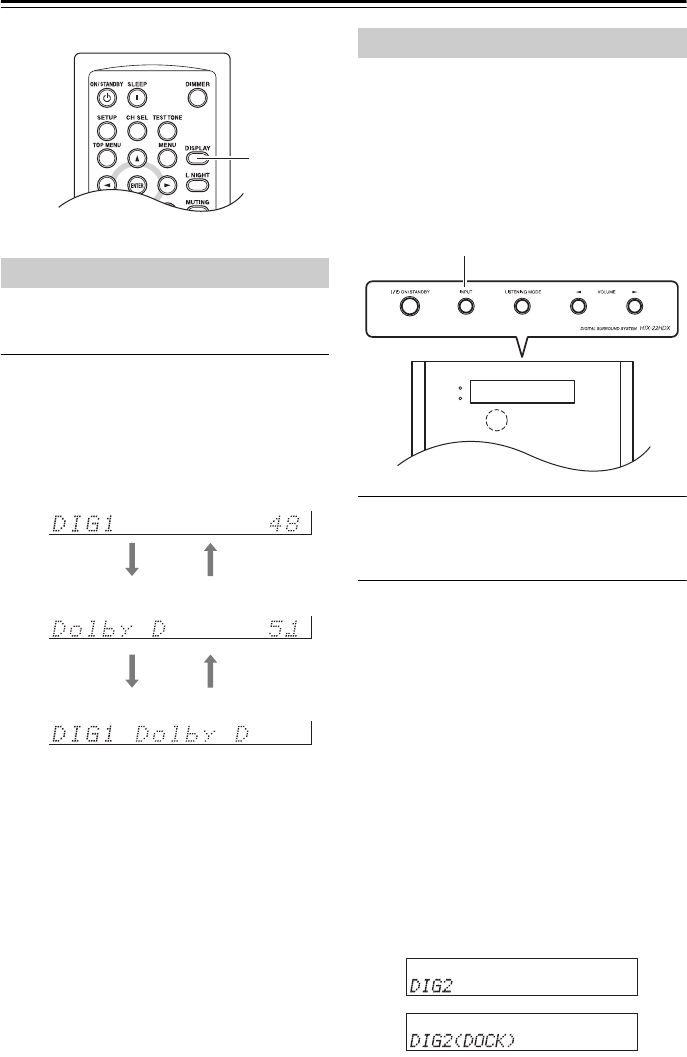
Press the remote controller’s [DISPLAY]
button repeatedly to cycle through the avail-
able information.
The following information can typically be
displayed:
*1. If the input signal is analog, no format
information is displayed. If the input sig-
nal is PCM, the sampling frequency is
displayed. If the input signal is digital but
not PCM, the signal format is displayed.
Information is displayed for about 3 sec-
onds, then the previous display reappears.
You can change the input display so that it
shows the type of component connected to an
input when that input is selected. The input
display can be changed for the following
inputs: DIGITAL IN 1 (DIG1), DIGITAL
IN 2 (DIG2), DIGITAL IN 3 (DIG3),
LINE 1, and LINE 2.
1
Use HTX-22HDX’s [INPUT] button to
select the input whose input display you
want to change.
2
Press and hold down the [INPUT] button
(about 3 seconds) to change the setting.
Below are the input display options for
each input:
DIG1: DIG1, DIG1(DOCK)
DIG2: DIG2, DIG2(DOCK), DIG2(TV)
DIG3: DIG3(TV), DIG3, DIG3(DOCK)
LINE1: LINE1, LINE1(DOCK),
LINE1(DVD), LINE1(CD),
LINE1(TAPE), LINE1(MD),
LINE1(CDR), LINE1(TV).
LINE2: LINE2, LINE2(DOCK),
LINE2(DVD), LINE2(CD),
LINE2(TAPE), LINE2(MD),
LINE2(CDR), LINE2(TV).
Example displays are shown below.
Displaying Source Information
Input source & volume
Signal format*
1
or sampling frequency
Input source & listening mode
Changing the Input Display


