40
En
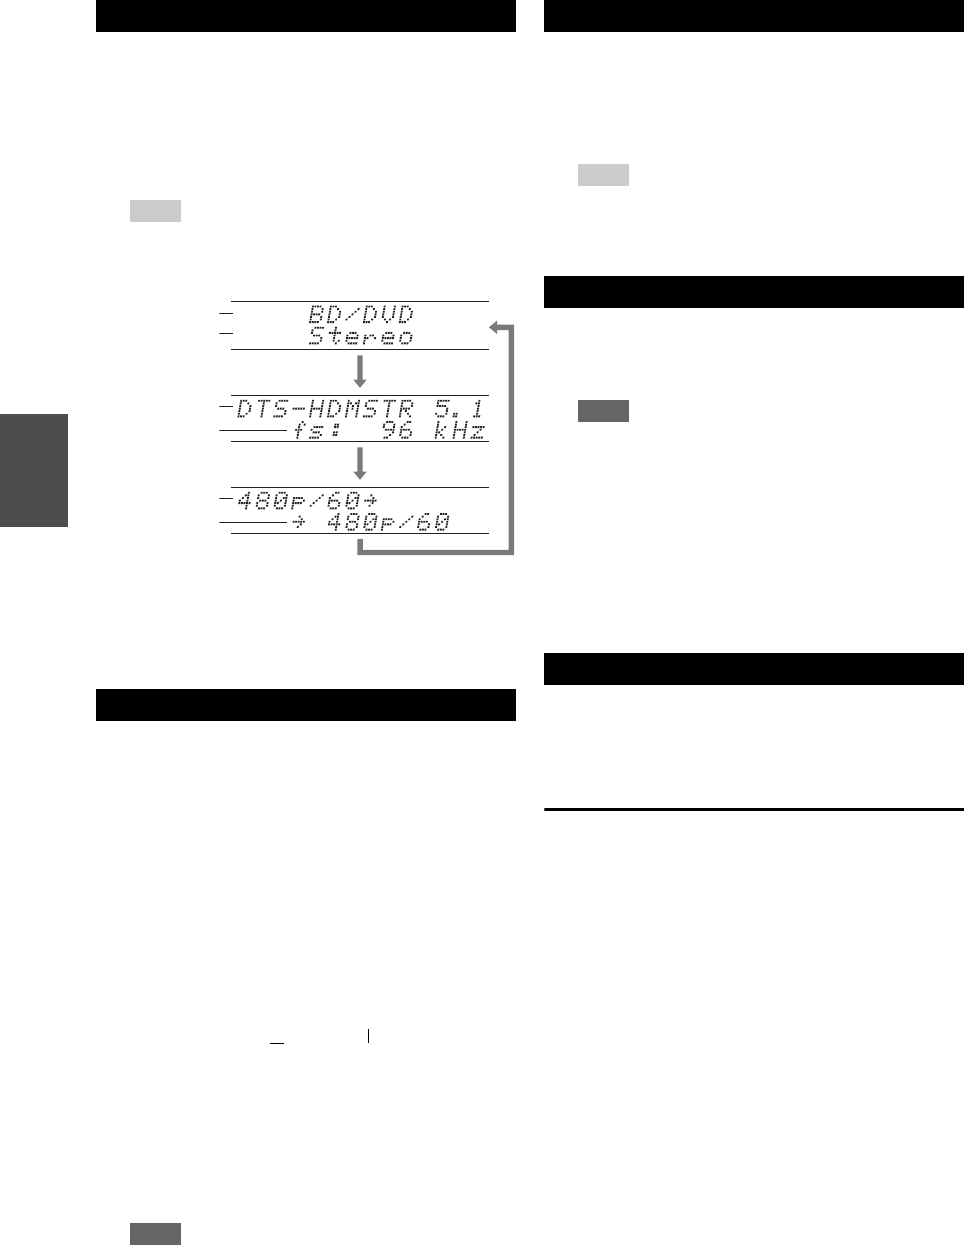
You can display various information about the current
input source as follows. (Components connected to the
UNIVERSAL PORT jack are excluded.)
The following information can typically be displayed.
*1
If the input signal is analog, “Analog” is displayed. If the
input signal is PCM, the sampling frequency is displayed. If
the input signal is digital but not PCM, the signal format is
displayed. Information is displayed for about three seconds,
then the previously displayed information reappears.
When you connect an -capable Onkyo component, you
must configure the input display so that can work properly.
This setting can be done only from the front panel.
You can temporarily mute the output of the AV receiver.
This section explains how to record the selected input
source to a component with recording capability, and how
to record audio and video from different sources.
AV Recording
Audio sources can be recorded to a recorder (e.g., cassette
tape deck, CDR, MD recorder). Video sources can be
recorded to a video recorder (e.g., VCR, DVD recorder).
Displaying Source Information
1
Press RECEIVER followed by DISPLAY
repeatedly to cycle through the available
information.
Tip
• Alternatively, you can use the AV receiver’s DISPLAY.
Changing the Input Display
1
Press TV/CD, GAME or VCR/DVR.
“TV/CD”, “GAME” or “VCR/DVR” appears on the
display.
2
Press and hold down TV/CD, GAME or VCR/DVR
(about 3 seconds) to change the input display.
Repeat this step to select the desired input display.
■ TV/CD:
■ GAME:
■ VCR/DVR:
Note
• DOCK can be selected for the TV/CD, GAME or
VCR/DVR input selector, but not at the same time.
• Enter the appropriate remote control code before using the
remote controller for the first time (➔ page 64).
Input source
Input signal
resolution
Output
resolution
Signal format
*1
Listening mode
Sampling
frequency
TV/CD → DOCK
→
→
TAPE
GAME ↔ DOCK
VCR/DVR ↔ DOCK
Muting the AV Receiver
1
Press RECEIVER followed by MUTING.
The output is muted and the MUTING indicator
flashes on the display.
Tip
• To unmute, press MUTING again or adjust the volume.
• Muting is automatically cancelled when the AV receiver is
set to standby.
Using Headphones
1
Connect a pair of stereo headphones with a
standard plug (1/4 inch or 6.3 mm) to the
PHONES jack.
Note
• Always turn down the volume before connecting your
headphones.
• While the headphones plug is inserted in the PHONES
jack, the speakers are turned off. (The Powered Zone 2
speakers are not turned off.)
• When you connect a pair of headphones, the listening mode
is set to Stereo, unless it’s already set to Stereo, Mono, or
Direct.
• If you connect an iPod or iPhone to the USB port on this
device, no sound will be output from the headphones jack.
Recording
1
Use the input selector buttons to select the source
that you want to record.
You can watch the source while recording. The AV
receiver’s MASTER VOLUME control has no effect
on recording.
2
On your recorder, start recording.
3
On the source component, start playback.
If you select another input source during recording,
that input source will be recorded.


