Listening to the Radio—Continued
34
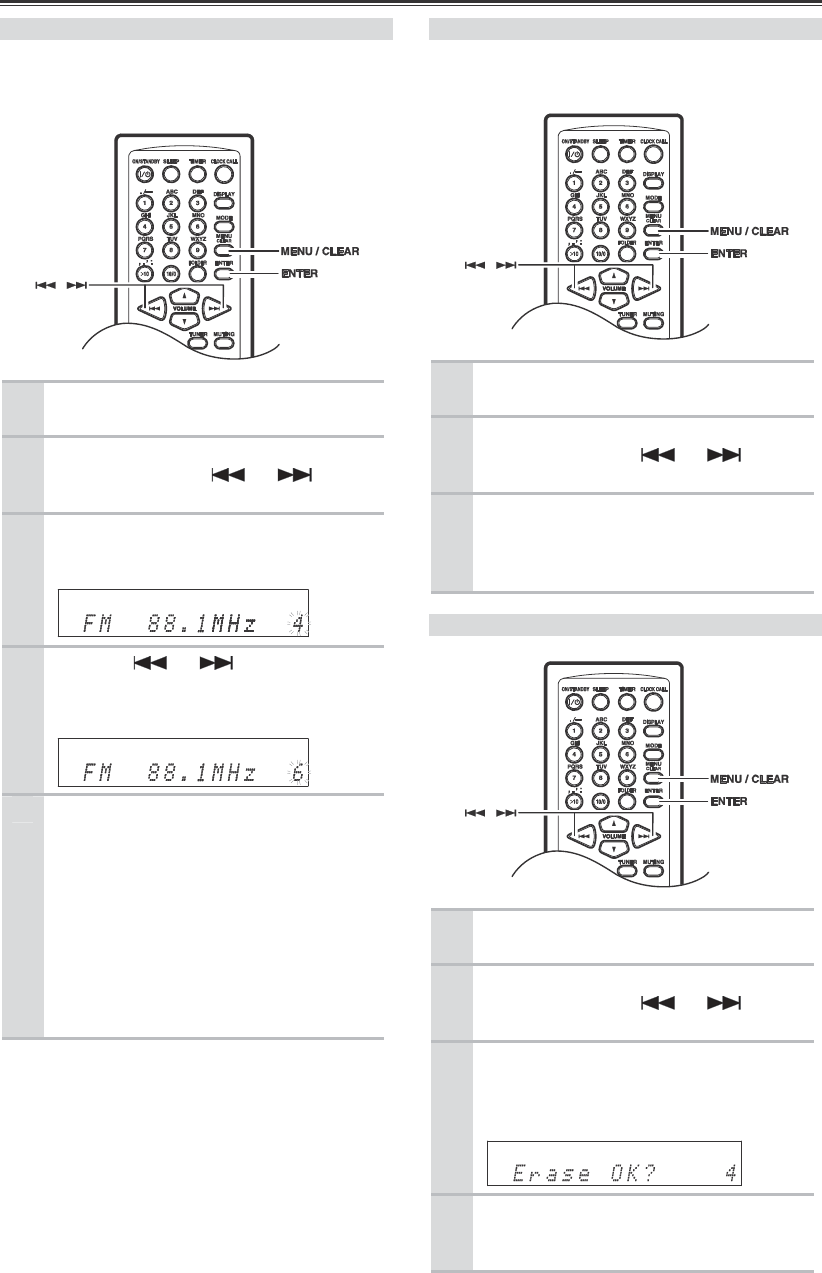
Copying Presets
With the Preset Copy function, you can organize
your presets in the order you want. When you copy a
preset, its name is also copied.
1
Select the preset you want to copy
(see page 32).
2
Press the [MENU / CLEAR] button,
and then use the [ ] / [ ]
buttons to select “Preset Copy?”.
3
Press [ENTER].
The number of the preset to be copied
flashes.
4
Use the [ ] / [ ] buttons to
select the destination preset.
The number of the destination preset
flashes.
5
To copy the preset, press [ENTER].
If no station has yet been stored in the
destination preset, the station is copied and
“Complete” appears.
If a station has already been stored in the
destination preset, the message
“Overwrite?” appears.
To overwrite the previously stored station,
press [ENTER].
To not overwrite the previously stored
station, press the [MENU / CLEAR] button.
Tip:
If you favorite station is stored in preset #5 and you
want to make it preset #1, copy preset #5 to preset #1.
To keep the station that’s already stored in preset #1,
you may want to copy it to an unused preset first.
Erasing a Preset’s Name
With the following operation, all the preset’s names
are erased.
1
Select the preset name you want to
erase (see page 32).
2
Press the [MENU / CLEAR] button,
and then use the [ ] / [ ]
buttons to select “Name Erase?”.
3
To erase the preset’s name, press the
[ENTER] button.
The preset’s name is erased and
“Complete” appears on the display.
Erasing Presets
1
Select the preset you want to erase
(see page 32).
2
Press the [MENU / CLEAR] button,
and then use the [ ] / [ ]
buttons to select “Preset Erase?”.
3
Press [ENTER].
A message requesting confirmation appears.
To cancel the Preset Erase function at this
point, press the [MENU / CLEAR] button.
4
To erase the preset, press [ENTER].
The preset is erased and “Complete”
appears on the display.


