33
First Time Setup
—Continued
• If the test tone is not produced by a speaker, or it’s
produced by a speaker other than that shown on the
display, you may have wired your speakers incorrectly
and you should check your connections (see page 17).
• If the test tone is not produced by a speaker and its
name does not appear on the display, you may have set
the speaker settings incorrectly (see page 32).
If you connect an -compatible Onkyo MiniDisc
recorder or CD recorder to the TAPE IN/OUT sockets,
for to work properly, you must change this setting.
This setting can only be changed on the AV Receiver.
7
Use the Down [ ] button to
select “Surr Back,” and use the
Left and Right [ ]/[ ] buttons to
select
Small
,
Large
, or
None
.
Small:
Select if the surround back
speaker is small.
Large:
Select if the surround back
speaker is large.
None:
Select if no surround back
speaker is connected.
Notes:
• If the Surround setting in step 6 is set
to None, this setting does not appear.
• If the Surround setting in step 6 is set
to Small, the Large option cannot be
selected.
8
Press the [SETUP] button.
Setup closes.
ENTER
ENTER
To test that all of your speakers are working properly,
press the remote controller’s [TEST TONE] button.
The test tone will be output by each speaker in turn
and the name of each speaker will appear on the dis-
play. To turn off the test tone, press the [TEST
TONE] button again.
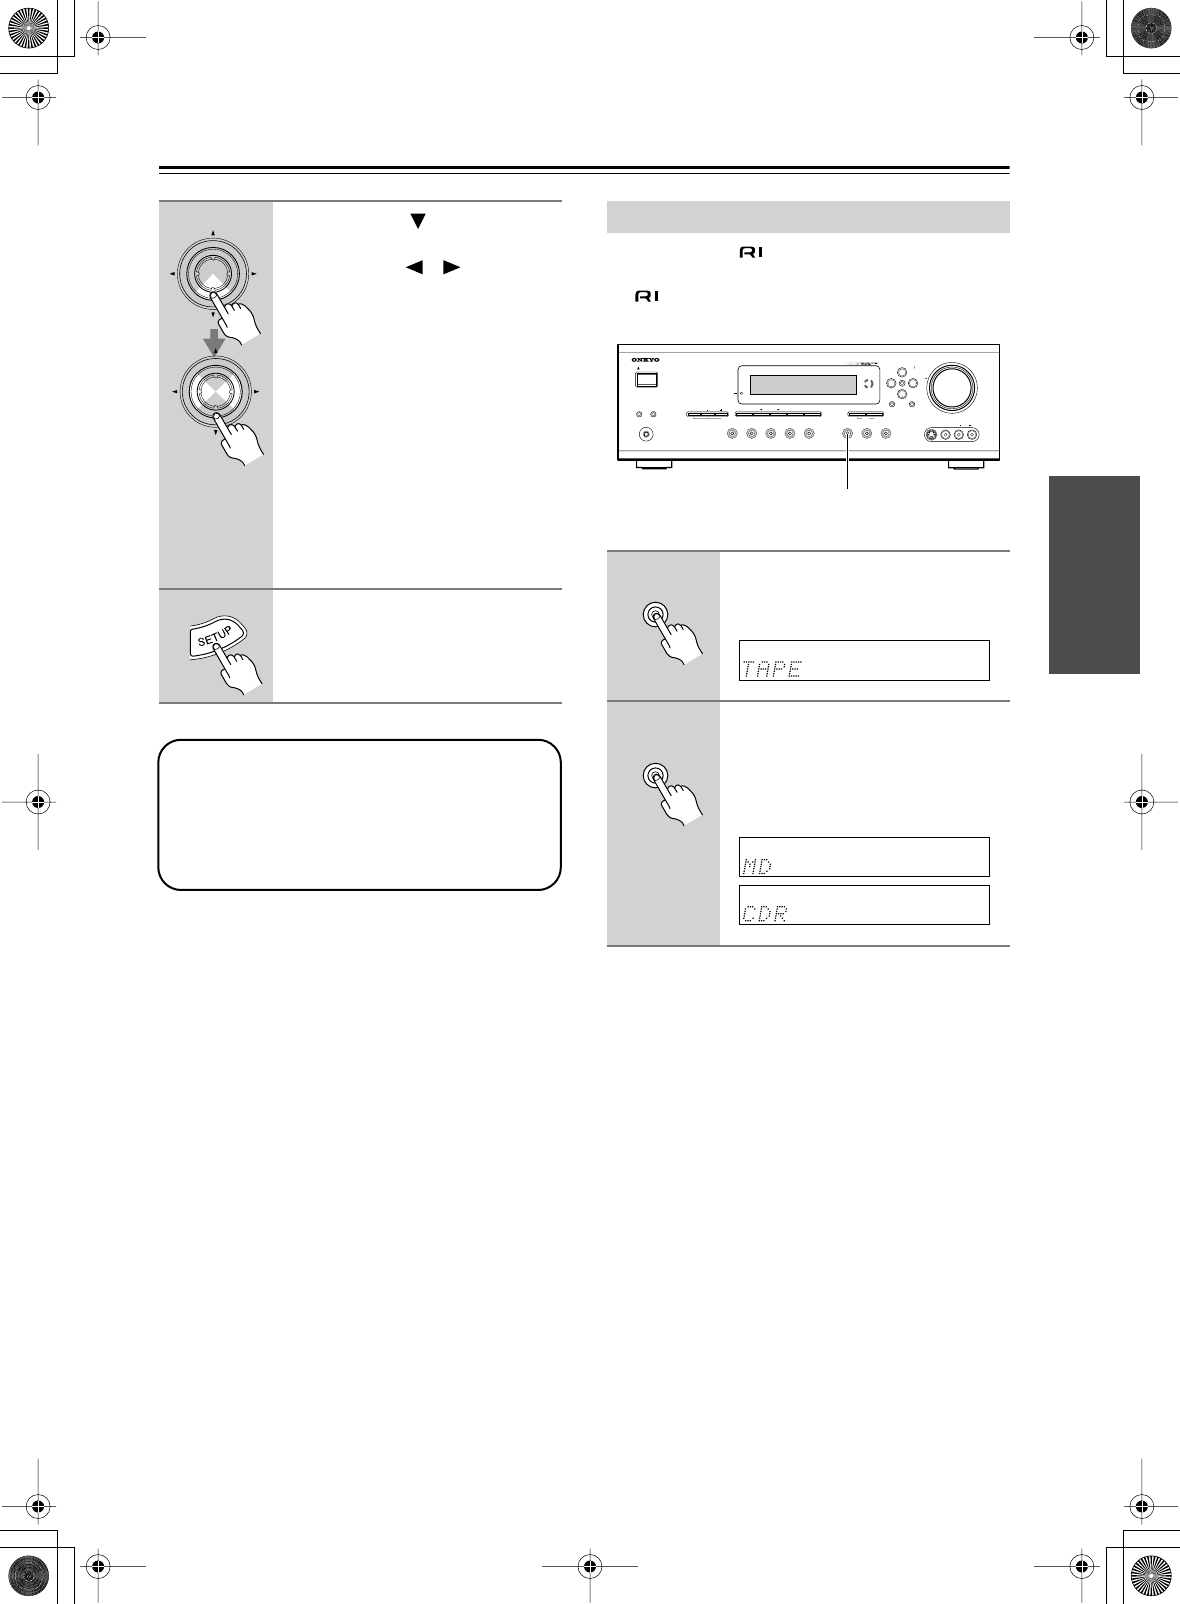
Changing the TAPE/MD/CDR Display
1
Press the [TAPE] input selector
button so that “TAPE” appears
on the display.
2
Press and hold down the [TAPE]
input selector button (about 3
seconds) to set the display.
Repeat this step to select TAPE, MD, or
CDR.
STANDBY/ON
PHONES
STANDBY
DISPLAYTONE TUNING MODEDIGITAL INPUT
LISTENING
MODE
STEREO
MEMORY
RETURNSETUP
VIDEO 2
TAPE TUNER
C
D
VIDEO
3
DVD
VIDEO
1
VCR
MULTI CH
MASTER VOLUME
TUNING
ENTER
PRESET
S VIDEO
VIDEO
AUDIO
LR
VIDEO 3
INPUT
CLEAR
SPEAKERS BA
TAPE
TAPE
TAPE


