


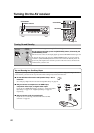
44
First Time Setup—Continued
If the impedance of any speaker is 4 ohms or more but
less than 6, set the Speaker Impedance to 4 ohms.
North American models do not support speakers with
an impedance of less than 6 ohms.
To use bi-amping, you must change the Speaker Type
setting. For hookup information, see page 22.
Notes:
• When bi-amping is used, the AV receiver is able to
drive up to 5.1 speakers in the main room.
• Before you change these settings, turn down the
volume.
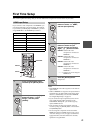
Note:
This procedure can also be performed on the AV receiver
by using its [SETUP] button, arrow buttons, and
[ENTER] button.
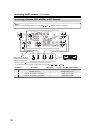
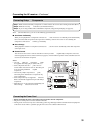
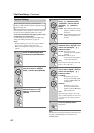
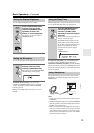
Speaker Settings
1
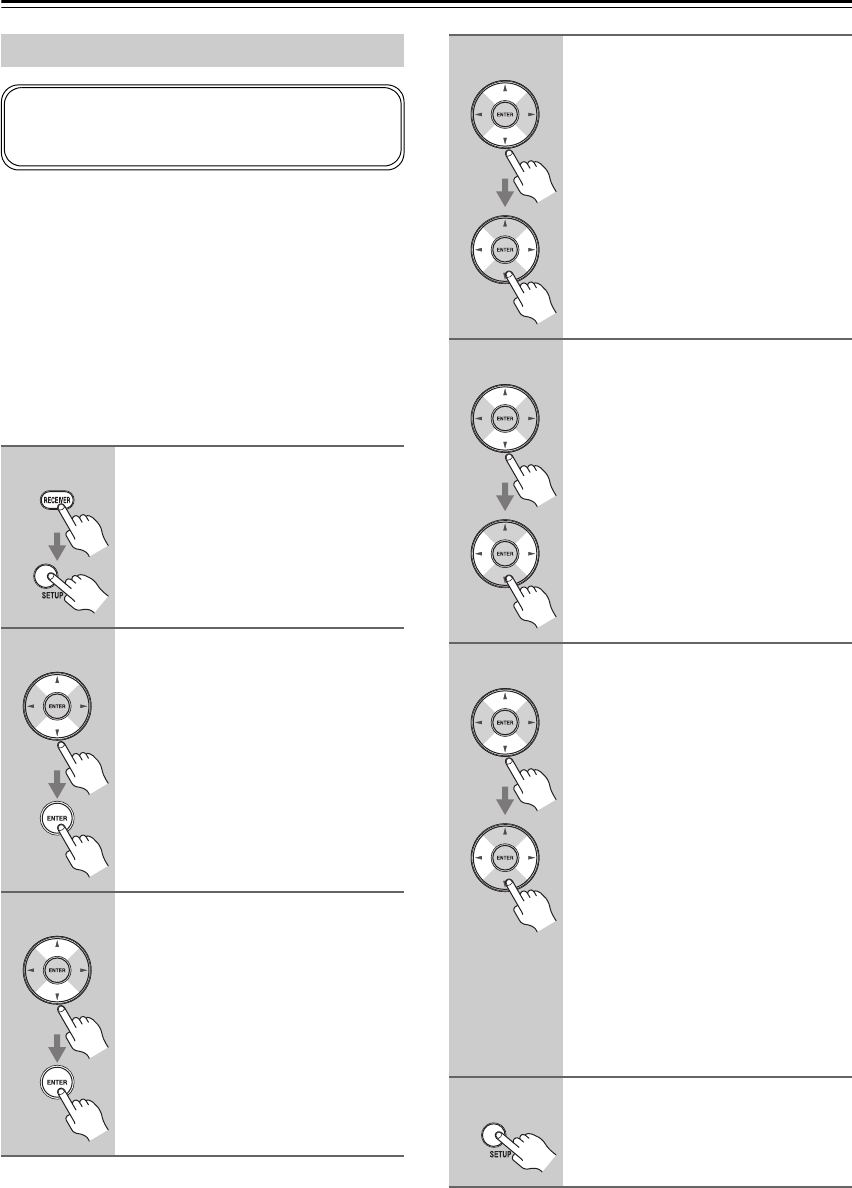
Press the [RECEIVER] button,
followed by the [SETUP] button.
2
Use the Up and Down [ ]/[ ]
buttons to select “2. Speaker
Setup”, and then press [ENTER].
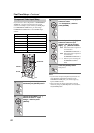
3
Use the Up and Down [ ]/[ ]
buttons to select “2-1. Sp
Settings”, and then press
[ENTER].
If you change these settings, you must run the
Audyssey 2EQ™ Room Correction and Speaker Setup
again (see page 46).
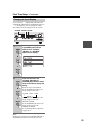
4
(Asian models) Use the Up and
Down [ ]/[ ] buttons to select
“Impedance”, and use the Left
and Right [ ]/[ ] buttons to
select:
4ohms: Select if the impedance of any
speaker is 4 ohms or more but
less than 6.
6ohms: Select if the impedances of all
speakers are between 6 and
16 ohms.
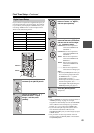
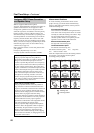
5
Use the Up and Down [ ]/[ ]
buttons to select “Sp Type”, and
use the Left and Right [ ]/[ ]
buttons to select:
Normal: Select this if you’ve
connected your front speakers
normally.
Bi-Amp:Select this if you’ve
connected your front speakers
for bi-amped operation.
Note:
Powered Zone2 cannot be used if “Sp
Type” is set to “Bi-Amp”.
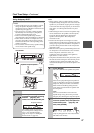
6
Use the Up and Down [ ]/[ ] but-
tons to select “SB/FH”, and then
use the Left and Right [ ]/[ ]
buttons to select:
FrontHigh:
Select this if you’ve con-
nected your front high speak-
ers to the SURR BACK L/R
terminal posts.
SurrBack:
Select this if you’ve con-
nected your surround back
speakers to the SURR BACK
L/R terminal posts.
Note:
If the “Sp Type” setting is set to “Bi-
Amp”, or Powered Zone 2 is set to “Not
Act” (page 81), this setting cannot be
selected.
7
Press the [SETUP] button.
Setup closes.