34
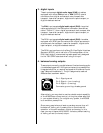
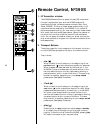
• (+) volume
Pressing this button on the Nº390S remote control will
transparently and automatically raise the volume of a
Linked Mark Levinson preamplifier, minimizing the need
to juggle multiple remotes. Since this function depends on
the ability of the Nº390S to pass the instruction to the
Nº380 (for example), the two components must be
connected by a Link cable. (See Special Functions for more
information.) Alternatively, the Nº390S may be configured
to use its own, internal volume control in all-digital systems
lacking a preamplifier. (See Setup Options.)
• (–) volume
Pressing this button on the Nº390S remote control will
transparently and automatically lower the volume of a
Linked Mark Levinson preamplifier, minimizing the need
to juggle multiple remotes. Since this function depends on
the ability of the Nº390S to pass the instruction to the
Nº380 (for example), the two components must be
connected by a Link cable. (See Special Functions for more
information.) Alternatively, the Nº390S may be configured
to use its own, internal volume control in all-digital systems
lacking a preamplifier. (See Setup Options.)
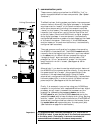
• input select
Pressing this button on the Nº390S remote control will
transparently and automatically cycle through its various
active digital inputs, allowing you to select other digital
sources connected to the Nº390S.
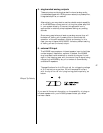
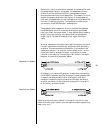
Analog Input Switching Alternatively, you may force the input select button to
select from among your analog inputs on a Linked Mark
Levinson preamplifier by pressing and holding the button
until it shows DIGITAL, then clicking the button to change
it to ANALOG, and then pressing and holding the input
select button a second time to confirm your change. (You
may change it back at any time by reversing this procedure.)
7. Battery Compartment
The two AA batteries used by the Remote Control must be
placed inside the compartment at the bottom of the remote’s
housing. Using the hex wrench provided in your accessory kit
(look inside the slot within the foam rubber), carefully remove
the two screws on the bottom of the housing and insert the
batteries, being careful to orient them as indicated inside the
battery compartment. Then replace the screws using the hex
wrench.


