


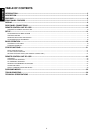


ENGLISH
12
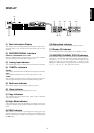
REMOTE CONTROL UNIT RC-18SR
This chapter describes the functions which control the SR-19EX.
See pages 17-30 to refer to other functions of the RC-18SR.
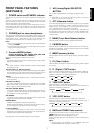
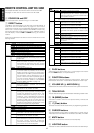
v POWER ON and OFF
These two buttons are used for turning on or off SR-19EX.
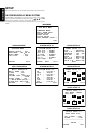
m DIRECT button
The DIRECT command buttons (4 on each side of the LCD display, 8
total) work with the PAGE buttons (4 pages for each source
component) to provide up to 32 dedicated specialized functions for
each of the 11 function input selectors. Each DIRECT function may
also be provided with an alphanumeric function indicator visible in
the LCD display. Press the AMP or TUNER button . to control the
receiver.
Press one of these buttons to select a surround mode for the current
listening session.
AMP
MODE1 1 AUTO Auto select surround modes
2 DOLB Dolby Digital or Pro Logic decoding
3 THX THX cinema or THX Surround EX decoding
4 DTS DTS-cinema or DTS-music
5 HALL Hall surround sound
6 MTRX Matrix surround sound
7 MOV Movie surround sound
8 2-CH Stereo sound (no surround)
MODE2 1 A/D analog / digital select switch
Switches between the analog input and the
digital input.
2 DIR source direct switch
When this switch is pressed, the signals are
transmitted by bypassing the tone control
circuitry so that they can be reproduced with
higher quality.
3 ATT attenuate for analog input
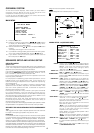
4 OSD on screen display
Once the button is pressed, the on-screen
display is turned on and each a control button
related to the SR-19EX is pressed thereafter,
the information will be displayed on the TV
screen. When the button is pressed again to
turn the on-screen display off, it disappears
from the TV screen. (Refer to “ON-SCREEN
DISPLAY MENU SYSTEM” on page 14)
5 MONO monaural decoding
When this button is pressed, the monaural
sound is selected.
6 3-D 3-D surround decoding
This button is not used for SR-19EX.
7 NITE NIGHT mode for Dolby Digital
Pressing this button prevents the Dolby Digital
signal from playback at a loud voice. This
function reduces the voice by 1/3 to 1/4 at
maximum. Thus, it eliminates the occurrence
of an abruptly loud voice at night. However, the
function is valid only for the case when the
Dolby Digital signal (AC-3) is entered into
digital Input and data to compress the voice
exists in the signal to be played back.
8 MLTI activates multi-room mode
MODE3 1 TRB+ increases treble
2 TRB- decreases treble
3 BAS+ increases bass
4 BAS- decreases bass
The button 1 to 4 are used to control the tone.
5 R-EQ activates RE-EQ function
This button is not used for SR-19EX.
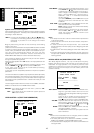
6 CH+ channel select button
Press this button to adjust the volume levels of
the front, center, surround, subwoofer
channels. Each press of the button changes
the channel which can be adjusted.
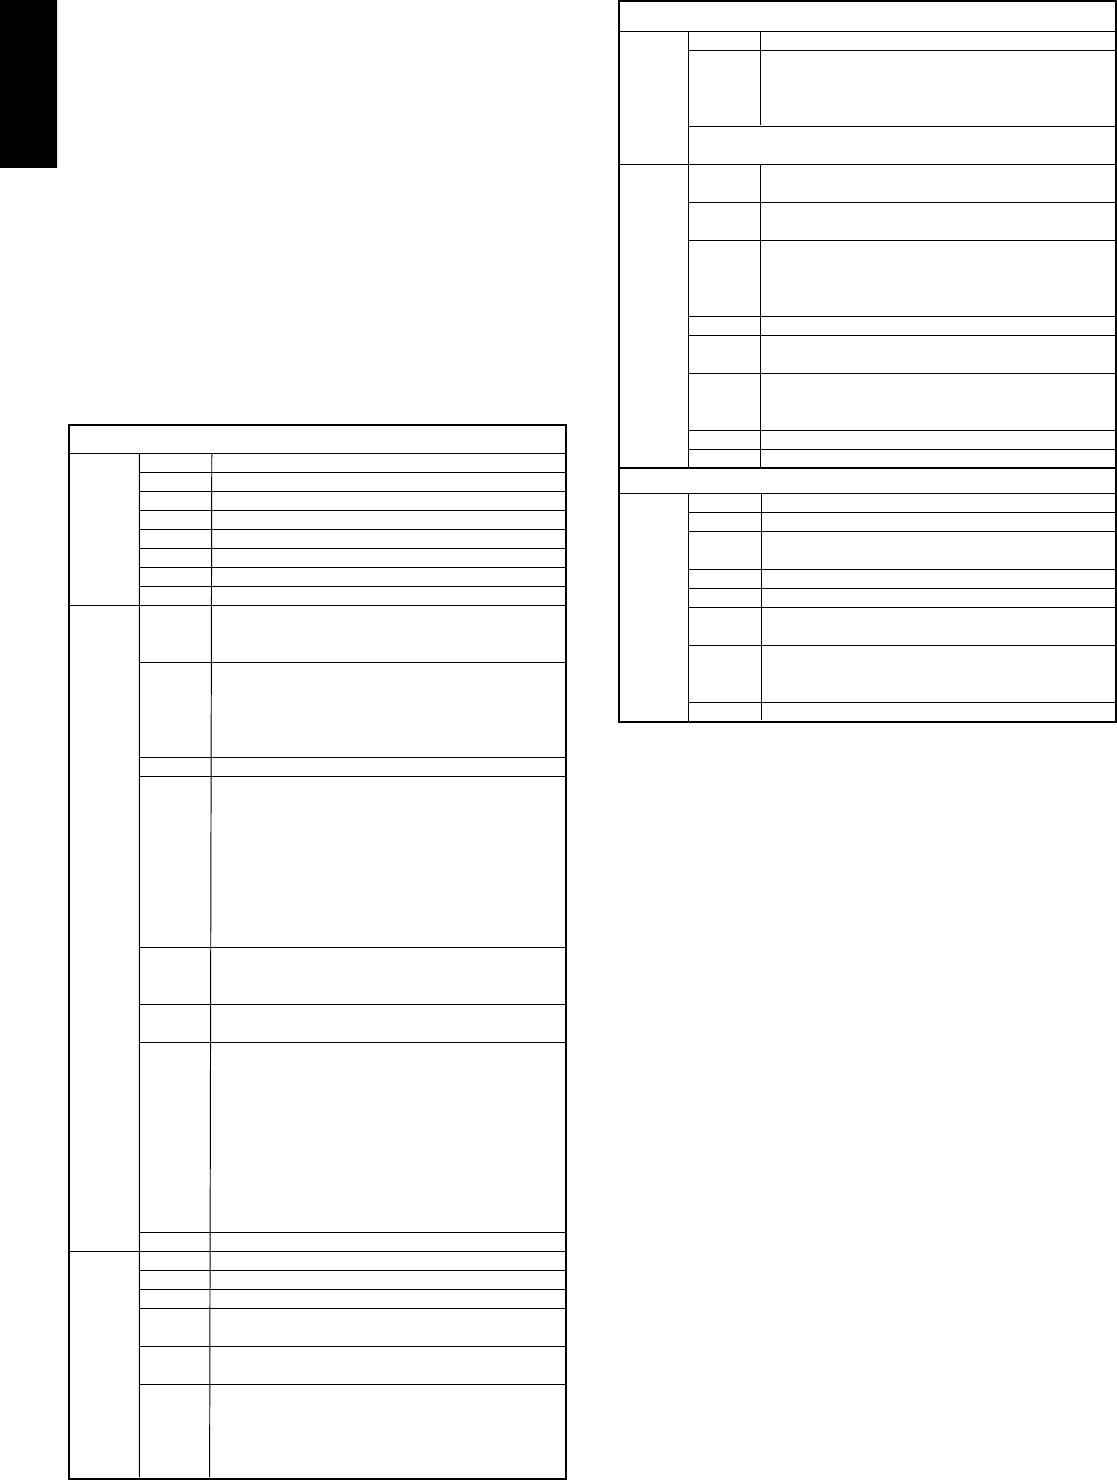
AMP
MODE3 7 LVL+ Increases channel level volume
8 LVL- decreases channel level volume
After pressing the CH+ button, use the LVL+
and LVL- buttons to adjust the volume level of
each speaker channel.
Note: These level control is for temporary adjustment, so
these setup is not memorized for each source.
PROCESSOR
1 VOL+ increases external decoder’s volume
This button is not used for SR-19EX.
2 VOL- decreases external decoder’s volume
This button is not used for SR-19EX.
3 6-CH 6 channel direct button
When the surround processor is connected to
the DIRECT IN JACKS, press this button to play
it.
4 BYP bypasses external processor’s decoding
5 SLEP sleep timer button
This button is used for setting the sleep timer.
6 DISP display off function
When this button is pressed, the display is
turned off.
7 MODE surround mode select button
8 PHNO phono function button
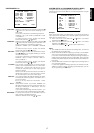
TUNER
BAND 1 FM FM band button
2 AM AM/MW band button
3 LW long wave band button
This button is not used for SR-19EX
4 BAND selects radio band button
5 MODE mono/stereo/muting mode selector button
6 TIME time display button
This button is not used for SR-19EX
7 F/P frequency or preset channel display select
button
This button is not used for SR-19EX
8 SCAN preset scan button
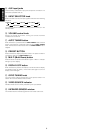
, PAGE buttons
These buttons are used to select any 1 of the 4 pages of 8 functions
for each DIRECT button, as explained above.
. FUNCTION buttons
These buttons are used for selecting an input function. Press one of
these buttons twice within 2 seconds will activate the chosen input.
⁄1 VOLUME UP (+) AND DOWN (-)
These buttons are used to raise and lower the main system volume level.
⁄2 TEN KEYPAD
They are useful for tuning a pre-set radio station and setting a station name.
⁄3 M (MEMO) button
This button is used to enter the tuner preset memory numbers and
station names.
⁄4 C (Clear) button
This button is used to cancel certain memory or programming operations.
⁄6 CURSOR buttons
The cursor buttons can be used to navigate within on-screen menus.
These buttons are unavailable when the mode is set to DSS, TV or DVD.
⁄7 MUTE button
This button can be used to mute the sound temporarily.
⁄9 LIGHTING button
This button is used to activate the back-lit LCD screen and back-lit keys.