71
2. Setup & Use
3. Optional
Accessories
1. Overview 4. Troubleshooting
5. Warranty, Safety
& Specifications
70
1. Overview 2. Setup & Use
3. Optional
Accessories
4. Troubleshooting
5. Warranty, Safety
& Specifications
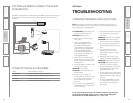
SECTION 3:
OPTIONAL ACCESSORIES
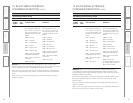
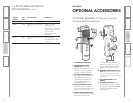
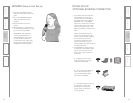
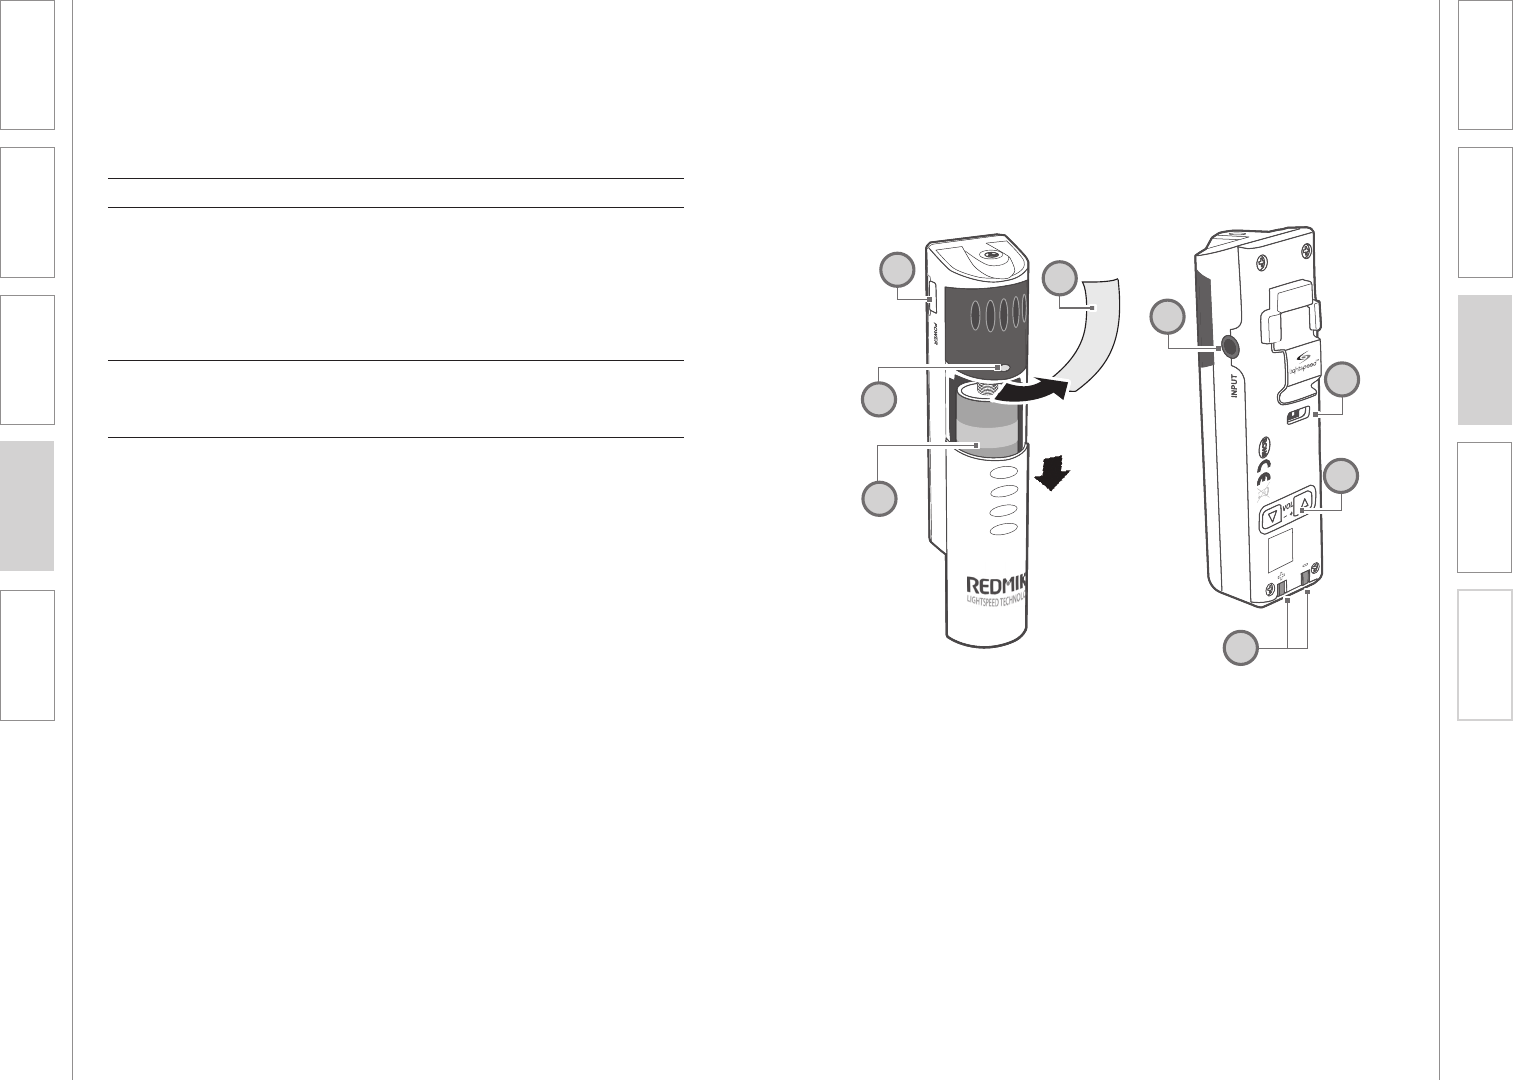
OPTIONAL REDMIKE VC (Volume Control)
Controls and Connections
1
2
3
S
l
i
d
e
b
a
t
t
e
r
y
d
o
o
r
o
p
e
n
R
e
m
o
v
e
t
a
b
b
e
f
o
r
e
u
s
e
4
1. POWER /MUTE BUTTON
2. POWER/LOW BATTERY
INDICATOR: A BLUE light
indicates the REDMIKE VC is on
and fully charged. A RED light
indicates a charge is needed.
3. BATTERY COMPARTMENT: To
open, slide the door downward.
The battery should only be
replaced by a Lightspeed AA
rechargeable sensing battery
(part # BA-NH2A27).
4. YELLOW PROTECTIVE TAB:
Slide the battery compartment
door and remove this disposable
protective tab before use.
5. AUDIO/MICROPHONE INPUT:
Use this input to plug in a laptop,
MP3 player or other audio
source to wirelessly transmit
audio to be played through the
system. Alternatively, an external
microphone can be connected.
6. CHANNEL SELECT SWITCH (CH
A/B): Use this to choose Channel
A or B. If you are using a single
microphone, we recommend using
Channel A.
7. VOLUME CONTROLS (UP -
DOWN)
8. CHARGER CONTACTS (+ -):
These contacts interface with the
charging tabs when the REDMIKE
VC is placed in the BC-RMCC
cradle charger.
5
6
7
8
<CMD>
Symbol
Hex
Value
<Param> Value Definition
Audio Input Functions
MREV? 0xC0 Controller sends no param
value.
Query model and
software version.
(Param string in response
packet will be composed
of up to sixteen
ACSII alphanumeric
characters.)
PING 0XC1 Controller sends no param
value.
Ping CAT 860iR.
CAT 860 responds with
<ACK> only.
13. RS-232 SERIAL INTERFACE
PROGRAMMING CONT’D


