


VR-2OSO/VR-2OSO/KRF-VS881DiKRF+V7771[3[En/K)
When recording sound with a recorder component of KENWOOD, synchro recording is possible by setting the INPUT SELECTOR
to select "Tape1" or "MD" according to the connected component.
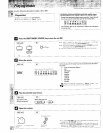
Recording a music source
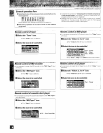
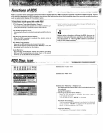
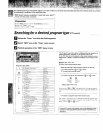
O Select the recording source.
The icons differ according
to the setup of +Setup IR"
etc.
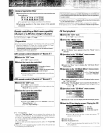
19 Put the MD recorder or cassette deck to record-pause mode.
Select the "Remote Mode" icon from the fixed segments.
_+ Select the "MD/Tapel" icon,
Select the MD or cassette deck control icon and put it to
record-pause mode+
O Play the source and record it.
a When the "Remote Mode" con is selected, the icons of the
components assigned to the inputS, such as the "CD1 ", "Video 1",
"Video2", "Video3" and "MD/Tapel" icons bnk for a few
seconds+
By select;nO a bI+nkng icon, the selected component can be
controled without switching the input selector (The "Remote
Mode" con can be used to put the recording component to pause
mode w thout switching the input selectory
When an icon that is not blinking is selected, the input selector is
switched automat sally
• For the recerding procedure of the MD recorder or cassette oeck,
refer to its instruction menus
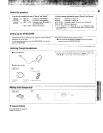
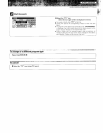
Copying tape (TAPE1 --_ TAPE2)
l
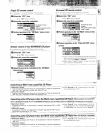
O Select the "MD/Tapel" input. |
O Startplayback of the cassette deck connected to the MD/TAPE1
]
input jacks, then start recording of that connected to the CD2/
TAPE2 MONITOR input jacks+
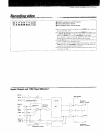
Caution for recording
Digital--* digital recording
The digital signal input through DIGITAL IN is output digitally at
the OPTICAL jack+
Make sure the following points to record a digital signal input
into the receiver. (The DTS and Dolby Digital (AC-3} signals can-
not be recorded,)
Igl Connect the digital output from the source component to the
digital input of the receiver
O Connect the digital output (OPTICAL jack) of the receiver to the
digital input (OPTICAL jack} of the MD recorder.
O Record the signal on the recorder component (MD recorderl
Digital-* analog recording
By reproducing the digital signal input to the receiver in stereo
(surround mode), the signal can be recorded in analog with the
following procedure,
O Set up the recorder component +eady for recording
t_ Select the receiver's input to the source component,
_) Play the desired software.
O Set the "Input Digital" icon from "Auto" to "Manual",
O In the "Lstn Mode'* menu screen, select the "Stereo" icon
O PFay the software from the beginning and record it.
• Do not switch to "CD2/Tape2 (Monitor)" during recording,
This may cause the interruption of the recording,
Note on CD2/ Tape2 (Monitor)
The following operations are made available by setting the "CD2/Tape2 (Monitor)" icon on the "Setup Input" menu screen to
"Tape2 (Monitor)", However, remember that these functions are available only when the analog input/output are used, If the
"CD2/Tape2" icon in the fixed segments is selected during playback of a digital input, the input is switched to the analog input
and noise may be generated.
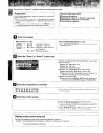
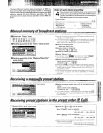
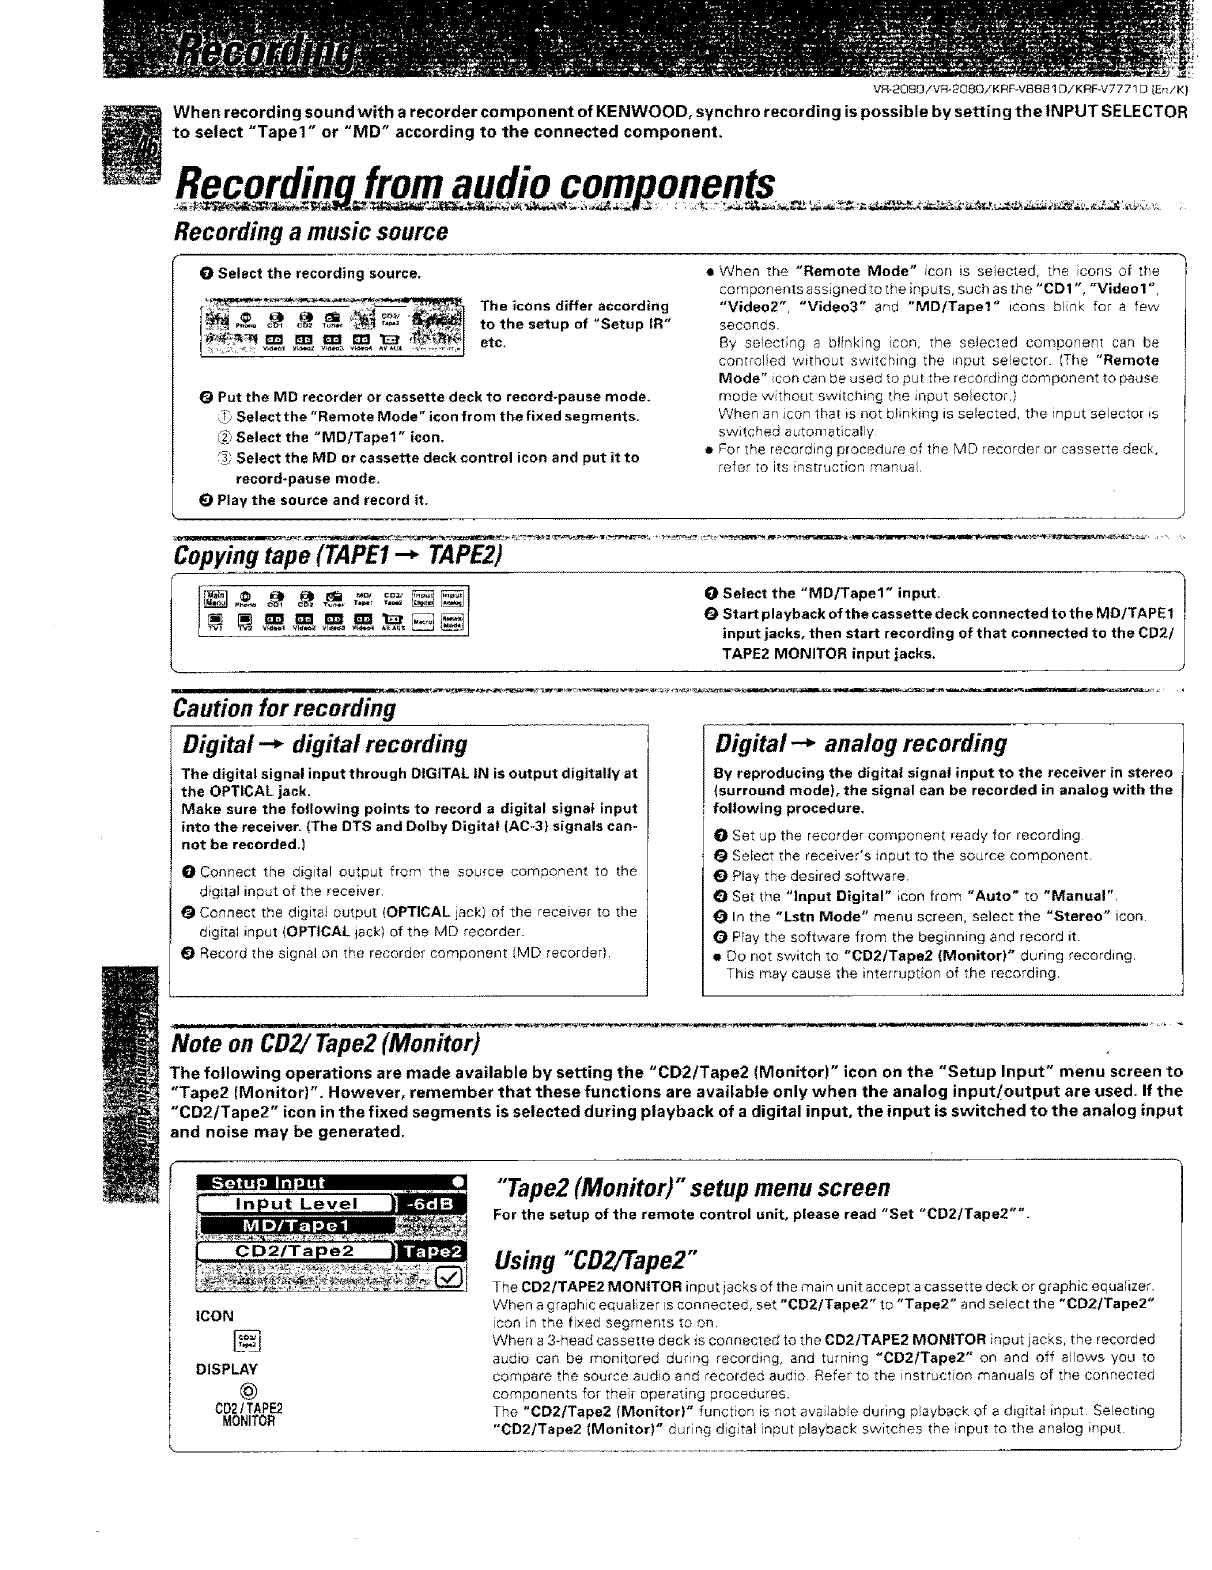
"Tape2 (Monitor)" setup menu screen
For the setup of the remote control unit, p[ease read "Set "CD2/Tape2"",
ICON
DISPLAY
@
002 ! TAPE2
MONITOR
Using "CD2/Tape2"
The CD2/TAPE2 MONITOR input jacks of the main unit accept e cassette deck or graphic equalizer.
When a graphic eelJalizer is connected, set "CD2]Tape2" to "Tape2" and select the "CD2/Tape2"
icon in the fixed segments to on,
When a 3+head cassette deck is connected to the CD2iTAPE2 MONITOR _nput jacks, the recorded
audio can be monitored during recording, and turning "CD2/Tape2" on and off allows you to
compare the source audio and recorded audio Refe to the instructio_ manuals of the connected
components for the_ operating procedures,
The "CD2/Tape2 (Monitor)" funct+on is not ave Jab e during p ayback of a digital input Se ecting
"CD2/Tspe2 (Monitor)" durng dig tal input playback switches the input to the analog input