


- 21 - SDEC -X000 DACS Calibration Manual v1.0.doc
13 Advanced Features
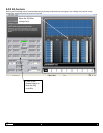
13.1 Cinema/Music Subwoofer Output
The SDEC has the ability to change the subwoofer output gain
to accommodate both the standard cinema curve and a more
linear music output level. This feature has been built into the
SDEC as a simple alternative to the multiple EQ presets that
would otherwise be necessary as described in Section 13.2
Multiple EQ Presets. Changing the output level of the
subwoofer using this preset will not have an effect on your
standard calibration. The default setting is Cinema with no
change to the output level. The preset can be triggered in three
ways: (1) via RS232; (2) via Ethernet; (3) via the contact
closure trigger on the rear panel.
Note: You must have SDEC3000/SDEC4000 version 1.10 or
higher for this feature.
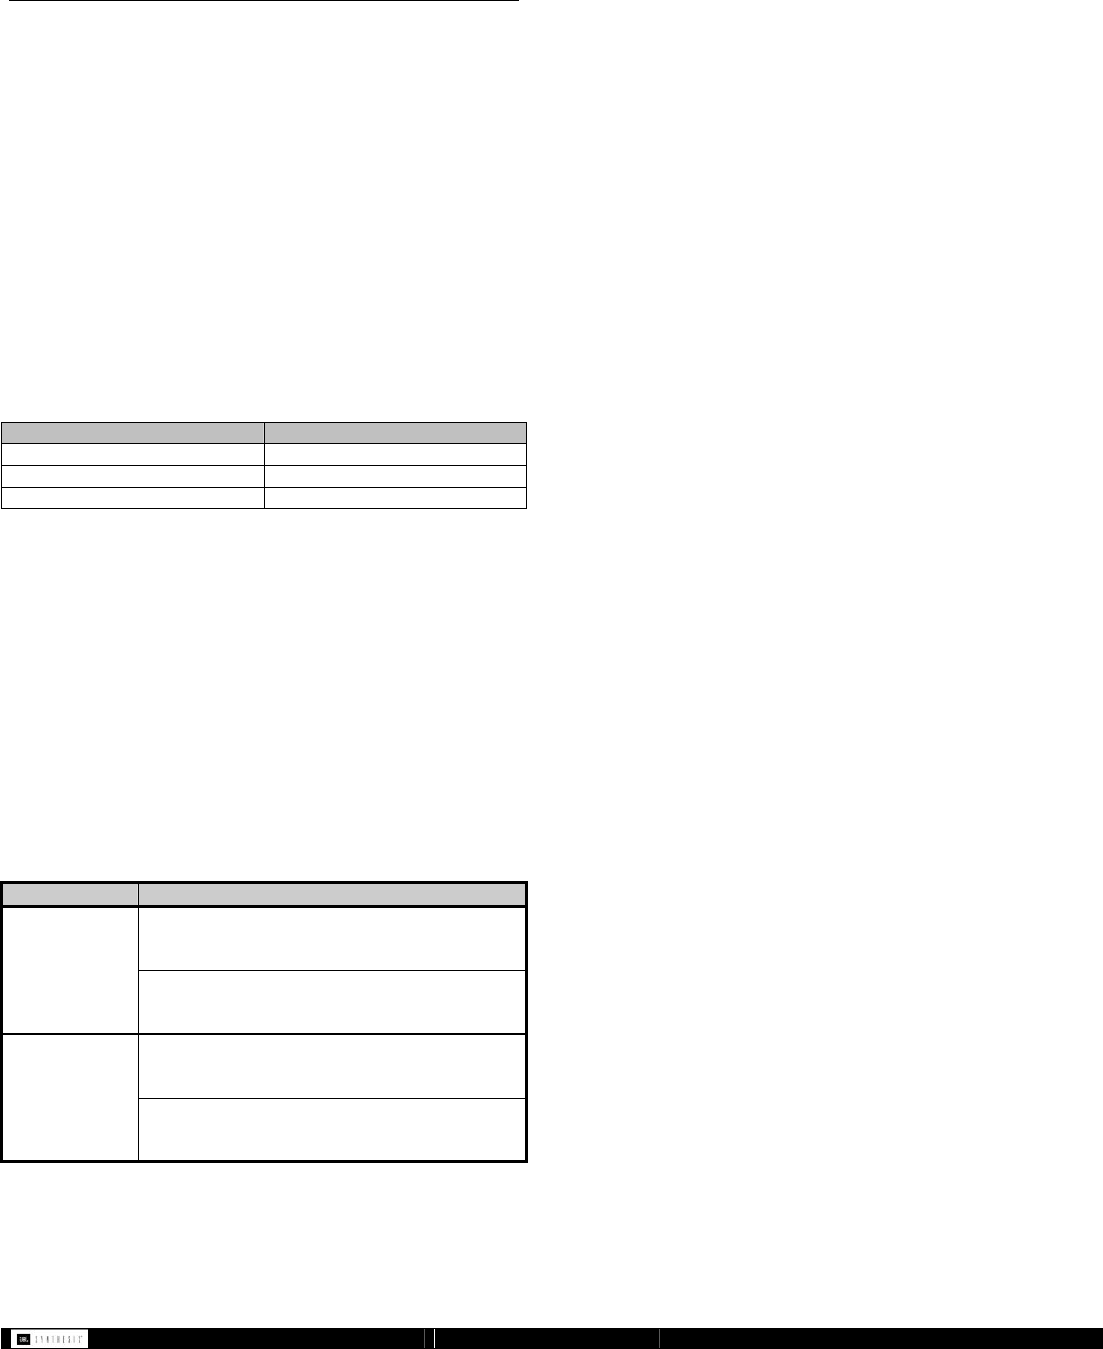
13.1.1 RS232 Settings
Cable Type: Null Modem
DB9 Female – PC DB9 Female – SDEC
TX PIN 3 RX PIN 3
RX PIN 2 TX PIN 2
GROUND PIN 5 GROUND PIN 5
Serial Port Settings: 8 Bit
No Parity
115200 bps
No Flow Control
Command acknowledgment will be sent within 1 second from
when the command was sent. If no ACK is received then the
command should be resent.
13.1.2 Ethernet Settings
Cable Type: Standard Ethernet network
Ethernet Port Settings: TCP PORT 1023
13.1.3 Command Strings
The command strings are the same for both RS232 and
Ethernet protocols.
Model Command String
Cinema Level – 0dB Default level
02, 88, 50, 79, 1B, 83, 00, 01, 14, 00, 00, 00,
00, 00, 00, B7, 03
SDEC-3000
Music Level – 2.5dB
02, 88, 50, 79, 1B, 83, 00, 01, 14, 00, 00, FF,
FF, 9E, 58, 71, 03
Cinema Level – 0dB Default level
02, 88, 13, 86, 1B, 83, 01, 01, 30, 00, 00, 00,
00, 00, 00, 2E, 03
SDEC-4000
Music Level – 2.5dB
02, 88, 13, 86, 1B, 83, 01, 01, 30, 00, 00, FF,
FF, 9E, 58, E8, 03
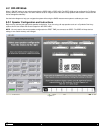
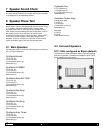
13.1.4 Contact Closure Trigger
Using the rear panel connections labeled “Control Inputs”
connect a contact closure between input (top row) #4 and the
connection labeled “C” (for common). When the contact is
normally open the default setting of 0dB will be active. When
the contact is closed the -2.5dB setting will be triggered.
13.2 Multiple EQ Presets
Up to two EQ presets can be stored and recalled. All channels
can be changed and are saved and recalled together. Due to
the advanced nature of this process it should only be done
under the supervision of JBL Synthesis factory personnel.
13.2.1 Saving Presets
Please contact JBL Synthesis Technical support for this
feature. It requires advanced training and the use of London
Architect. It cannot be used with the Java Remote. As this
feature is considered an advanced feature there is the
possibility of loosing your work if you do not have the proper
training. Due to this possibility JBL Synthesis is not releasing
the information except to qualified personnel who have
undergone advanced training with JBL Synthesis personnel.
13.2.2 Recalling Presets
Presets can be recalled using several methods. The presets
can be triggered via RS232, Ethernet or while online with
London Architect. Due to the danger of accidentally erasing or
deleting your active EQ settings JBL Synthesis is not releasing
the information except to qualified personnel who have
undergone advanced training with JBL Synthesis personnel.
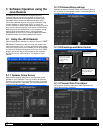
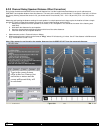
13.3 Parameter Synchronization
Note: This procedure can only be done if changes are
made to the Design File preferences. This will allow you to
take saved settings and place them into a new unit. The
only reason to do this is if the old unit is defective and
needs to be replaced. Do not do this unless directed by
JBL Synthesis Personnel.
If both the hardware and the software have the same version
of the control and design configuration then the software will
check to see of the settings and parameters match. If they do
not match you will be given the option to synchronize the
settings. You will be prompted to tell the software whether you
want to use the settings from your computer, or load the
settings from the hardware. If you are starting a new calibration
or want to replace what is set in the EQ with your settings from
the computer, select update from software. If you have already
begun the process and want to continue your work, or use the
settings in the EQ as a starting point, then select update from
hardware. Select the green arrow to send your values from
your saved file or select the red arrow to receive the values
from the hardware. The unit name will highlight in green when
done. Click OK to continue.