Getting Started (Initial Setup) ----_ _:
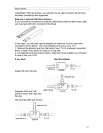
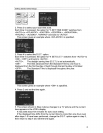
2. Press 3 to select your local time zone.
Each time 3 is pressed, the option for "3 SET TIME ZONE" switches from
<AUTO> to <ATLANTIC>, <EASTER>, <CENTRAL>, <MOUNTAIN>,
<PACIFIC>, <ALASKA>, <HAWAII> and back to <AUTO>.
This screen gives an example where <ATLANTIC> is specified.
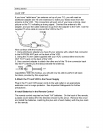
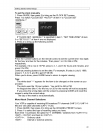
3. Press 4 to select the D.S.T. option.
Each time 4 is pressed, the option for "4 SET D.S.T." switches from <AUTO> to
<ON>, <OFF> and back to <AUTO>.
<AUTO>: The daylight saving time (D.S.T.) is set automatically.
<ON>: The time advanced from the Standard Time by one hour is
displayed from the first Sunday of April through the last Sunday of October.
<OFF>: The Standard Time is displayed throughout the year.
This screen gives an example where <ON> is specified.
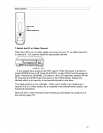
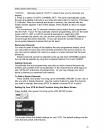
4. Press 2 and set the time again.
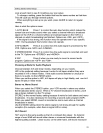
5. The screen shown in Step 4 above changes to a TV picture and the current
time appears in the VCR's display.
It may take about five minutes for auto clock setting.
If the displayed time drifts from the current time by more than one hour even
after steps 1-5 have been performed, change the D.S.T. option again in step 3,
then return to step 4 and set the time again.
2!


