


next to the bracketed readout of the underlying
device (e.g.,
[AVR] POWER ON).
6. When you are finished reviewing the macro’s
contents, press the
Set Button
q
to return
the remote to normal operation.
Punch-Through Configuration
Punch-through is a capability of the remote that
allows the Volume controls, Channel Up/Down buttons
or Transport keys (Play, Stop, Record, Fast Forward
and Reverse, and Skip Up/Down) to link to a different
device. For example, if your TV, cable box or satellite
receiver is connected through the DPR 1005, you will
most likely want to use the DPR 1005’s volume con-
trol commands even when the remote has been set
to issue all other commands for the video device.
“Punch-through” enables you to easily program the
remote to do this.
Volume Punch-Through
Follow these steps to enable the Volume Up/Down
and Mute controls from one device to be used when
the remote is otherwise programmed for a different
device.
NOTE FOR VOLUME PUNCH-THROUGH: The
remote’s default settings are for the DPR 1005’s vol-
ume controls, to be used when any input or device is
selected, with the exception of the VID 2/TV button.
There is no need to program the remote for volume
punch-through for the DPR 1005’s controls with other
sources, such as DVD. To have the DPR 1005’s vol-
ume commands used when the TV device is selected,
follow these steps:
1. Press and hold the
Program Button
O
for
about three seconds while the message shown
in Figure 18 appears in the remote’s
LCD
Information Display
2
. Release the button
when the red light under the
Set Button
q
appears.
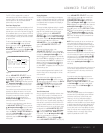
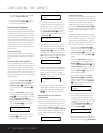
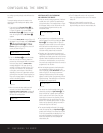
2. The remote’s
MAIN MENU message (Figure
19), will appear in the LCD display and the
Set
Button
q
will remain illuminated in red. Press
the
⁄
/
¤
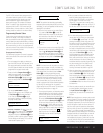
Navigation Button o until
PUNCH-THROUGH appears on the bottom
line of the LCD screen, as shown in Figure 51.
Press the
Set Button
q
to enter the main
punch-through menu branch.
Figure 51
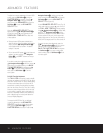
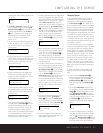
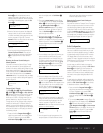
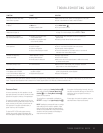
3. At the next menu screen (Figure 52) press the
Set Button
q
to begin programming the
remote for Volume punch-through.
Figure 52
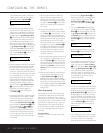
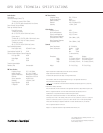
4. The next display screen (Figure 53) is where
you select the device that will receive the punch-
through commands. In our example, that is the
VID 2/TV button, as that is where we want the
DPR 1005’s volume controls to be active. Press
the
⁄
/
¤
Navigation Button o until the
name of the base device appears and then press
the
Set Button
q
.
Figure 53
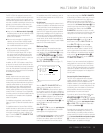
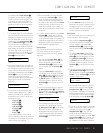
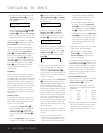
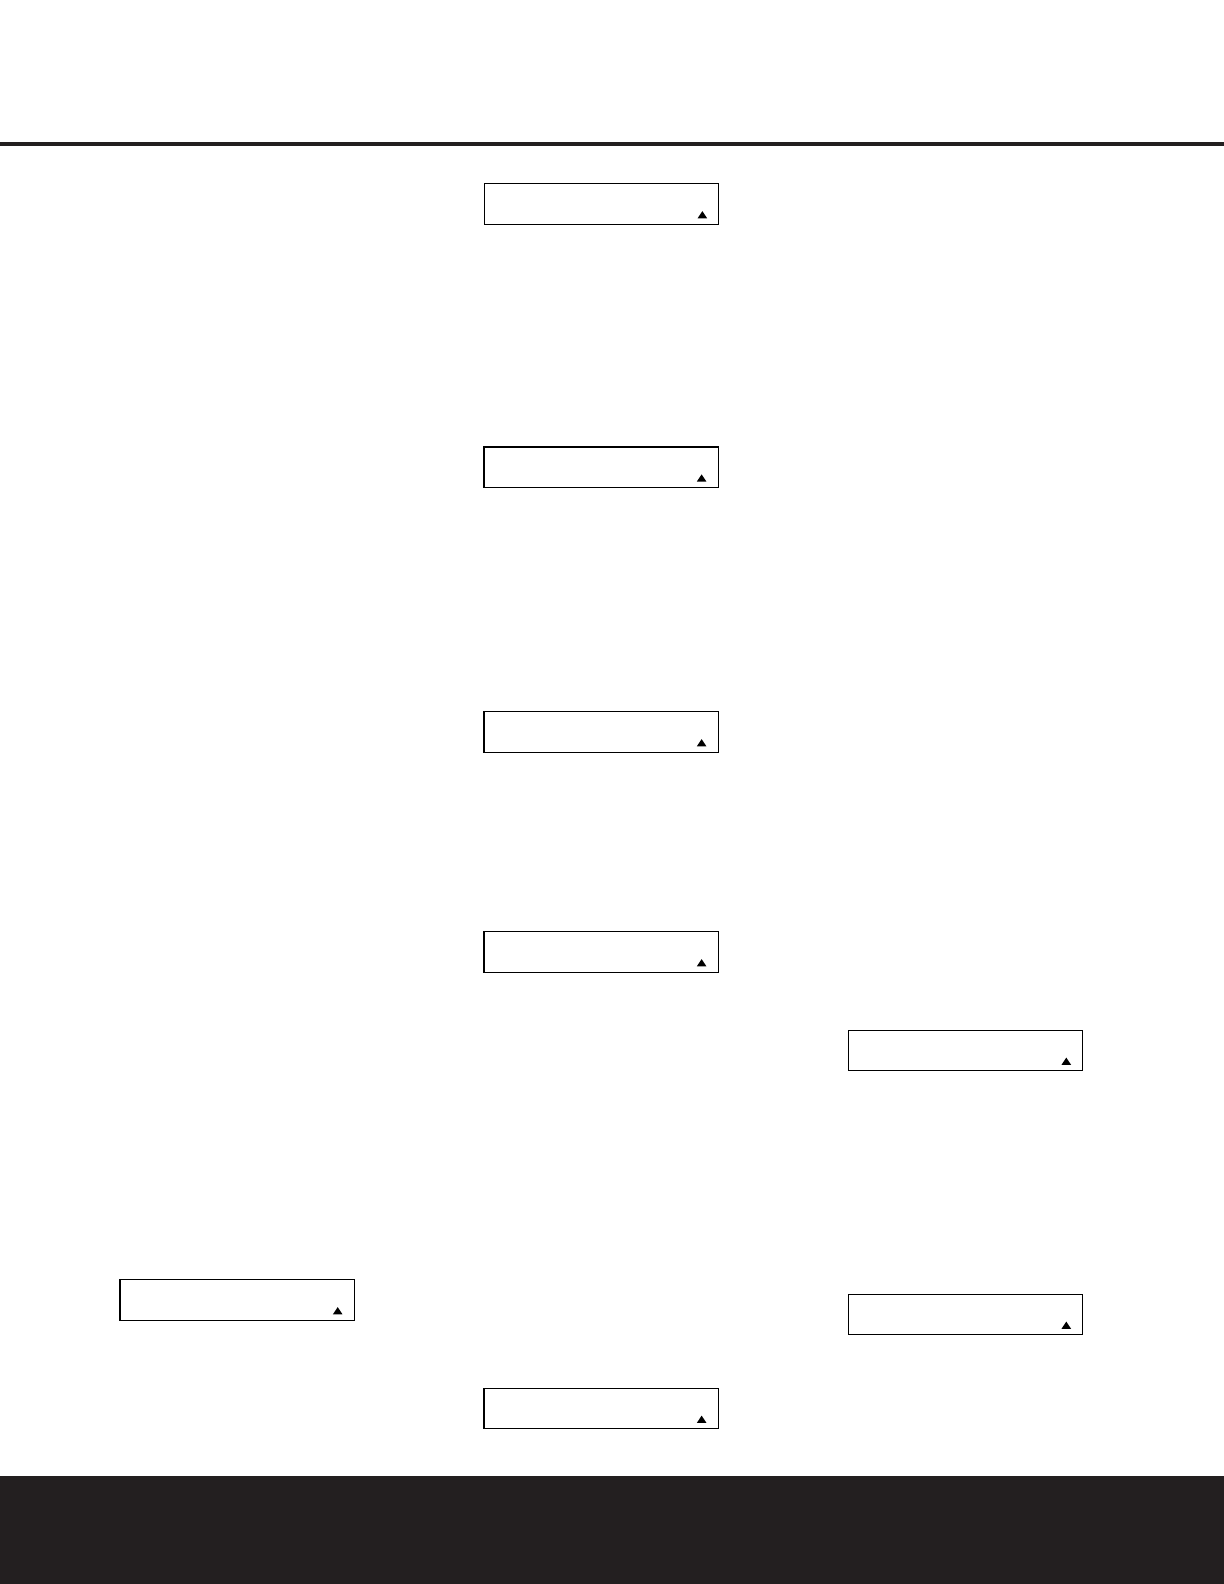
5. At the next display screen (Figure 54), you will
select the device whose Volume Up/Down and
Mute commands will be used. Press the
⁄
/
¤
Navigation Button o until the desired device’s
name appears to the right of the device in use. In
our example, that is the DPR 1005 (indicated by
DPR). When the desired combination of devices
appears, press the
Set Button
q
.
Figure 54
6. When the Set button is pressed, the display will
change to show you that the new combination of
control commands is being saved to the unit’s
memory, as shown in Figure 55. The word
SAVED will flash four times and then the remote
will return to normal operation.
Figure 55
7. Once the punch-through is programmed, the
Volume Up/Down and Mute buttons of the second
device named will be used when those buttons
HW
are pressed while the master device
is in use.
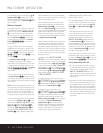
Returning the Volume Control Settings to
Default Operation
If you wish to remove the Volume punch-through so
that the commands for Volume and Mute are returned
to the factory default setting, follow the steps shown
above, except that in Steps 4 and 5, select the same
device for both the
DEVICE IN USE on the left
side of the bottom line and the
PUNCH-THROUGH
device. In the example used, the display to return the
remote to default settings will appear as shown in
Figure 56.
Figure 56
Channel Punch-Through
Channel punch-through allows the Channel Up/Down
buttons to send commands to a different device than
the one that has been selected for other commands.
For example, you may wish to use a cable box or
satellite receiver as the source for a VCR, so you
would
want the Channel Up/Down Buttons Y to
transmit commands to the cable box even though the
other button commands are programmed to operate
the VCR.
To program the remote for channel punch-through,
follow these steps. This example will show how to pro-
gram channel punch-through so that the commands
programmed for Channel Up/Down for the VID 3/
Cable device will be transmitted when the VID 1/VCR
device has been selected as the current device.
1. Press and hold the
Program Button
O
for
about three seconds while the message shown
in Figure 18 appears in the remote’s
LCD
Information Display
2
. Release the button
when the red light under the
Set Button
q
appears.
2. The remote’s
MAIN MENU message (Figure
19), will appear in the LCD display and the
Set Button
q
will remain illuminated in red.
Press the
⁄
/
¤
Navigation Button o until
PUNCH-THROUGH appears on the bottom
line of the LCD screen, as shown in Figure 51.
Press the
Set Button
q
to enter the main
punch-through menu branch.
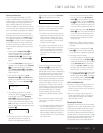
3. At the next menu screen, press the
⁄
/
¤
Navigation Button o until CHANNEL
appears on the bottom line of the LCD screen,
as shown in Figure 57. Press the
Set Button
q
to begin programming the remote for
channel punch-through.
Figure 57
4. The next display screen (Figure 58) is where you
select the device that will receive the punch-
through commands. In our example, that is the
VID 1/
VCR button, as that is where we want the
cable box’s channel controls to be active. Press
the
⁄
/
¤
Navigation Button o until the
name of the base device appears and then
press the
Set Button
q
.
Figure 58
5. At the next display screen (Figure 59), you will
select the device whose Channel Up/Down com-
mands will be used. Press the
⁄
/
¤
Navigation
DEVICE IN USE
VCR
PUNCH-THROUGH
CHANNEL
PUNCH-THROUGH
TV< -TV
TV< -DPR [VOL]
SAVED
PUNCH-THROUGH
TV< -AVR
DEVICE IN USE
TV
PUNCH-THROUGH
VOLUME
MAIN MENU
PUNCH-THROUGH
46 CONFIGURING THE REMOTE
CONFIGURING THE REMOTE