


24
INSTALLATION
Enter a code from 4. Step 1, above.
If the device turns off, press the Source Selector again to save the code. a)
It will flash and the remote will exit Program mode.
If the device does not turn off, enter another code. If you run out of b)
codes, search through all of the codes in the remote’s library for that
product type by pressing the
K
or
L
Button repeatedly until the
device turns off. When the device turns off, save the code by pressing
the Source Selector. It will flash, and the remote will exit Program
mode.
Check that other functions control the device correctly. Sometimes 5.
manufacturers use the same Power code for several models, while other
codes vary. Repeat this process until you’ve programmed a satisfactory
code set that operates most functions.
Find out which code number you have programmed by pressing and 6.
holding the Source Selector to enter the Program mode. Press the OK
Button, and the Source Selector will flash in the code sequence. One
flash represents “1”, two flashes for “2”, and so forth. A series of many fast
flashes represents “0”. Record the codes programmed for each device in
Table A9 in the appendix.
To “learn” individual key codes (AVR 460
only):
You may reprogram individual keys from the device’s original remote by
following this procedure:
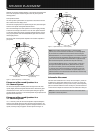
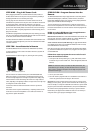
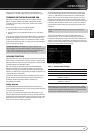
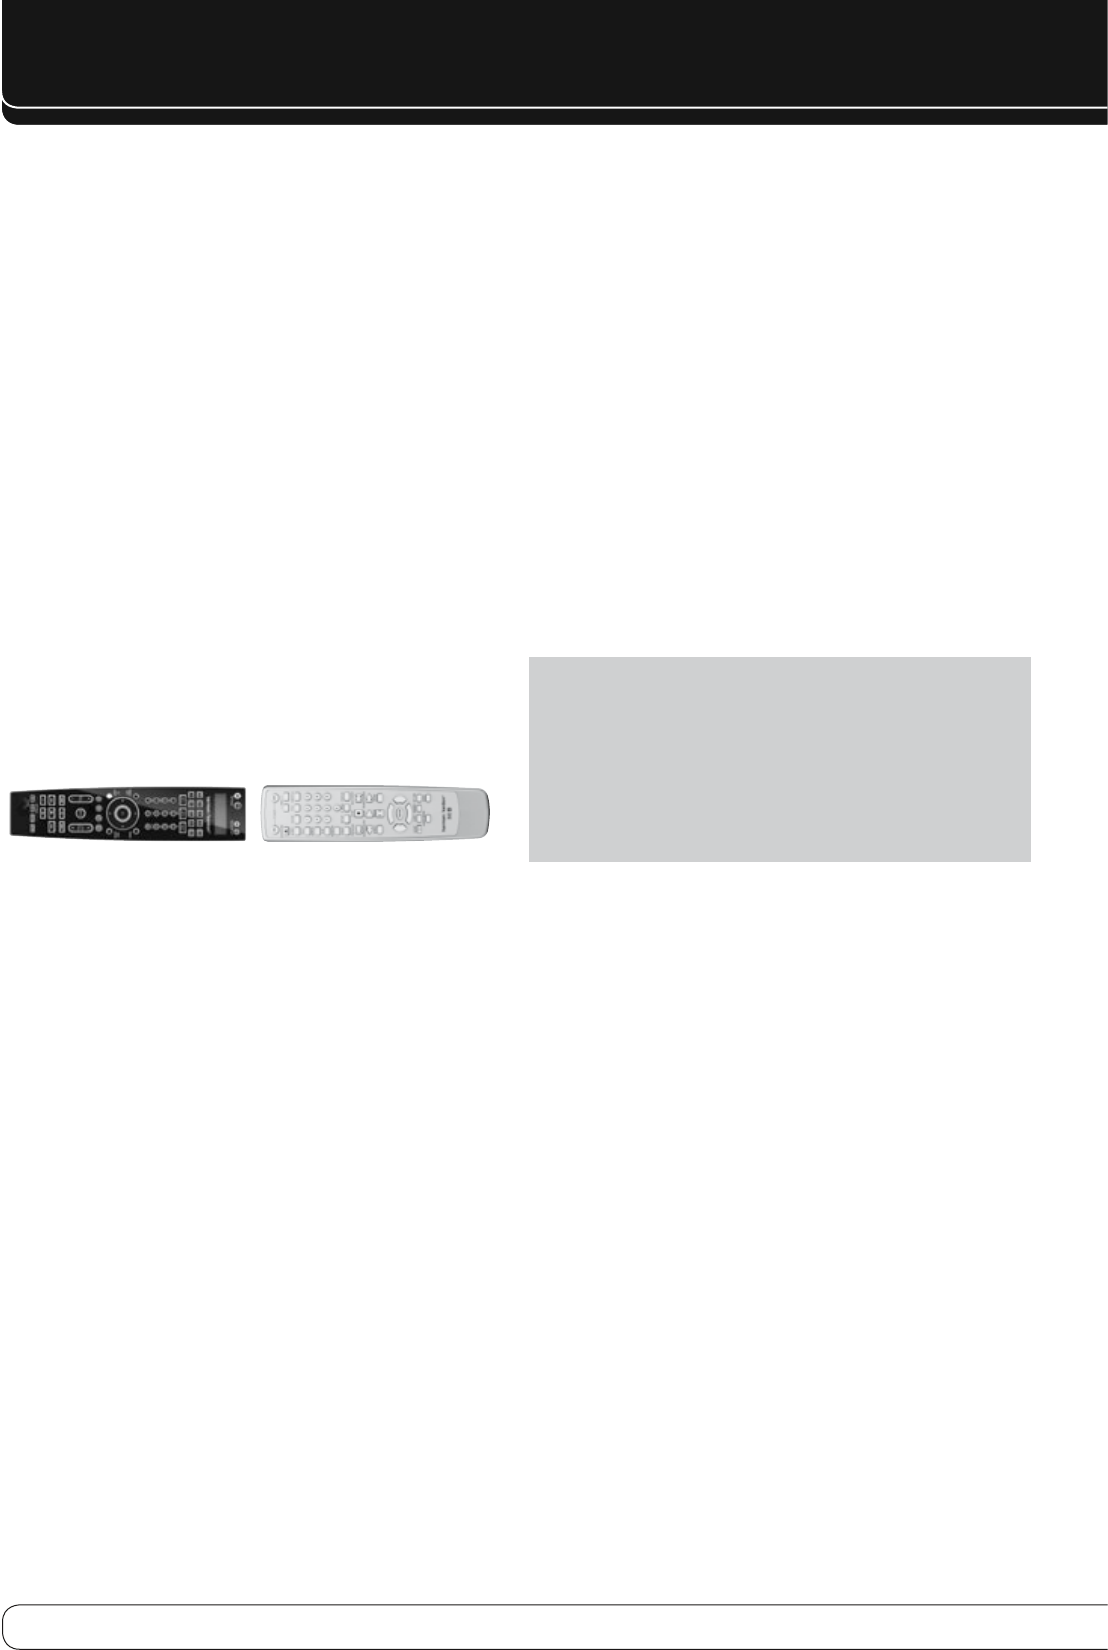
Place the two remotes with their IR transmitters facing each other, about a)
2,5 cm apart. See Figure 18.
Figure 18 – AVR and Device Remotes “Head to Head”
Press the destination Source Selector, then press and hold the Learn b)
Button until the Source Selector lights up.
Press the destination button, and the Source Selector will flash once. You c)
may learn a new code into the following buttons: Device Power On/Off,
Alphanumeric Keys, Last Button, Back/Exit Button, Menu Button,
KLM
N
Navigation Buttons, OK Button, Disc Menu Button, the four Soft key
Buttons, Channel Up/Down, Volume Up/Down, Mute and the Transport
Controls (including Record).
Press and hold the source button until the Source Selector flashes three d)
times.
Program additional buttons by repeating e) steps c) and d). Press the Learn
Button once to exit Learning mode, or wait for the remote to “time out”
and exit Learning mode on its own after about 30 seconds.
Most of the button labels on the remote describe the button’s function
when used to control the AVR. However, the button may perform a different
function when used to control another device. Refer to the Remote Control
Function List, Table A13 in the Appendix.
Activities are preprogrammed code sequences that execute many code
commands with a single button press. “Punch-through” programming allows
the remote to operate a device’s channel or transport controls with the
remote in another device’s mode. See the Advanced Functions Manual for
instructions on these advanced programming functions.
STEP TWELVE – Turn On the AVR 460/AVR 360
Two steps are required the first time you turn on the AVR 460/AVR 360.
Flip the rear-panel Main Power Switch to the "On" position. The Power 1.
Indicator on the front panel will turn amber, indicating that the AVR is in
Standby mode and is ready to be turned on. Normally, you may leave the
Main Power Switch on, even when the receiver is not being used.
There are several ways to turn on the AVR from Standby mode.2.
Press the Standby/On Switch on the front panel.a)
Using the remote, press the AVR Power On Button or any of the Source b)
Selectors.
NOTES
:
Any time you press one of the Source Selectors on the remote, the •
remote will switch device modes. To control the receiver, press the Setup
Button. Some AVR functions are available in all device modes: Volume
Controls (including Mute), Audio Effects, Video Modes, Surround Modes,
Setup, Info Settings, Sleep Settings and AVR Power On and Off.
If you do not see a picture within about 1 minute, refer to the • Video
Troubleshooting Tips on page 30.