31 ADVANCED FEATURES
Advanced Features
The AVR 7000 is equipped with a number of
advanced features that add extra flexibility to
the unit’s operation.While it is not necessary
to use these features to operate the unit, they
provide additional options that you may wish
to use.
Front Panel Input/Output Connections
Like many audio/video receivers, the AVR 7000
offers front panel audio/video inputs that
simplify the temporary connection of portable
audio players, video games and camcorders so
that they may be used as input sources for your
system. In addition to the standard left/right
audio and composite video, the AVR 7000 also
includes an S-Video connection.
However, unlike other products, the front panel
connections on the AVR 7000 may be used as
an output as well as an input. This means that
you may make a simple or temporary connec-
tion to a portable tape, MD or optical disc
recorder or to a computer so that it may record
the program source currently playing through
the AVR 7000. This is an exclusive Harman
Kardon feature.
In normal operation, the front panel Video 4
Connections $ are configured as an input.
Their use as an input is indicated by the green
color of the Video 4 Status Indicator %.
To temporarily switch the Video 4 connections
to an output, you will need to make an adjust-
ment in the ADVANCED SELECT menu
(Figure 1). To start the adjustment, press the
OSD button s to bring the MAIN
AUDIO SETUP menu (Figure 1) to the
screen. Press the
¤
Button g six times, until
the on-screen
›
cursor is next to the
ADVANCED line. Press the Set Button i
to enter the ADVANCED SELECT menu
(Figure 8).
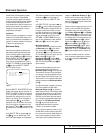
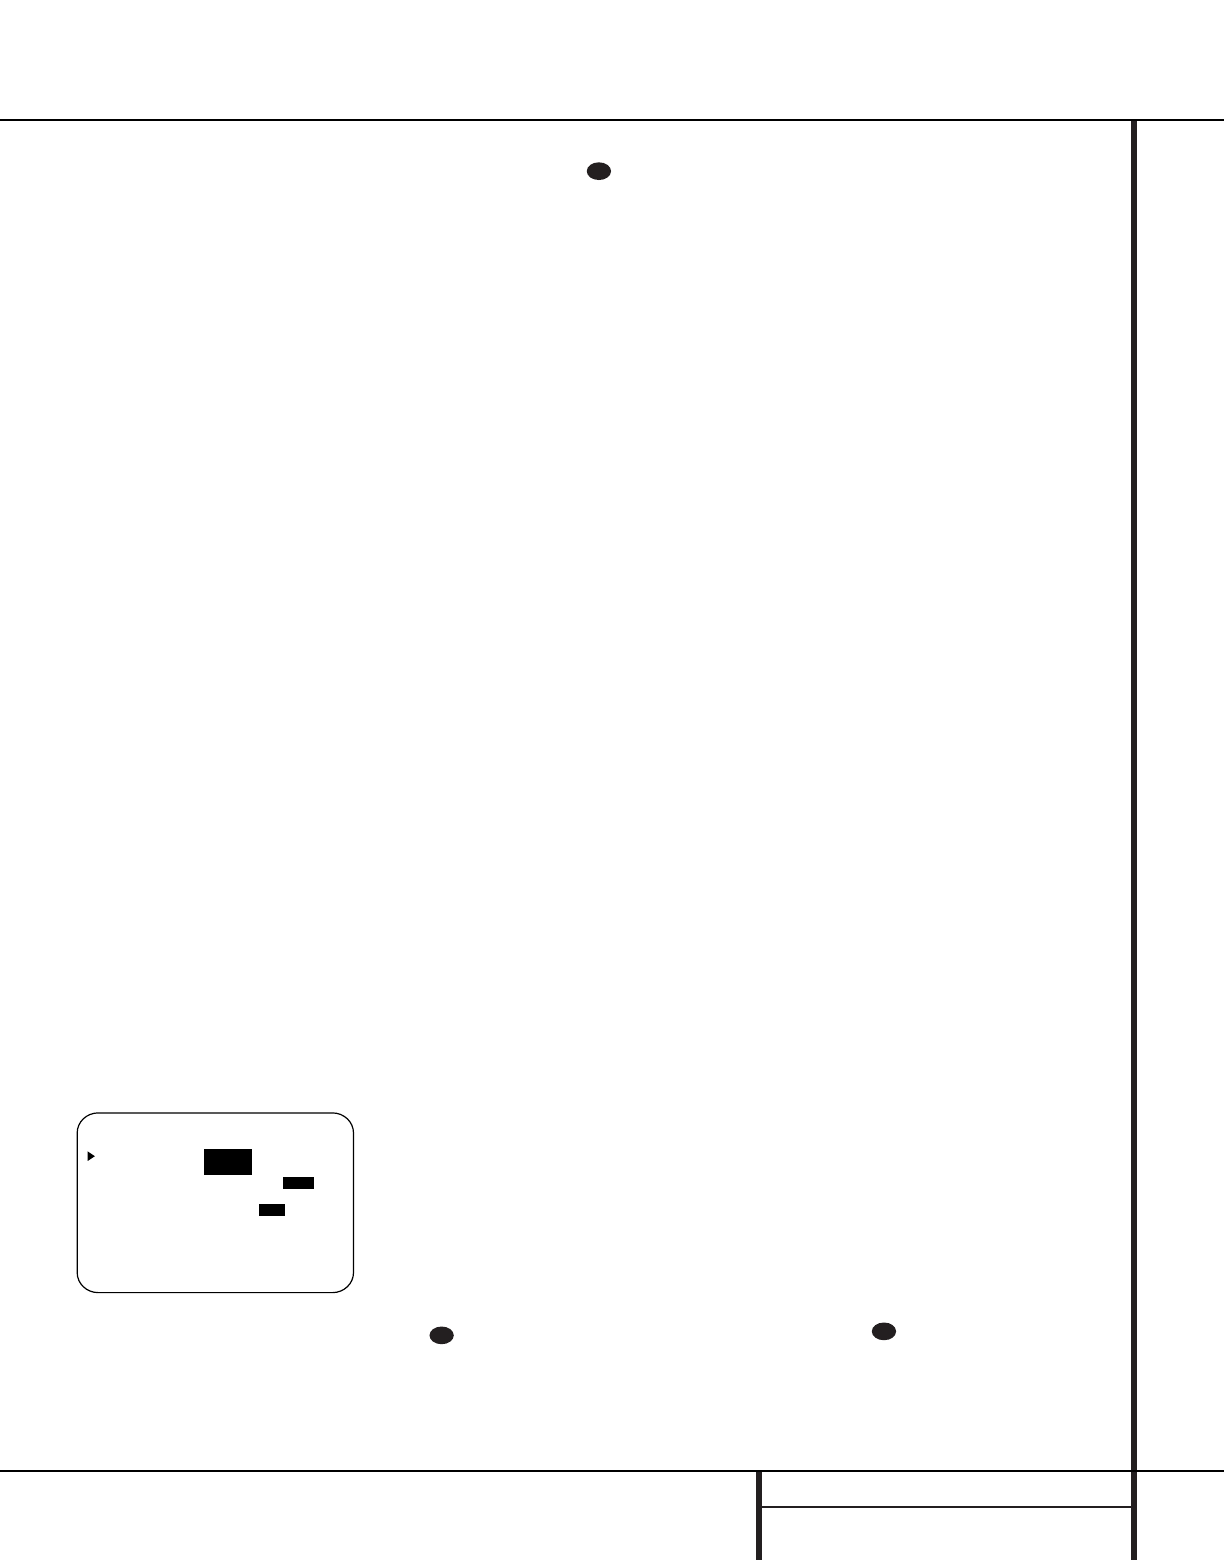
Figure 8
The default setting for the Video 4 jacks is used
when the jacks are used as inputs. To change
them to an output, make certain that the on-
screen
›
cursor is next to the VIDEO 4 line,
and press the
›
button so that the word
OUT is highlighted in the video display. At the
same time, note that Video 4 Status
Indicator % will turn red, to indicate the out-
put status. If you wish to make other adjust-
ments, press the
⁄
/
¤
buttons g until the
on-screen
› cursor is next to the RETURN
TO MAIN MENU line. If you have no other
adjustments to make, press the OSD button
s to exit the menu system.
Once the Video 4 jacks have been switched to
an output, the signal currently selected as the
AVR 7000’s input will be fed to these jacks.
Note, however, that like the other record out-
puts, only analog sources will be fed to these
jacks. When either a digital input or the 6-
Channel Direct input is in use, the signal will
not be fed to these jacks.
Switching the front panel jacks to output status
is temporary and it will be cancelled when the
AVR 7000 is turned off. When the unit is turned
back on, the jacks will revert to the default sta-
tus as an input. To return the front panel jacks
to input use without turning the unit off, use
the on-screen menu system as outlined above
and switch the setting so that the word IN is
highlighted on the Video 4 line.
Display Brightness
The AVR 7000’s front panel display indicators
Ò are set at a default brightness level that is
sufficient for viewing in a normally lit room.
However, in some home theater installations,
you may wish to occasionally lower the bright-
ness of the display, or turn it off completely.
To change the display brightness setting for a
specific listening session, you will need to make
an adjustment in the ADVANCED
SELECT menu. To start the adjustment,
press the OSD button s to bring the main
audio setup menu to the screen. Press the
¤
Button g six times, until the on-screen
›
cur-
sor is next to the ADVANCED line. Press the
Set Button i to enter the ADVANCED
SELECT menu (Figure 8).
To change the brightness setting, at the
ADVANCED SELECT menu, make cer-
tain that the on-screen
›
cursor is next to the
VFD line, and press the press the
›
Button
until the desired brightness level is high-
lighted in the video display. When FULL is
highlighted, the display is at its normal bright-
ness. When HALF is highlighted, the display
is at half the normal brightness level. When
OFF is highlighted, all of the indicators in the
Information Display Ò will go dark. Note,
however, that the green LEDs for the Input
Indicators Ó and the Surround Mode
Indicators `, as well as for the Power
Indicator 3, will always remain lit to remind
you that the unit is turned on.
The display brightness may also be changed by
pressing and holding the Set button ( on the
front for three seconds until the message in the
Main Information Display W reads VFD
FULL. Within five seconds, press the front
panel Selector buttons 5 until the desired
brightness display level is shown. At that point,
press the Set button W again to enter the
setting.
Once the desired brightness level is selected, it
will remain in effect until it is changed again or
until the unit is turned off.
If you wish to make other adjustments, press
the
⁄
/
¤
Buttons g until the on-screen
›
cursor is next to the RETURN TO MAIN
MENU line. If you have no other adjustments
to make, press the OSD Button s to exit the
menu system.
Turn On Volume Level
As is the case with most audio/video receivers,
when the AVR 7000 is turned on, it will always
return to the volume setting in effect when the
unit was turned off. However, you may prefer to
always have the AVR 7000 turn on at a specific
setting, regardless of what was last in use
when the unit was turned off.To change the
default condition so that the same volume level
is always used at turn-on, you will need to
make an adjustment in the ADVANCED
SELECT menu. To start the adjustment,
press the OSD button s to bring the main
AUDIO SETUP menu (Figure 1) to the
screen. Press the
¤
button g six times,
until the on-screen
›
cursor is next to the
ADVANCED line. Press the Set button i
to enter the ADVANCED SELECT menu
(Figure 8).
At the ADVANCED SELECT menu make
certain that the on-screen
›
cursor is next to
the volume default line by pressing the
⁄
/
¤
buttons g as needed. Next, press the press
the
›
button so that the word ON is
highlighted in the video display. Next, press the
¤
button g once so that the on-screen
›
cursor is next to the DEFAULT VOL SET
line. To set the desired turn-on volume, press
29
29
29
* ADVANCED SELECT *
VIDEO 4: IN OUT
VFD : FULL HALF OFF
VOLUME DEFAULT :OFF ON
DEFAULT VOL SET:25dB
SEMI OSD :OFF ON
SEMI OSD TIME OUT: 35
FULL OSD TIME OUT:20S
RETURN TO MENU


