34
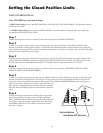
Step 3
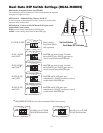
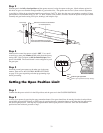
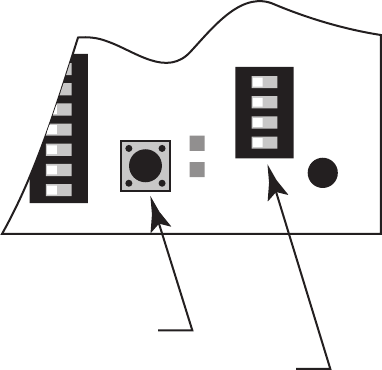
With the first gate in the desired open position. Program the open limit setting by setting the number 4 DIP switch on the
DUAL MODES switches to the OFF position (if the MASTER gate opened first) or the ON position (if the SLAVE gate
opened first) then PRESS & HOLD the “SET LIMIT" button on the control board for 5 seconds.
Step 4
Press the transmitter button and allow the gates to return to the closed position. YOUR FIRST GATE’S OPEN POSITION
LIMIT IS NOW PROGRAMMED.
Step 5
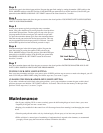
Activate your openers again by pressing the entry transmitter
button. Your gates should now be moving from the closed positions
toward their open positions. The first gate will stop at the spot you
just programmed and the second gate will continue to open until
you press the transmitter button again. Press the transmitter button
when the second gate reaches the desired open position. This step
may be repeated until desired open position is achieved. Once the
desired OPEN position has been achieved, proceed to step 6.
Step 6
With the second gate in the desired open position. Program the
open limit setting by setting the number 4 DIP switch on the
DUAL MODES switches to the ON position (if the MASTER gate
opened first) or the OFF position (if the SLAVE gate opened first)
then PRESS & HOLD the “SET LIMIT" button on the control
board for 5 seconds.
Step 7
Press the transmitter button and allow the gates to return to the closed position. BOTH YOUR MASTER AND SLAVE
GATE’S OPEN POSITION LIMITS ARE NOW PROGRAMMED.
TESTING YOUR OPEN LIMIT SETTING:
Press your entry transmitter and allow your gates to open. If OPEN positions are not correct or need to be changed, you will
need to CLEAR your OPEN LIMIT settings and follow steps one (1) to seven (7) again.
CLEARING THE PROGRAMMED OPEN LIMIT SETTING:
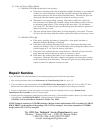
If you make a mistake and set the limit at the wrong position – press your transmitter to return the gates to their closed
positions, then press and hold the "SET LIMIT" button for 10 seconds. This will clear the memory for the open limit
positions. Follow steps one (1) to seven (7) again.
1
ON
2 3 4
DUAL
MODES
ON
OFF
1 2 3 4
ON
6 7
SET
LIMIT
ON
OFF
1 2 3 4 5 6 7
Set Limit Button
Dual Mode DIP Switches
• On all gates weighing 250 lb. or more, routinely grease the ball bearing hinges at least 4 times a year; more
frequently if the gates are near a coastal area.
• Keeping a few mothballs in the control box will discourage insects from entering it and damaging the control
board.
• Clean the push-pull tube with a soft, dry cloth and apply silicone spray to it at least once per month.
• While oxidation is a normal part of weathering of equipment that is exposed to the elements, we recommend
you apply silicone spray the front and rear mounts to minimize this effect.
Maintenance


