PROCISE™ Surround Sound Amplifier Crestron PROAMP(I)-7X400
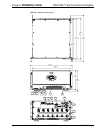
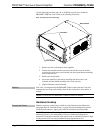
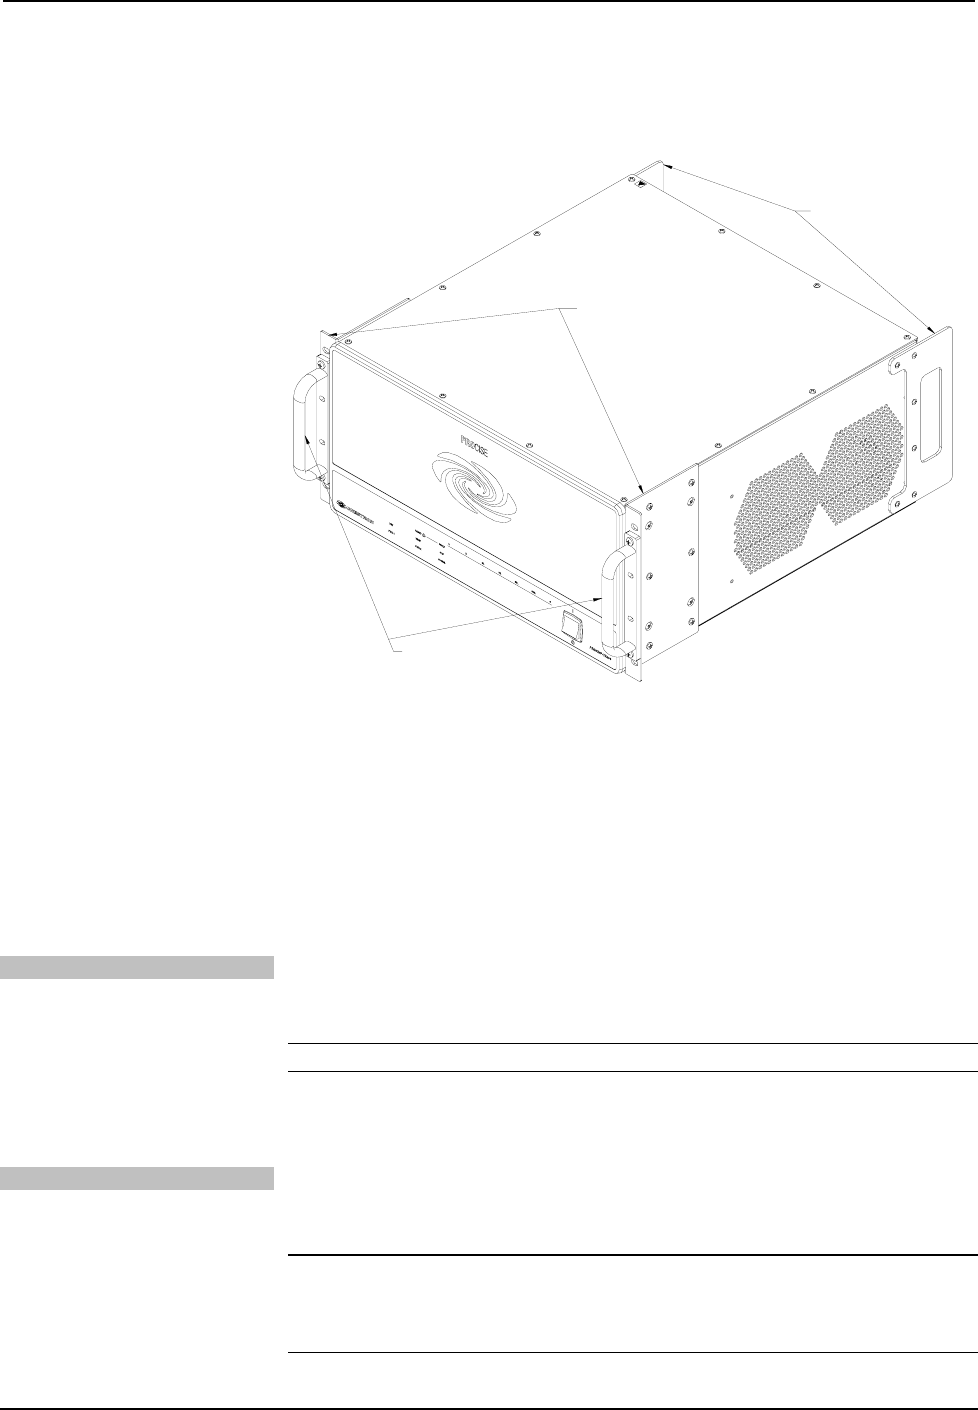
Use the following procedure and a #1 or #2 Philips screwdriver to install the
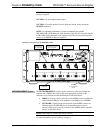
PROAMP-7X400 into a rack. Refer to the following illustration.
Rack Attachment for Rack Mounting
Front Handles
Rack Ears
Rear Handles
1. Remove the feet on the bottom of the amplifier.
2. Position the amplifier into the rack and secure the device to the rack by
screwing four rack screws (not included) into the top and bottom mounting
holes of the rack ears.
3. Remove the front handles.
4. Secure the amplifier to the rack by installing four more screws (not
included) into the middle mounting holes of the rack ears.
5. (Optional) Remove the rear handles.
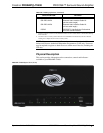
Stacking
Four “feet” are integrated into the PROAMP-7X400 so that if the unit is not rack
mounted, the feet can provide stability when the unit is placed on a flat surface or
stacked.
NOTE: No more than two PROAMP-7X400 units should be stacked.
Hardware Hookup
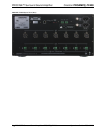
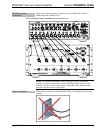
Connect the Device
Make the necessary connections as called out in the illustration that follows this
paragraph. Refer to “Network Wiring” on page 10 before attaching the 4-position
terminal block connector. Apply power after all connections have been made.
WARNING: This amplifier is capable of delivering immense amounts of
undistorted power to your loudspeakers. Please use caution and adequate ear
protection if listening to content at high volume levels as continued exposure to high
sound pressure levels can cause permanent hearing impairment or loss.
12 • PROCISE™ Surround Sound Amplifier: PROAMP(I)-7X400 Operations Guide – DOC. 6976A


