


21 Sp
4
Operating Instructions & Parts Manual
www.chpower.com
Cleanup (Cont.)
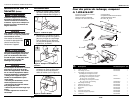
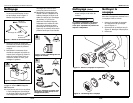
2. Remove motor housing from the
canister and pour any remaining
paint back into original paint
bucket.
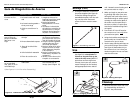
3. Fill canister with warm water and
reattach motor housing (see
Figure 8). While holding roller
frame in sink, turn the motor to
'High' and flush system.
NOTE: You can finish the cleanup
process by following EITHER Step 4a
OR Step 4b.
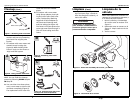
4a. You can either rinse these pieces
out in warm water to clean or dis-
card them completely (Figure 9).
The replacement roller cover kits
come with all of the needed
pieces.
4b.Fill canister with warm water.
Using faucet adapter, clean tub-
ing and roller frame (and roller
cover, if desired) by attaching
large end of faucet adapter to
the faucet and inserting small
end into tubing (see Figure 10).
The faucet will create pressure as
warm tap water flows through it.
This will clean tubing and roller
frame.
Figure 8 - Filling canister with water
Limpieza (Cont.)
una presión a medida que el
agua corriente fluye a través de
éste. Esto limpiará la tubería y el
marco del rodillo.
Cuando utilice el adaptador para
grifo, aumente cuidadosamente la
presión de agua para evitar que la
presión desconecte el adaptador.
AVISO
Limpieza de la
válvula
NOTA: Esto debería ser necesario úni-
camente en circunstancias extremas, o
si la válvula de bola se atasca.
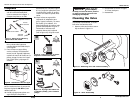
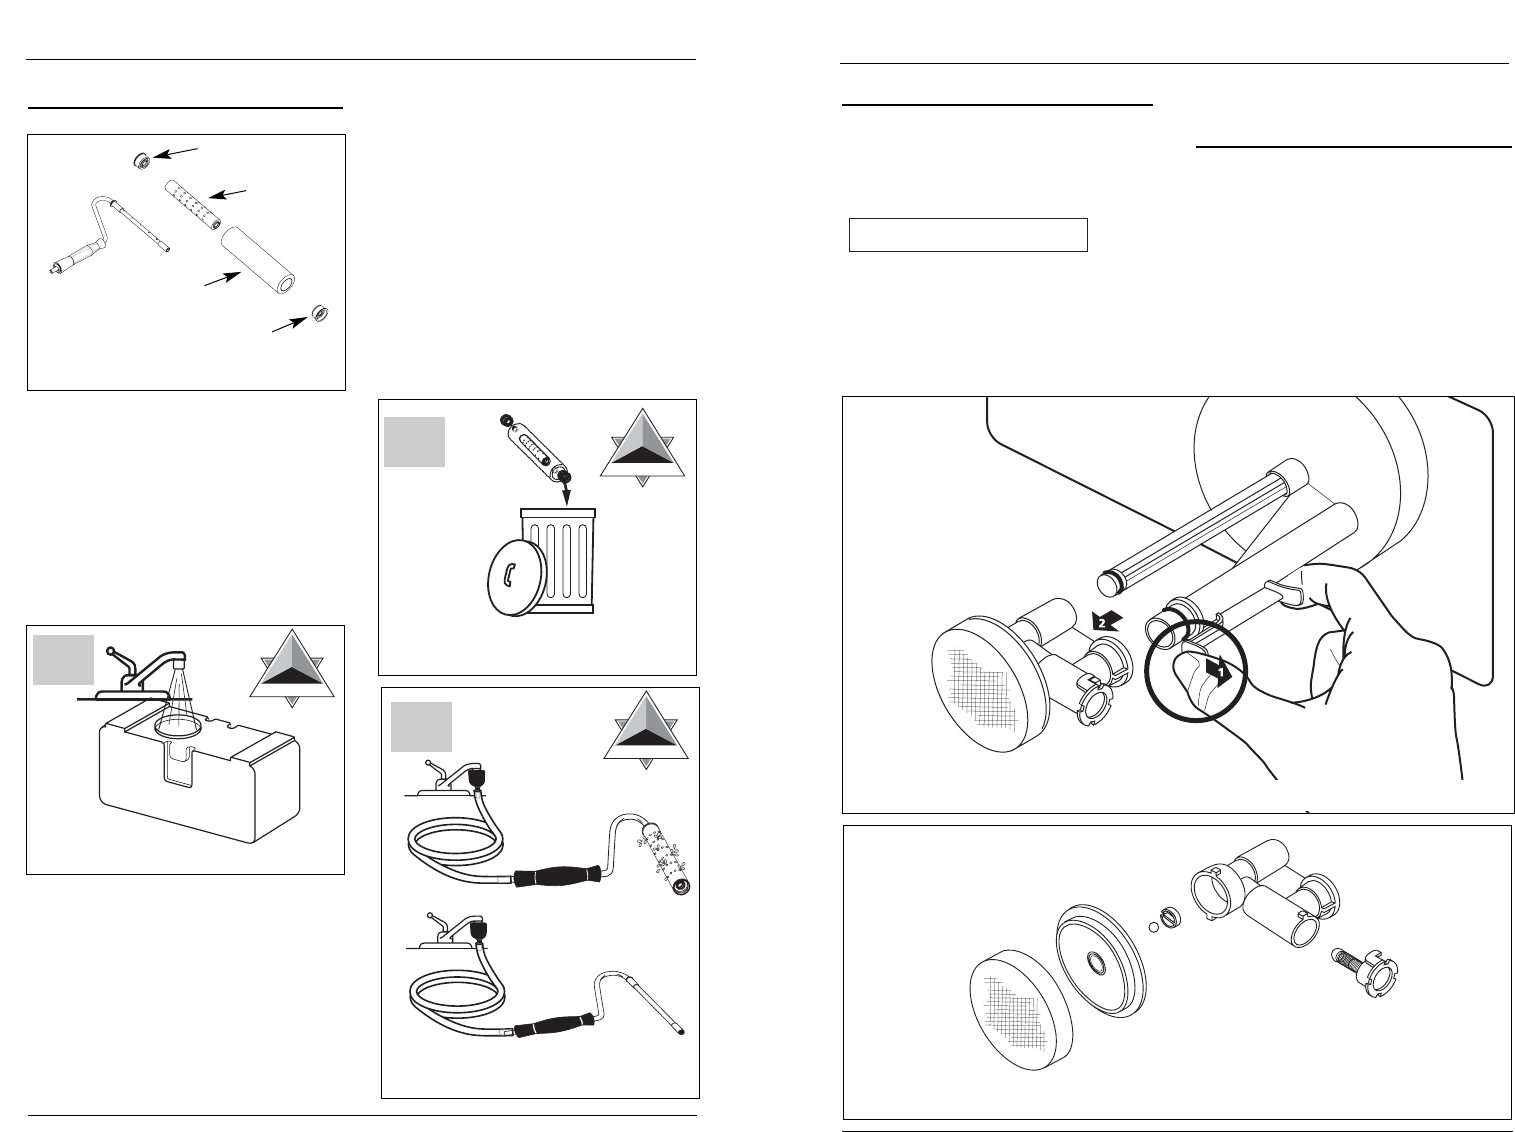
1 Retire la válvula y el ensamblaje
de succión como se muestra en la
figura 11.
2. Desármela como se muestra en la
figura 12. Limpie cada una de las
piezas.
3. Vuelva a armar.
Figure 9 - Discarding roller cover
assembly
Figure 10 - Flushing roller with cover
on (top) and cover off (bottom)
3
STEP
STEP
STEP
U
SE
& C
LEAN
A
3
STEP
STEP
STEP
U
SE
& C
LEAN
B
3
STEP
STEP
STEP
U
SE
& C
LEAN
C
Figura 11 - Retiro del ensamblaje de succión y la válvula
Figura 12 - Desarmado de la válvula
Modelo EZ111A
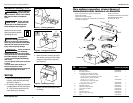
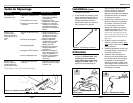
Figure 7 - Removing roller cover/core
End Cap
End Cap
Core
Roller Cover