


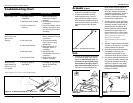


Guía de Diagnóstico de Averías
Problema Posible(s) Causa(s) Acción a tomar
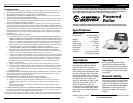
Manual de Instrucciones & Lista de Repuestos
22 Sp
3
Model EZ111A
www.chpower.com
Set-Up (Cont.)
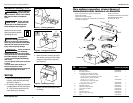
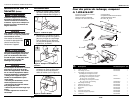
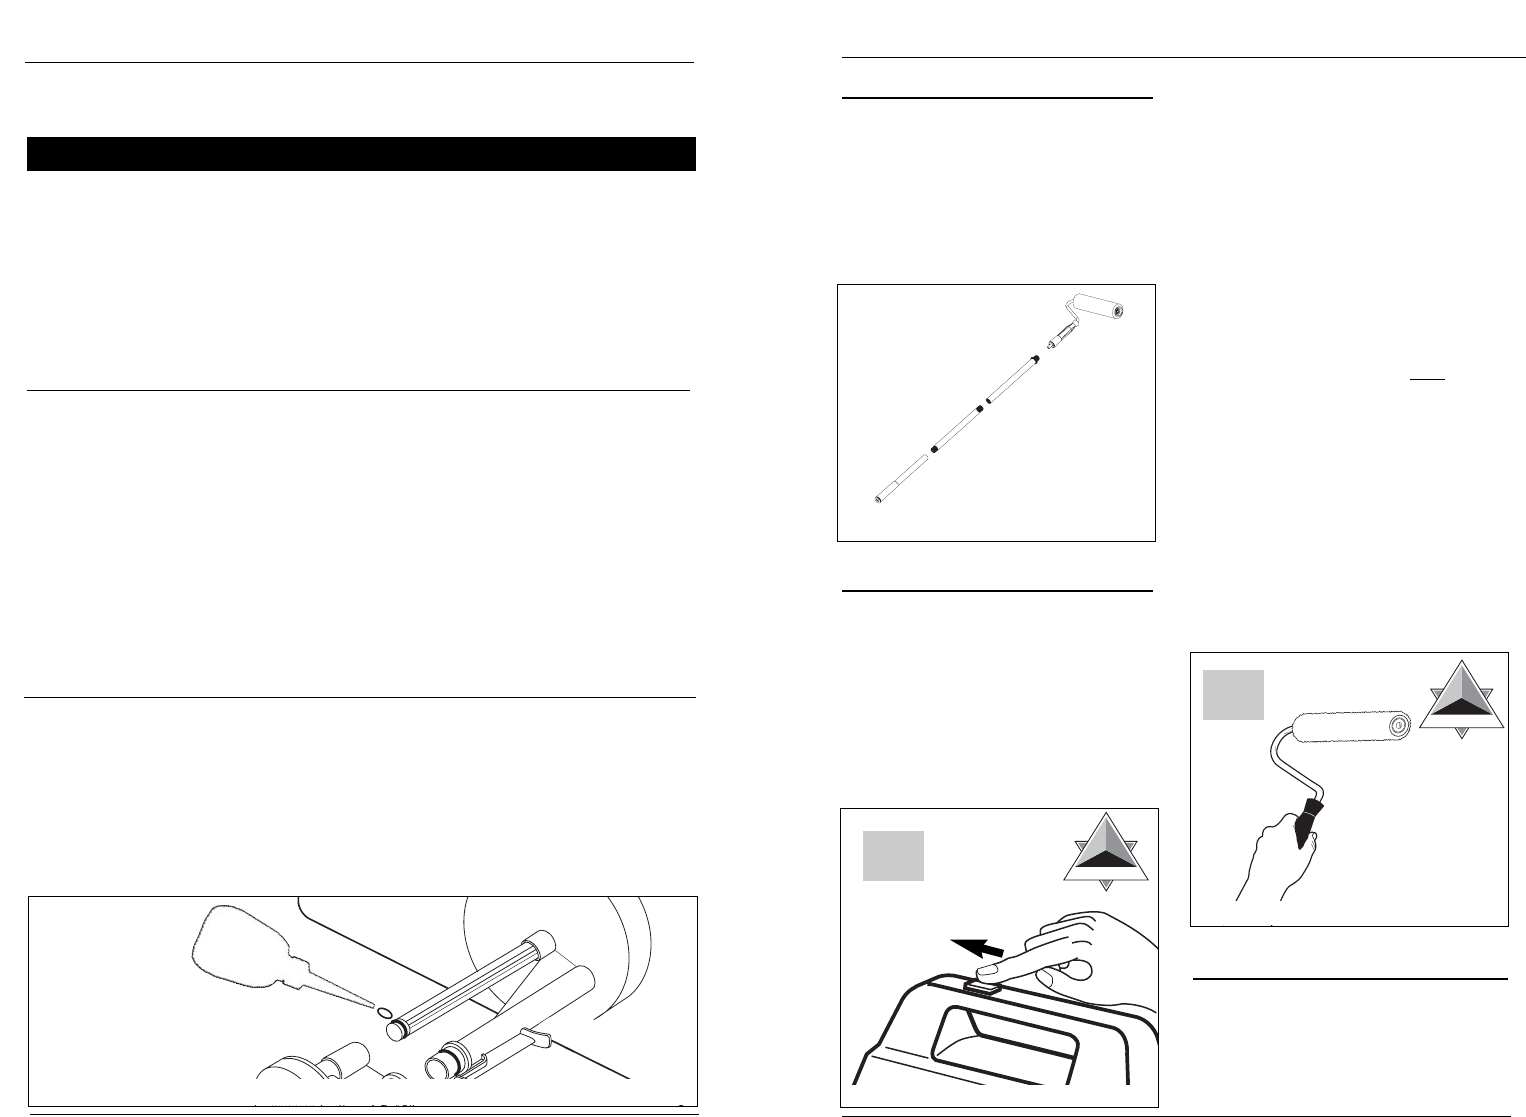
5. If using the extension, screw all of
the pieces together (see Figure 4).
Thread the tubing through the
assembled extension. Push the tub-
ing onto the roller frame and
secure the frame onto the exten-
sion.
Use
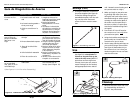
1. Turn the power switch to 'High'
(see Figure 5). It should take 1-2
minutes to see paint flow up the
tube to the roller cover. (NOTE: If
paint does not flow within two
minutes, turn motor off, remove
motor housing from the canister,
add appropriate thinner and stir
well. Reattach motor housing and
turn power switch to 'High'.)
2. When you begin to see paint com-
ing through the roller cover, start
rolling the wall until roller cover is
saturated enough to achieve good
coverage on each stroke. (Note: If
the motor runs, but paint flow is
too slow or there is no paint flow,
consult the Troubleshooting Chart
on Page 6.)
3. Turn motor off. You will need to
turn motor on to 'Low' only
when
you need more paint.
4. Using the shoulder strap keeps the
power switch at a location that is
convenient for you to access.
5. Use the same painting technique as
you would if using a manual roller
(see Figure 6). Remember only to
turn motor on to 'Low' when you
need more paint. Do not over-satu-
rate the roller cover.
Cleanup
1. Remove the roller cover and core
by disassembling as shown in
Figure 7. Set pieces aside.
Figure 5 - Changing switch position
Figure 6 - Rolling technique
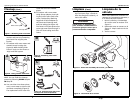
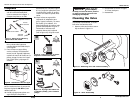
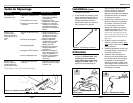
Figura 13 - Lubricación del anillo en O
3
STEP
STEP
STEP
U
SE
& C
LEAN
2
3
STEP
STEP
STEP
U
SE
& C
LEAN
3
El motor no fun-
ciona
El motor funciona,
pero el flujo de
pintura es demasi-
ado lento o no
fluye
El motor funciona
en la velocidad
alta, pero no en la
velocidad baja
1. La batería está mal instal-
ada
2. La batería está agotada o
tiene poca carga
3. Ácido o corrosión en la
caja
1. Nivel de pintura demasia-
do bajo
2. Pintura demasiado espesa
3. Área de la válvula blo-
queada
4. Válvula de bola atascada
5. Filtro de succión sucio
1. El anillo en O necesita
lubricación
1. Asegúrese de que las
baterías hayan sido instal-
adas adecuadamente.
2. Revise las baterías.
Reemplácelas si es nece-
sario.
3. Verifique si existe ácido
de batería o corrosión de
las mismas en el compar-
timiento de las baterías y
límpielo si es necesario.
1. Asegúrese de que el nivel
de pintura se encuentre
por encima del nivel mín-
imo de llenado de la lata.
2. Diluya la pintura gradual-
mente hasta que fluya
del modo que desea.
3. Revise el área de la válvu-
la para verificar si existe
algún bloqueo. Límpiela
si es necesario.*
4. Revise la válvula de bola.
Desármela y límpiela si es
necesario.*
5. Revise el filtro de succión.
Límpielo si es necesario.
1. Lubrique el anillo en O
con el aceite que se
incluye (vea la figura 13).
Figure 4 - Assembling extension
*(See Figures 11 & 12 for valve disassembly.)