ATW-R1820 Dual-channel Receiver Batteries
Each ATW-R1820 dual-channel receiver uses six 1.5V AA batteries, not included. Alkaline type is
recommended. Always replace all batteries. Make certain the receiver power is Off before
replacing batteries. Note: The ATW-R1820 receiver also functions without batteries if connected
to an external power supply (12V DC source, 500 mA nominal current, not included).
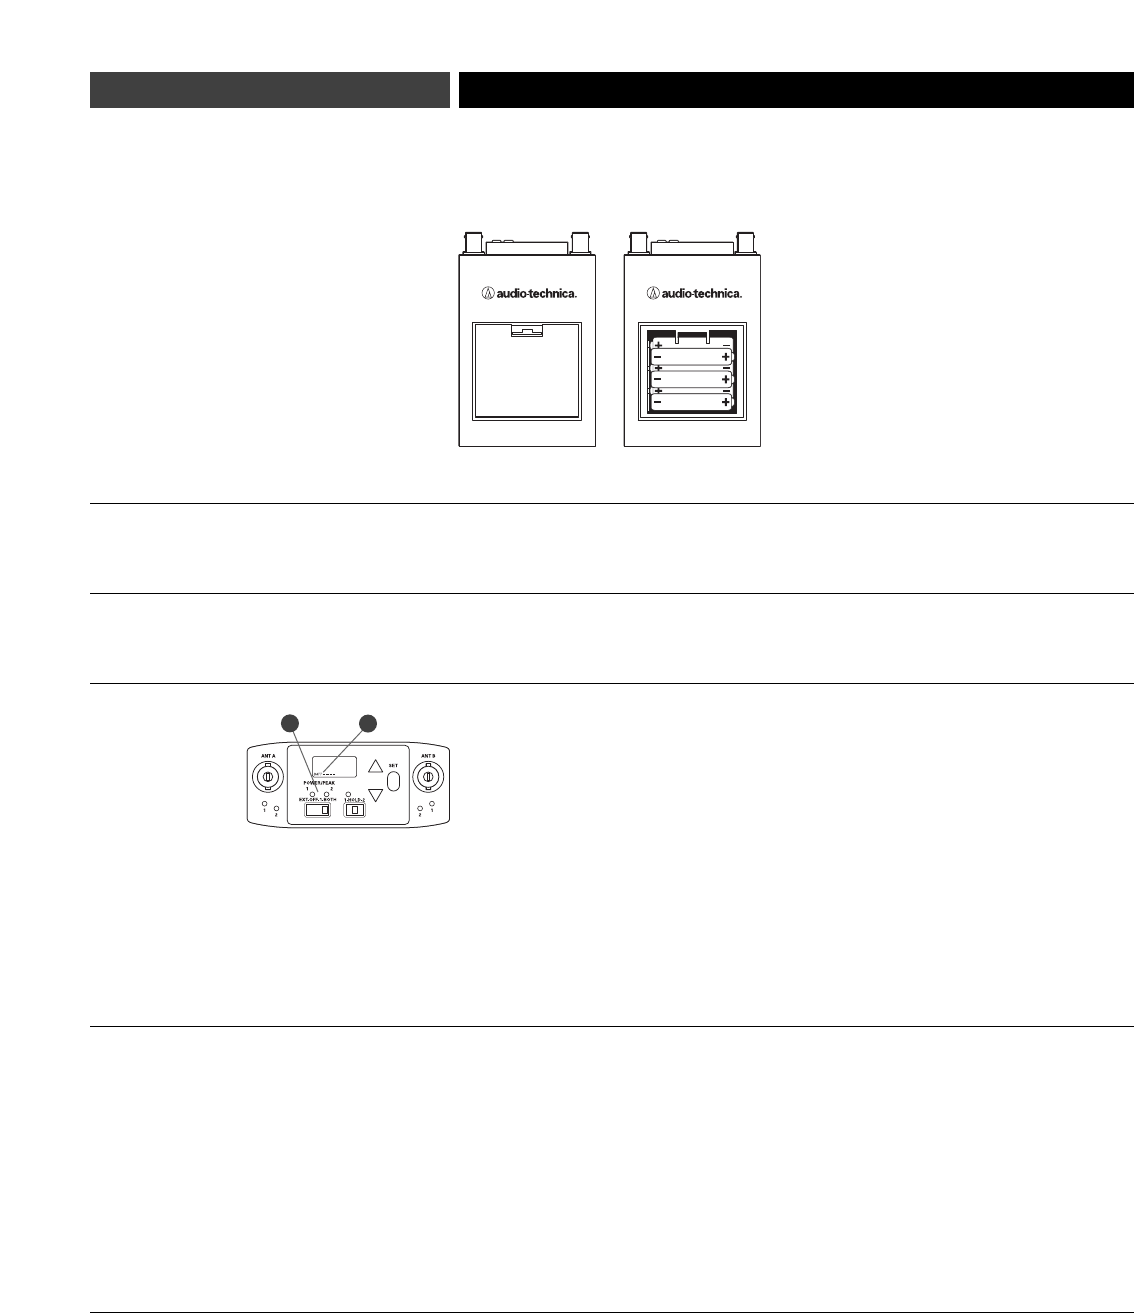
1. Open the battery compartment door by pushing the catch back.
2. Observe correct polarity as marked and carefully insert six fresh 1.5V AA alkaline batteries
(see above).
3. Replace the door, making certain the latch clicks securely in place.
After the batteries are installed, turn the power on by moving the Power Switch to either the 1
or Both position. The small red power-on LED(s) (seeaat left ) should light (red light at 1 if Power
Switch is in position 1; red light at 1 and 2 if Power Switch is in Both position) and the LCD window
should come on. If this does not happen, the batteries are installed incorrectly or they are depleted.
The receiver’s “fuel gauge” battery indicator (see b at left ) displays a maximum of four bar
segments. When LCD flashes “LOW.BAT”, the batteries should be replaced immediately to
ensure continued operation. Note: Battery indicator is only visible in the “Hold” position.
Operating the Receiver
NOTE: Receiver Channel 1 and Receiver Channel 2 must be set to different frequencies to
avoid interference. Transmitter-Receiver pairs must be set to identical frequencies: set
Transmitter 1 to the same frequency as Receiver Channel 1; set Transmitter 2 to the same
frequency as Receiver Channel 2.
Overview…
1. Turn the power on by moving the Power Switch to either the 1 position (for single-channel
operation) or Both position (for dual-channel operation).
2. Switch the Dual-channel Control Switch to 1 (to set frequency for Receiver Channel 1) or 2
(to set frequency for Receiver Channel 2). Audio output is muted for the channel that is selected.
3. Press the Set button to enter the Frequency Selection Menu mode; the word “MENU” will appear.
4. Use the Up/Down arrows to cycle through functions:
- first arrow up is Manual Frequency Selection mode;
- second arrow up is Automatic Scan Group 1;
- third arrow up is Automatic Scan Group 2;
- fourth arrow up is Automatic Scan Group 3;
- fifth arrow up is Quit, allowing exit from Menu mode.
First…
Turn the power on by moving the Power Switch to Both (for dual-channel operation). To set
frequency for Receiver Channel 1, switch Dual-channel Control Switch to 1 (left position).
1. Press Set button. The word “MENU” will appear. Press Up arrow to show current frequency.
Press Set button and frequency will begin to flash; then use up and down arrows to adjust
the frequency. Frequency changes in 25 kHz steps. To increase scroll speed, hold the Up or
Down arrow for more than 4 seconds.
2. When you arrive at desired frequency, press and hold the Set button until the word “STORED”
appears. Frequency is now set.
Battery Selection
Battery Installation
Battery Condition Indicator
Selecting Frequencies
on your Receiver
Dual-channel Operation
(using two transmitters)
Setting Receiver Frequency Manually
8
a
b


