


ATON AH66T INSTALLATION MANUAL
© ATON 2010 | All rights reserved. Page 47
Chapter 5: Operation, Settings &
Programming
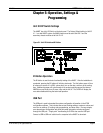
Unit ID DIP Switch Settings
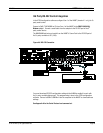
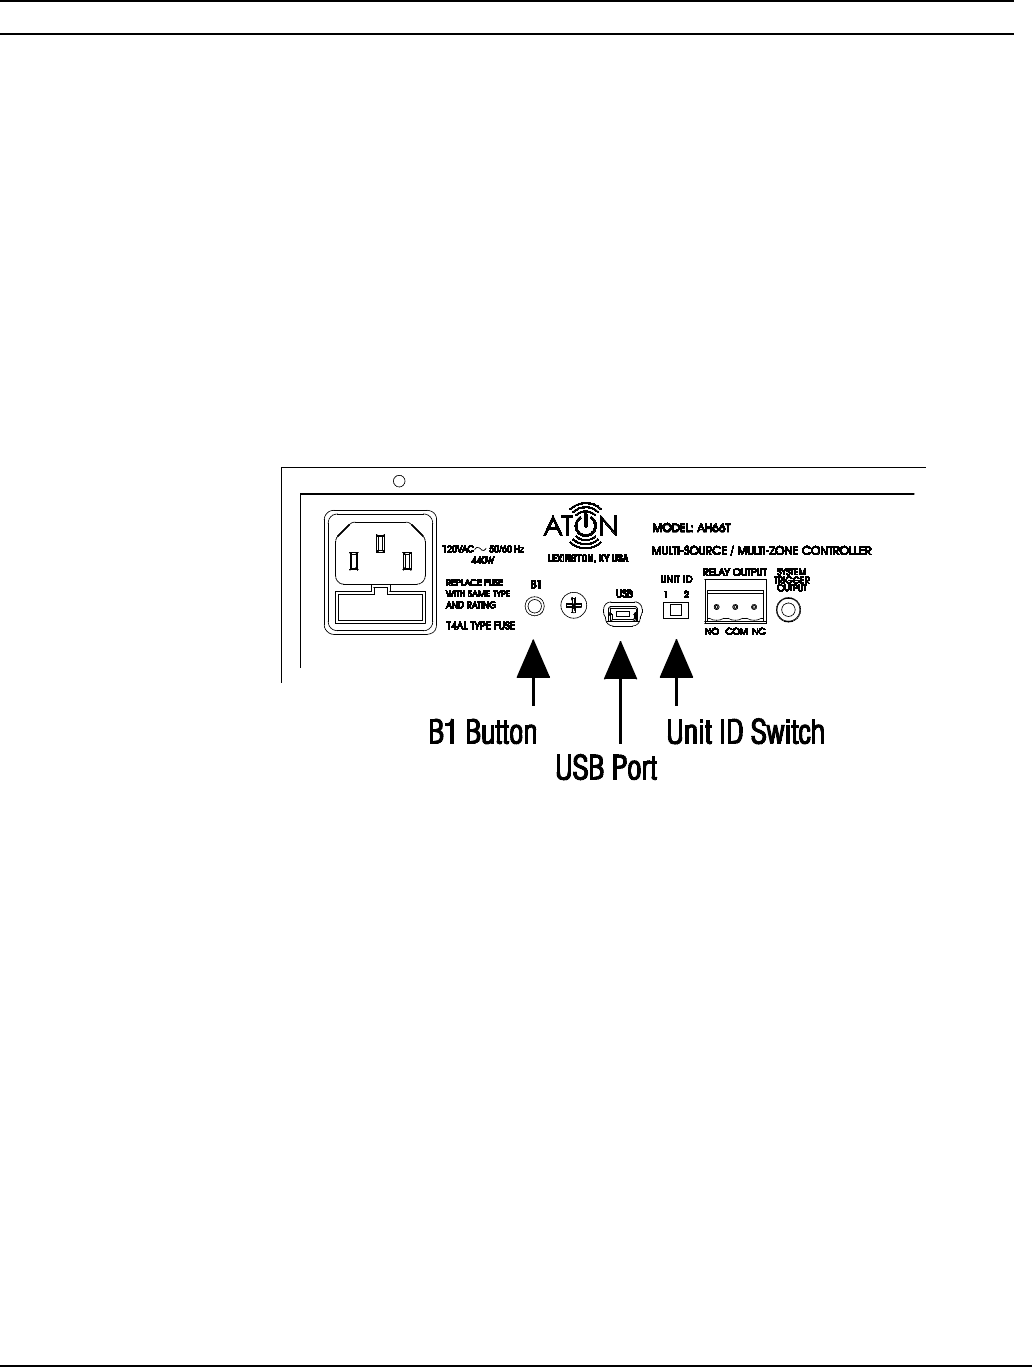
The AH66T has a Unit ID Switch on the back panel. The Factory Default setting is Unit ID
# 1. In a dual AH66T system, the MAIN chassis must be set to Unit ID# 1 and the
secondary chassis must be set to Unit ID # 2.
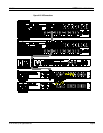
Figure 5-1: Unit ID Switch and B1 Button
B1 Button Operation
The B1 button is used for basic functionality testing of the AH66T. After the installation is
completed, pressing the B1 button will initiate a test mode. The first button press will turn
all zones on to source # 1 at 50% volume level, turn on the relay, and turn on the cooling
fans. Additional presses will cycle through all six analog input sources and the internal
AM/FM tuner and finally turn all zones, relay and the fan off. The OLED2 will display the
zone status feedback during the test mode operation.
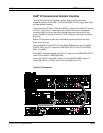
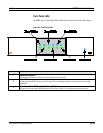
USB Port
The USB port is used to download the system configuration information in the ATON
configuration software. This includes source input leveling settings, maximum volume and
zone turn-on settings, IR routing, relay programming, and tuner setup. Pre-amp outputs,
zone stereo/mono configuration and serial port setup information are also configured
through the USB port. “Single point” downloading to OLED2s also uses the USB port.
Connect a USB to USB-mini cable from the computer to the AH66T to download.