


En
ENGLISH
5
3
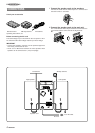
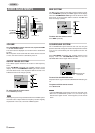
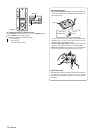
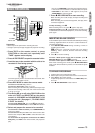
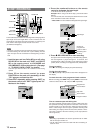
Connect the supplied antennas.
Connect the FM antenna to the FM 75 Ω terminals and the
AM loop antenna to the AM LOOP terminals.
4
Connect the AC cord to an AC outlet.
The demo display will begin when the AC cord is plugged into
an AC outlet for the first time after purchase. When the power
is turned on, the demo display will end. When the power is
turned off, the demo display will begin again.
Until the clock is set, the demo display will begin whenever
the power is turned off.
(For setting the clock, see page 18.)
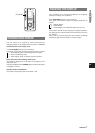
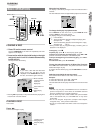
When the clock is set for the first time after purchase
All the display lights turn off when the power is off. (Only the red
indicator lights up.)
This is because the power economizing mode of the unit is
activated, and is not a malfunction. To view the clock in this case,
press CLOCK while pressing SHIFT on the remote control so
that the time is displayed for 4 seconds. Besides, the time will
be displayed if you set the power economizing mode to "OFF."
(See page 7 for details.)
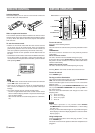
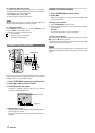
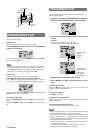
To position the antennas
FM feeder antenna:
Extend this antenna horizontally in a T-shape and fix its ends to
the wall.
AM loop antenna:
Position for the best reception.
To stand the AM loop antenna on a surface
Fix the claw to the slot.
NOTE
• Be sure to connect the speaker cords correctly. Improper
connections can cause short circuits in SPEAKERS terminals.
• Do not leave objects generating magnetism near the speakers,
as these objects may be damaged.
• Do not bring the FM antenna near metal objects or curtain rails.
• Do not bring the AM loop antenna near other optional
equipment, the stereo system itself, the AC cord or speaker
cords, since noise will be picked up.
• Do not unwind the AM loop antenna wire.
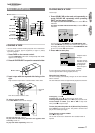
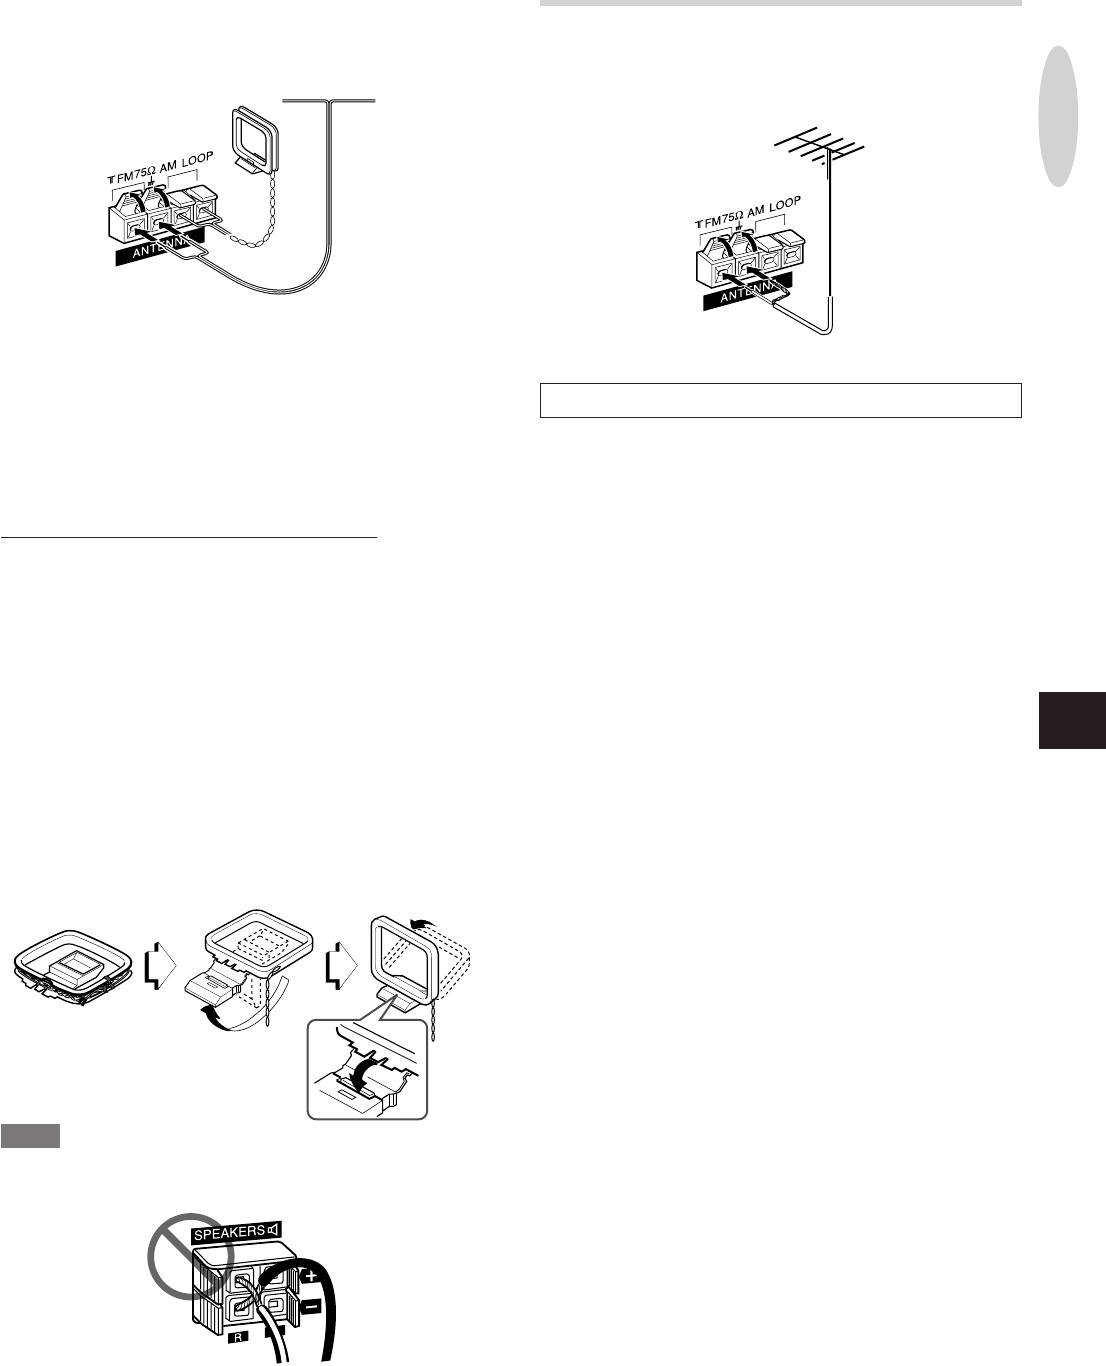
CONNECTING AN OUTDOOR ANTENNA
For better FM reception, use of an outdoor antenna is
recommended.
Connect the outdoor antenna to the FM 75 Ω terminals.
To connect other optional equipment ➞ page 20.
PREPARATIONS
AM loop antenna
FM antenna