35 En
PREPARATIONINTRODUCTION APPENDIXPLAYBACK FEATURES SETTINGS
Customizing this unit
(SET MENU)
System
configurations
(ADVANCED SETUP)
Using an external
amplifier
Controlling external
components
Control range (from this unit): 1.8 m to 9.0 m (6.0 ft
to 30.0 ft)
Control range (from left wall): 0.6 m to 11.4 m (2.0 ft
to 38.0 ft)
■ BEAM ADJUSTMENT (Beam adjustment)
SET MENU → MANUAL SETUP → BEAM
ADJUSTMENT
Use to manually adjust the various sound beam settings.
Notes
• The “BEAM ADJUSTMENT” parameters are automatically
adjusted (except “Center” in “FOCAL LENGTH”) if you run
the AUTO SETUP (page 15) or if you configure “SETTING
PARAMETERS” (page 34).
• Depending on the beam mode settings (page 23), some channel
positions may not be available for selection. In this case, “– –”
is displayed.
• If you change "BEAM ADJUSTMENT" settings while playing
back your iPod/iPhone connected to PDX-50TX, the subwoofer
connected to SWK-W10 outputs the iPod/iPhone audio. We
recommend stopping the iPod/iPhone playback during the beam
adjustment.
1 Configure “HORIZONTAL ANGLE”.
Adjust the horizontal angle of sound beams for each
channel using test tones.
Adjust toward L (left) to move the direction of the
output to the left and adjust toward R (right) to move
it to the right.
Control range: L90° to R90°
y
• Press G to switch the channels.
2 Configure “VERTICAL ANGLE”.
Adjust the vertical angle of sound beams for each
channel using test tones.
Adjust toward – (minus) to move the angle downward
and adjust toward + (plus) to move the angle upward.
Control range: –45° to +45°
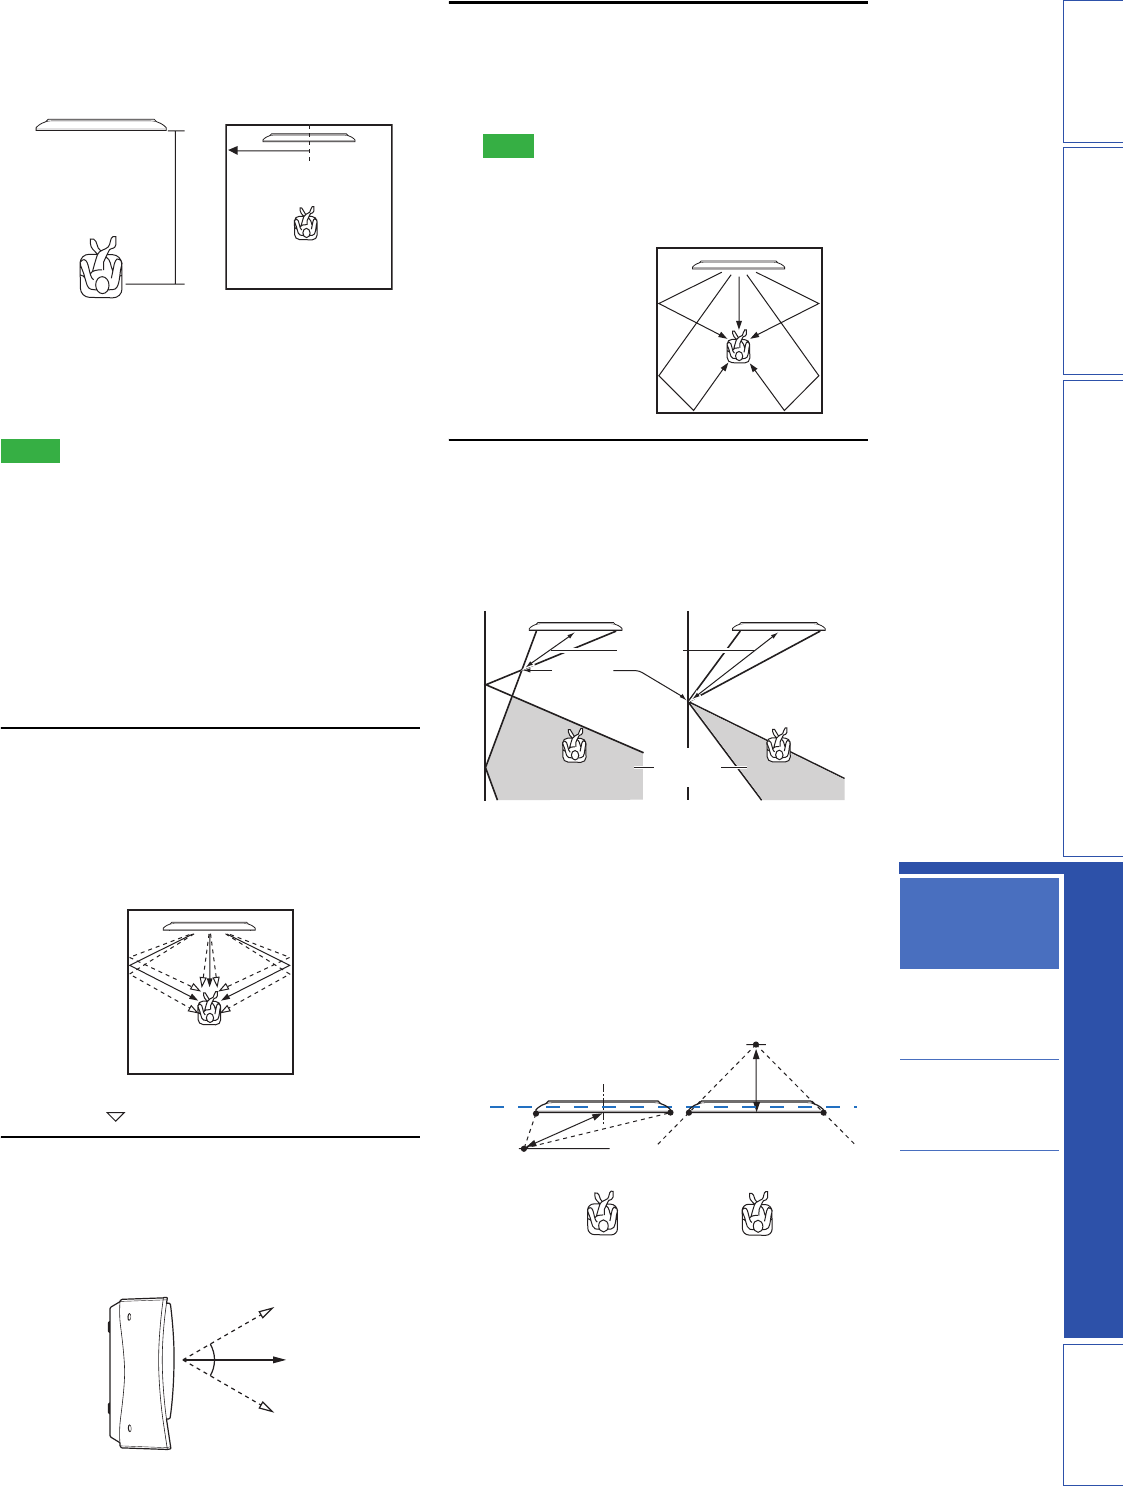
3 Configure “BEAM TRAVEL LENGTH”.
Adjust the distance that sound beams travel after
being output and reflected off the wall until they
arrive at the listening position so that all sounds can
arrive at the listening position at the same time.
Note
• Configure this setting only when you have adjusted
“HORIZONTAL ANGLE”.
Control range: 0.3 m to 24.0 m (1.0 ft to 80.0 ft)
4 Configure “FOCAL LENGTH”.
Adjust the distance from the front of this unit to the
focal point of output for each channel to achieve an
expansive feeling for each channel. Adjust toward -
(minus) to move the focus outward (widen the sweet
spot) and adjust toward + (plus) to move the focus
toward the normal position (narrow the sweet spot).
Control range: –1.0 m to +13.0 m (–3.5 ft to +43.5 ft)
y
• We recommend that you use the initial setting (–0.5 m or –
1.5 ft) for “Center”.
• The width of the sweet spot becomes slightly wider than
the width of this unit if you run the AUTO SETUP
(page 15) or if you configure “SETTING
PARAMETERS” (page 34).
■ IMAGE LOCATION (Image location)
SET MENU → MANUAL SETUP → IMAGE
LOCATION
Use to adjust the direction from which the front left and
right channel sound is heard so that each sound can be
heard closer to the center channel.
Use this feature to redirect audio signals if the sound
coming from the front left and right channels seems
unnatural.
1.8 to 9.0 m
(6.0 to 30.0 ft)
FLAT TO WALL
0.6 to 11.4 m
(2.0 to 38.0 ft)
(–)
(+)
(+)
(–)
(+)
(–)
0°
The length of each
arrow indicates the
beam travel length.
Focal
length
Focal
point
Sweet
spot
Example
Front left channel Center channel


