


15 En
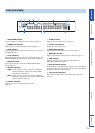
PREPARATIONINTRODUCTION APPENDIXPLAYBACK FEATURES
Changing OSD
language
AUTO SETUP
(IntelliBeam)
Using the system
memory
SETTINGS
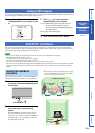
You can select an OSD language among English, German, French, Spanish, Italian, Dutch and Russian. Before operating
the following steps, select this unit as the video input on your TV.
1 Press and hold ISETUP until the
“LANGUAGE SETUP” menu appears on your
TV.
2 Press G / to select the desired
language and then press GENTER.
Choices: ENGLISH (English), DEUTSCH (German),
Français (French), ESPAÑOL (Spanish),
ITALIANO (Italian), NEDERLANDS (Dutch),
Русский (Russian)
Initial setting: ENGLISH (English)
3 To exit from the menu, press ISETUP.
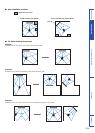
This unit creates a sound field by reflecting sound beams off the walls of your listening room and by broadening the
cohesion of all the channels. Just as you would arrange the speaker position of other audio systems, you need to set the
beam angle to enjoy the best possible sound from this unit.
Notes
• After you have completed the AUTO SETUP procedure, be sure to disconnect the IntelliBeam microphone.
• The IntelliBeam microphone is sensitive to heat.
– Keep the IntelliBeam microphone away from direct sunlight.
– Do not place the IntelliBeam microphone on top of this unit.
• You cannot use the AUTO SETUP when “PREOUT” is selected in “SOUND OUT” (page 38).
• You cannot run the AUTO SETUP while playing back the iPod/iPhone by using PDX-50TX. To run the AUTO SETUP, stop playback
and then disconnect the iPod/iPhone from PDX-50TX. About PDX-50TX, refer to “Safety and Accessory Information” (separate
booklet).
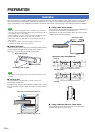
Follow the procedure below to connect the IntelliBeam
microphone to this unit and place it in a proper location.
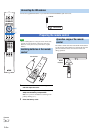
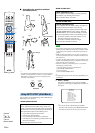
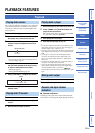
1 Connect the supplied IntelliBeam
microphone to the INTELLIBEAM MIC jack on
the front panel.
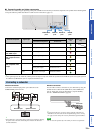
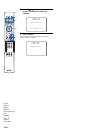
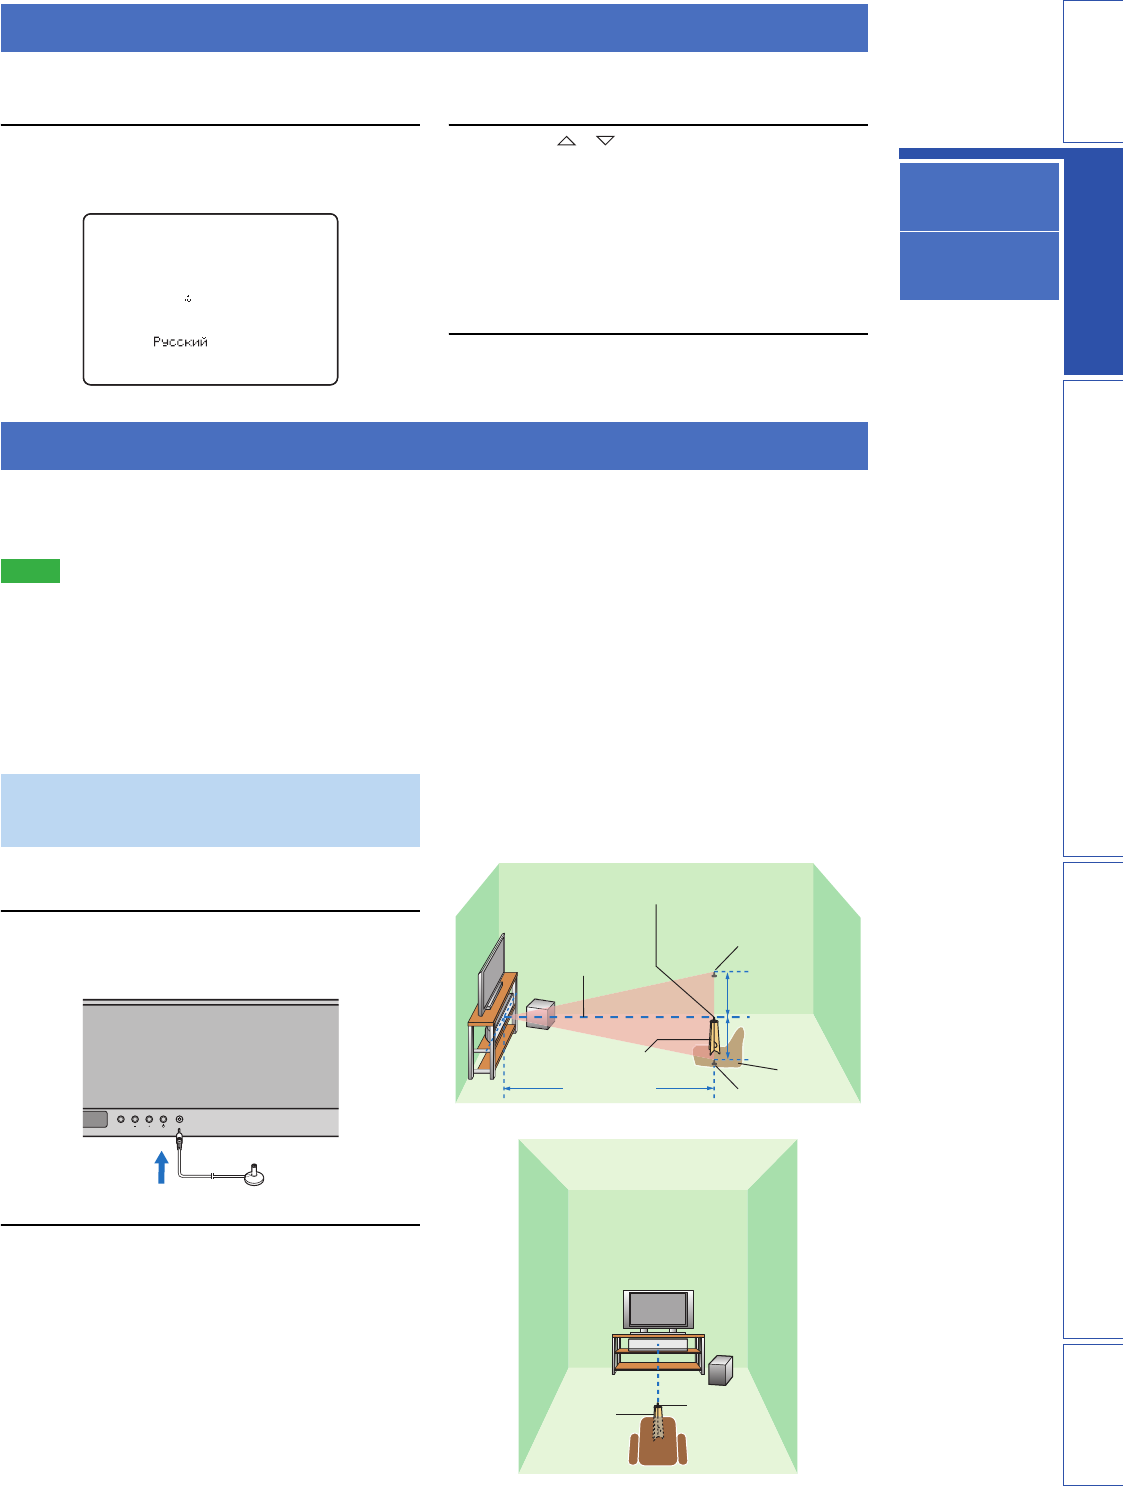
2 Place the IntelliBeam microphone on a flat
level surface at your normal listening
position.
Place the IntelliBeam microphone on the extended
center line of this unit and 1.8 m (6.0 ft) or more
away from it. Also, make sure place the IntelliBeam
microphone within 1 m (3.3 ft) upper or lower from
the center height of this unit.
y
• Use the supplied cardboard microphone stand or a tripod
to place the IntelliBeam microphone at the same height as
your ears would be when you are seated.
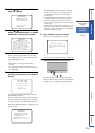
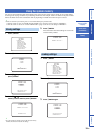
Changing OSD language
ENGLISH
DEUTSCH
Francais
ESPANOL
ITALIANO
NEDERLANDS
[ ]/[ ]:Up/Down
[ENTER]:Enter
3)LANGUAGE SETUP
p
p
.
AUTO SETUP (IntelliBeam)
Installing the IntelliBeam
microphone
INPUT VOLUME INTELLIBEAM MIC
INTELLIBEAM MIC
IntelliBeam microphone
1.8 m (6.0 ft)
or more
Within 1 m (3.3 ft)
Cardboard
microphone stand
Listening
position
Upper limit
Lower limit
Center height of
this unit
Within 1 m (3.3 ft)
IntelliBeam
microphone
Cardboard
microphone
stand
Center line