Wolf Cinema Owner's Manual
2-16
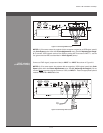
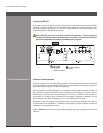
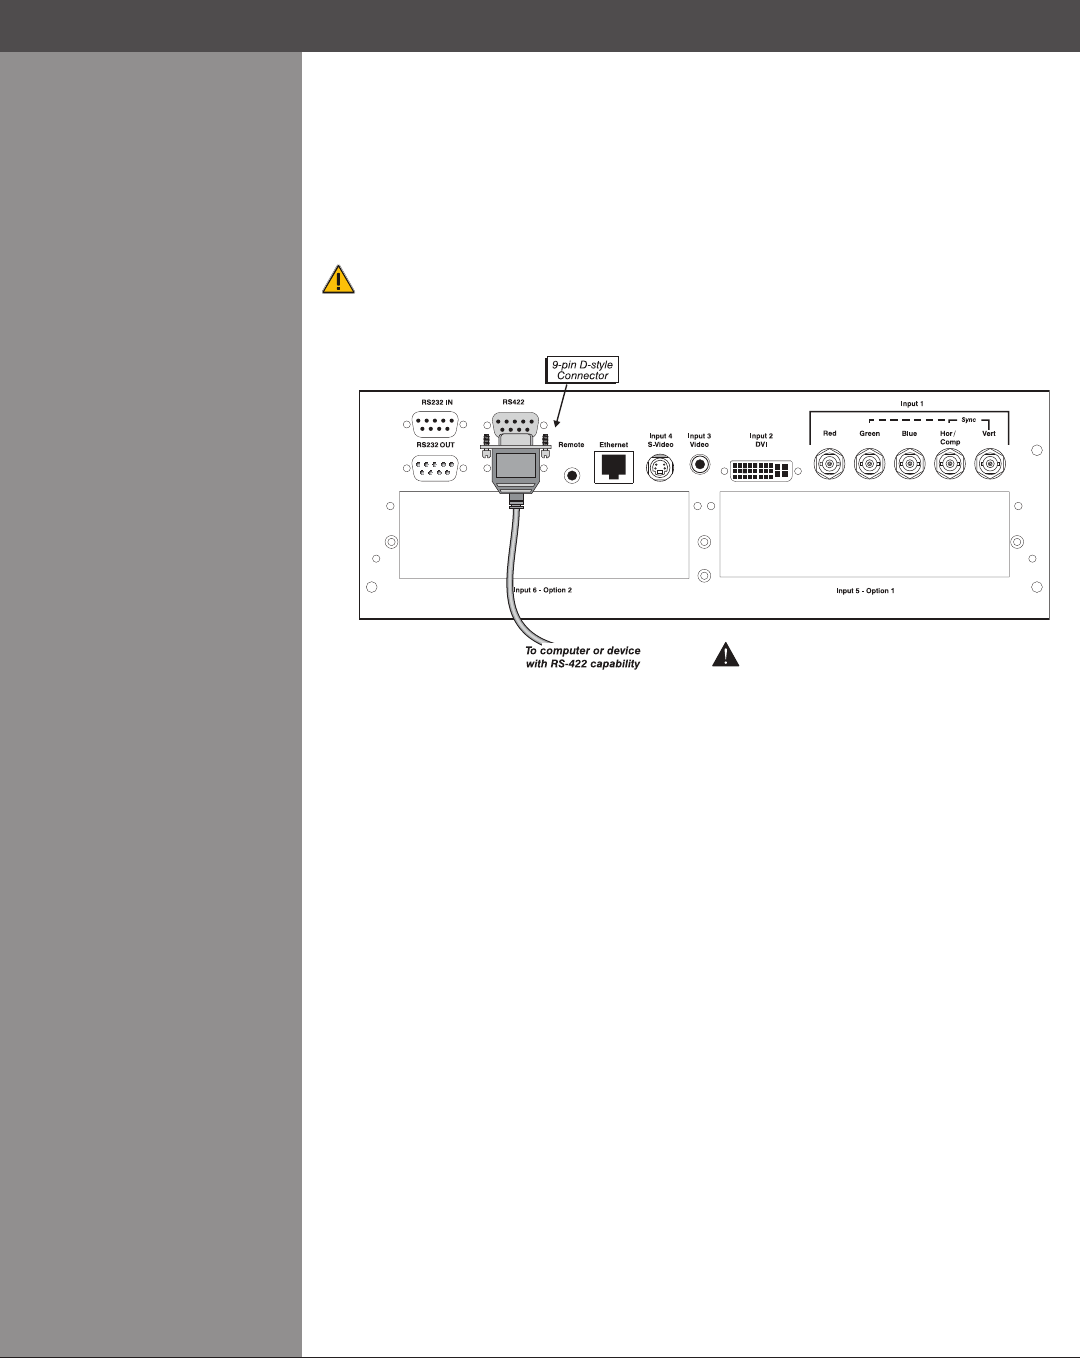
Figure 2.11 Connecting RS-422
Ethernet Communications
To add the projector to an existing Ethernet network with other equipment such as controllers
and other projectors, connect standard CAT5 Ethernet cable between your Ethernet controller (or
hub) and the Ethernet port on the side of the projector.
Upon connection to an Ethernet network, the projector’s factory default IP address of 0.0.0.0.0
will automatically enable the DHCP function (if available on the network) to assign a new IP
address that is valid and unique for that network. Or, if there is no DHCP function available on
thenetwork(orifaspecicstaticIPaddressfortheprojectorispreferredorrequired),youcan
set the address in the Ethernet Settings menu or via an ASCII serial command.
Regardless of how it is assigned, once a projector has a valid and unique address it will respond
to commands sent to this address. To determine the projector’s current IP address, consult the
Information or Communications menus.
Refer to Section 3 for further information about setting up and using a projector connected via
Ethernet.
Ethernet Communications >
#ONNECTA23
DEVICEONLY
Section2►InstallationandSetup
Connecting RS-422
If you wish to control the projector with a computer and or other controlling device with RS-422
capability, connect a RS-422 serial communication cable between the computer and the RS-422
port on the projector (see Figure 2.11). RS-422 is better suited for serial communication over
long distances then is RS-232 communication.
Use the RS-422 port only if your device had RS-422 capability – always consult the
literature provided with your equipment before connecting. Connecting to the RS-422
port with incompatible equipment could damage your projector.


