MM102014V1, Rev. G
• The default emergency and emergency-capable talk groups can be locked out only if
they are NOT in an emergency state
• If a talk group is locked out and is subsequently changed to the currently selected
talk group, the radio automatically unlocks it so the user can hear calls on the talk
group.
• The radio may be configured so all talk groups are automatically locked out by
default. In this case, they must be manually unlocked, if desired.
• When in Fixed Scan Mode, P1 and P2 groups cannot be locked out.
5.12.1 Locking Out a Talk Group
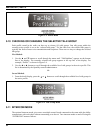
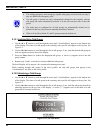
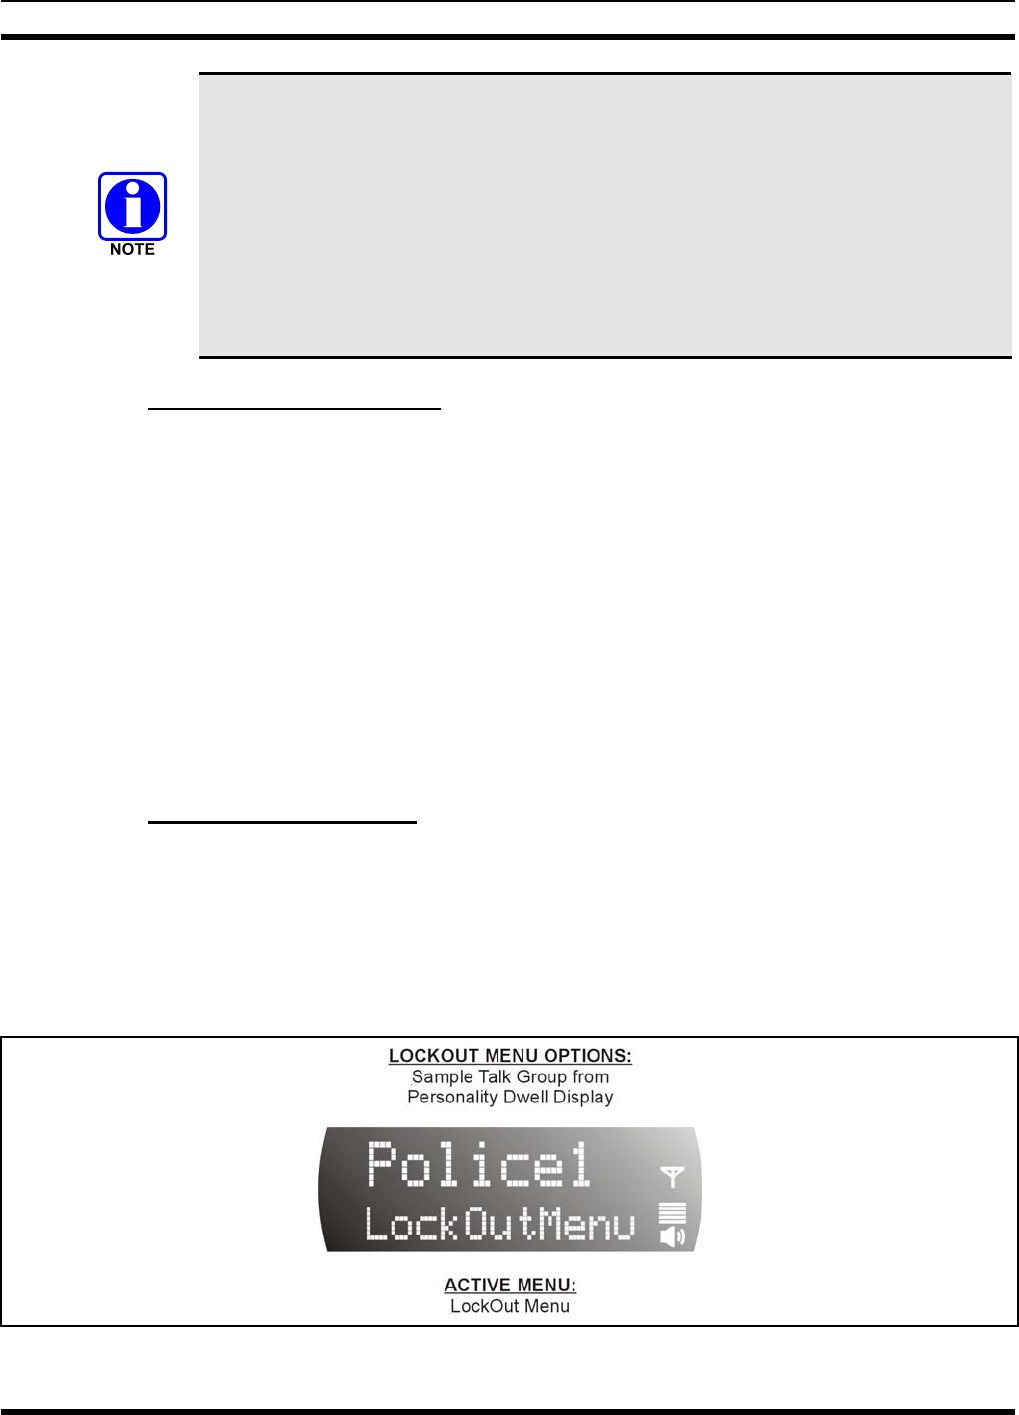
1. Use the ▲ or ▼ button to scroll through the menu until “LockOutMenu” appears in the bottom line
of the display. The name of a talk group in the currently active profile will appear in the top line. See
Figure 5-5.
2. Use the ◄ or ► buttons to scroll through the list of talk groups, if any, until the desired talk group for
lock out appears in the top line of the display.
3. Press the Select button to lockout the displayed talk group. A cursor (<) appears next to the talk
group’s name.
4. Repeat steps 2 and 3, as needed, to lockout additional talk groups.
The dwell display will re-appear a few seconds after button presses end.
While scrolling through talk groups in the active profile, the only talk groups that appear in the
“LockOutMenu” are those in the active profile.
5.12.2 Unlocking a Talk Group
1. Use the ▲ or ▼ button to scroll through the menu until “LockOutMenu” appears in the bottom line
of the display. The name of a talk group in the currently active profile will appear in the top line. See
Figure 5-5.
2. Use the ◄ or ► buttons to scroll through the list of talk groups, if any, until the talk group desired for
unlocking appears in the top line of the display. A cursor (“<”) appears next to the name of a talk
group that is currently locked out.
Figure 5-5: Lock Out Menu
34


