


TASCAM CD-A550/CD-A750 31
5 – Playing Back CDs
2 Press the remote control A–B key again at the point
where you want to set the end point (B) for the
repeat playback section. REPEAT and A–B appear on the
display, the repeat section (A–B) is confirmed and
A–B repeat playback begins.
The A–B repeat playback section cannot span more than
one track.
Stopping A–B repeat playback
ª
Press the remote control A–B key or the REPEAT key.
REPEAT and A–B disappear from the display and A–B
repeat playback stops.
If A–B repeat playback is stopped during playback,
•
the track continues playing past the B point.
Press the CD STOP key to stop CD playback and cancel
•
the designated repeat section (A–B).
Pitch control
This unit can change the pitch (sound frequency and
playback speed) during CD playback (pitch control
playback).
Follow the procedures below to use pitch control playback.
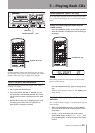
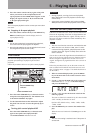
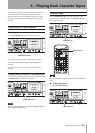
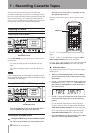
PITCH CONTROL key/
Indicator
PITCH CONTROL knob
1 Press the PITCH CONTROL key on the main unit to
turn pitch control playback ON. The indicator next
to the PITCH CONTROL key lights.
2 Use the CD PITCH knob on the main unit to adjust
the pitch. You can raise or lower the pitch by up to
12.5%.
Turning pitch control playback OFF
ª
Press the PITCH CONTROL key on the main unit
again to turn pitch control playback OFF.
The
PITCH CONTROL
indicator turns off.
CAUTION
During playback, turning pitch control playback
•
ON or OFF might cause the playback sound to skip
momentarily.
Using pitch control playback with a data CD (MP3,
•
WAV) sometimes causes the playback sound to skip.
Auto cue function (audio CDs only)
If the auto cue function is ON, when a track is selected, the
silence at the beginning of the track is skipped and the unit
pauses at the position where the “signal” actually starts in
the track. This allows sound to be heard immediately after
playback is started.
The auto cue function cannot be used with data CDs.
•
When the auto cue function is ON, even if a track
•
is selected during playback, playback pauses at the
position where the “signal” actually starts after the
track is selected.
You can also set the audio signal detection threshold level
auto cue level) for use with the auto cue function. In short,
this unit recognizes signals above the auto cue level as
“signal” and ignores any signal below the auto cue level as
“silence.”
Follow the procedures below to use the menu to turn the
auto cue function ON and OFF and set the auto cue level.
(See “Using the menu” on page 17 for details about how to
use the menu.)
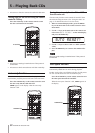
1 When in standard display mode, press the MENU
key on the main unit or the remote control to enter
menu mode.
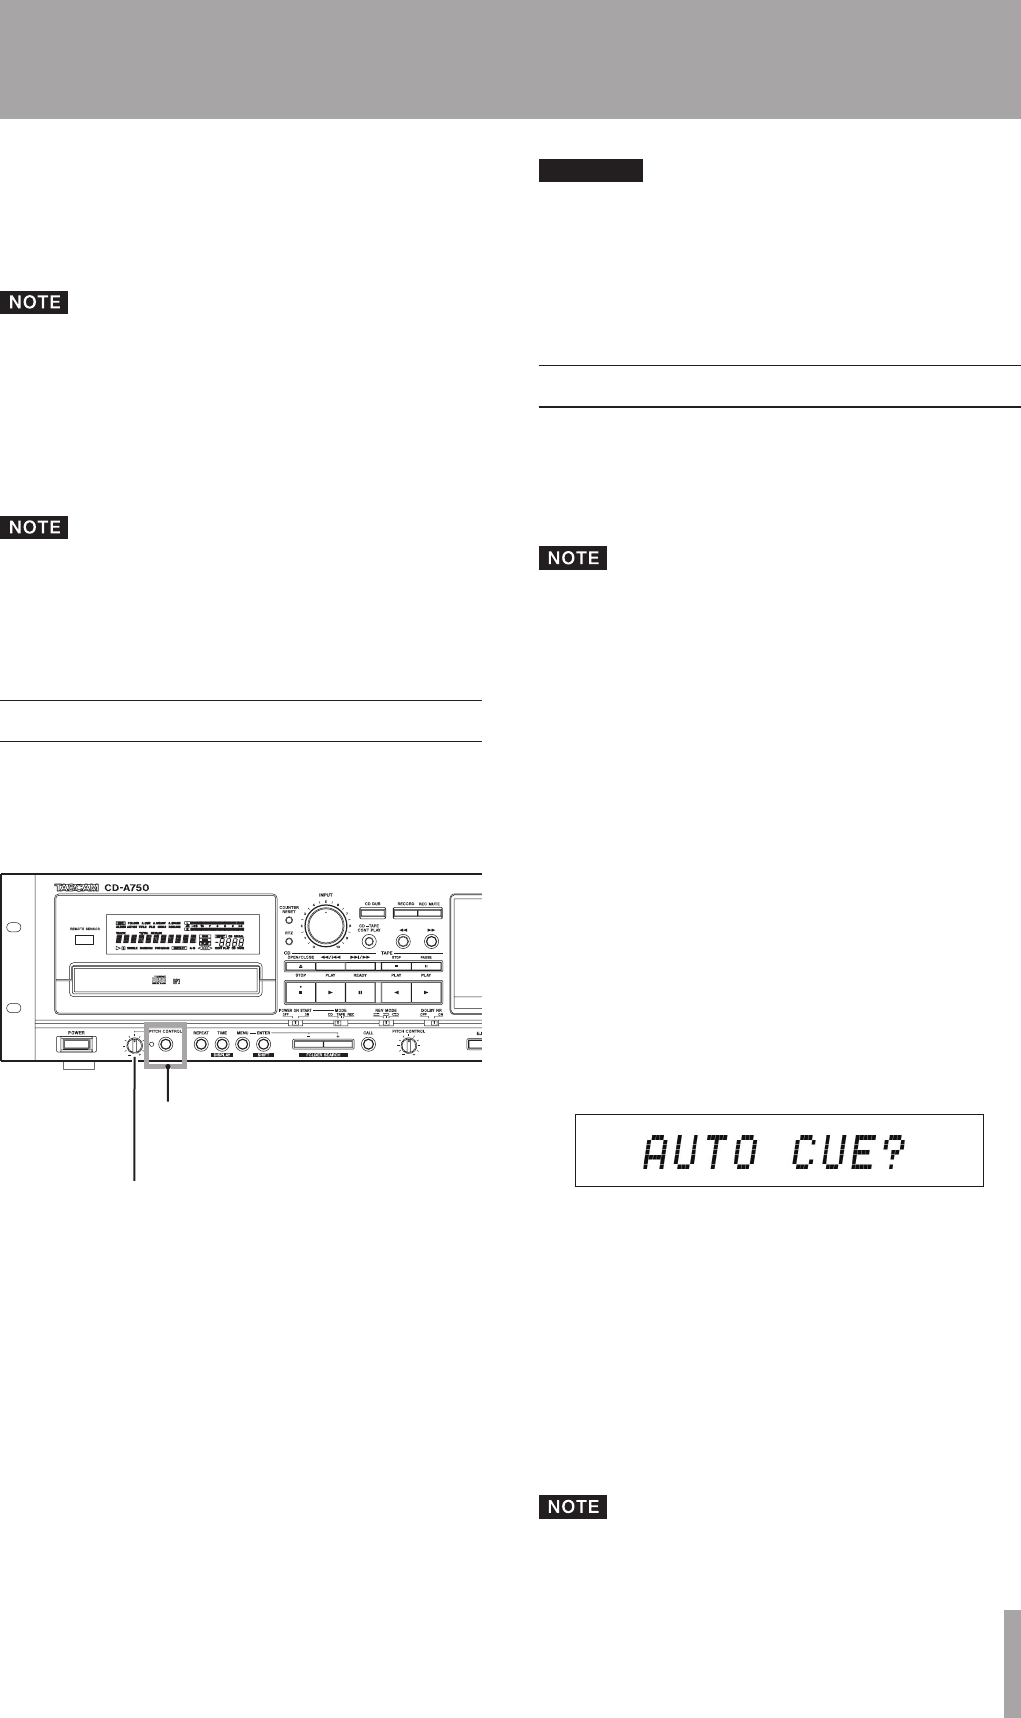
2 Use the -/+ keys on the main unit or the remote con-
trol to show
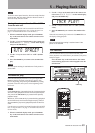
AUTO CUE?
on the main display,
and press the ENTER key.
3 Use the –/+ key to select the desired value from the
following options.
The auto cue function is turned ON by all values besides
“OFF” and they set the auto cue level.
Options: OFF (default value), –24dB, –30dB, –36dB,
–42dB, –48dB
4 Press the ENTER key to return to the standard dis-
play.
When the auto cue function is ON, A.CUE appears on the
display.
The auto cue setting is retained even if the power is
•
turned OFF.