


Tandberg Data Tape Drive Installation
12 Tandberg LTO HH Installation and User Manual
Please read carefully the Information about the SCSI-ID conflicts and SCSI termination in Sections
3.8 and 3.9.
Note: Do not apply or insert power cord until all connections have been made.
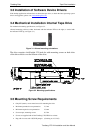
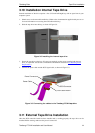
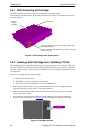
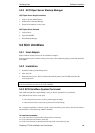
To install a tabletop tape drive, simply:
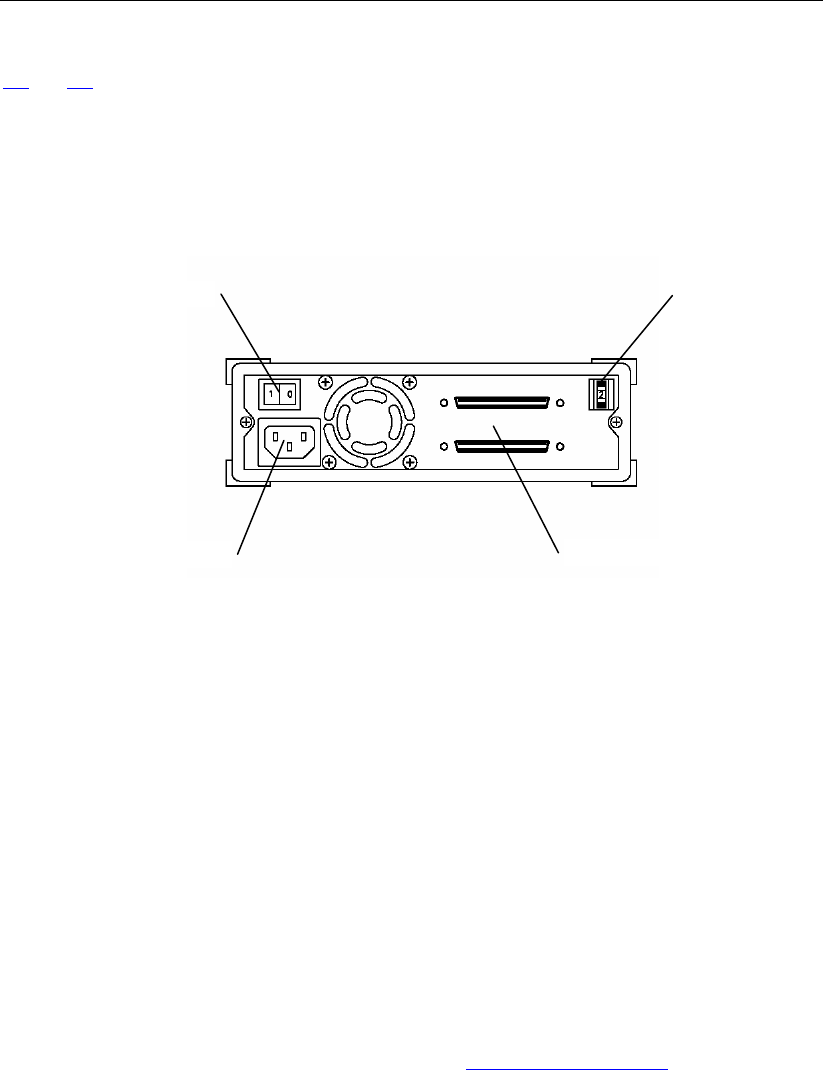
1. Connect the tape drive to your PC/Server with the enclosed SCSI cable to any of the two
available SCSI connectors. Remember to place the termination on the free connector on the back
of the tape drive, and to select a unique SCSI-ID.
Figure 3.10 Connecting the external Tandberg LTO HH tape drive
2. Connect it to the power outlet.
3. When you power up the system for the first time, check that all your SCSI devices are recognized
by the SCSI controller board.
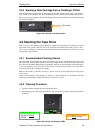
3.12 Verifying Tape Drive Operation
Once you have installed the Tandberg LTO HH tape drive hardware to the host computer, verify that
it is functioning properly before you attempt to store data.
1. For internal drives: Switch on the host computer
2. For external drives: Switch on the drive before switching on the host computer
3. The Tandberg LTO HH tape drive starts a power-on selftest exercising most of the drive’s
functionality without requiring any cartridge to be inserted.
4. All the four LEDs light during power-up (see section 4.1 Front LED Indicators).
5. The Activity LED is flashing during the selftest operation.
6. If any error occurs during the selftest, the tape drive will flash the Fault LED.
7. All LEDs are off after the selftest is performed successfully
8. If a tape cartridge is inserted, the tape cartridge will be loaded and the Ready LED will be lit.
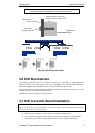
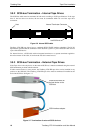
ON/OFF Switch
SCSI-ID Switch
Power Connector
SCSI Interface Connectors