10
EN
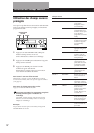
Amplifier Operations
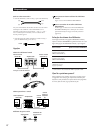
Recording
This amplifier makes it easy to record to and from the
components connected to the amplifier. You don’t
have to connect playback and recording components
directly: once you select a programme source on the
amplifier, you can record and edit as you normally
would using the controls on each component.
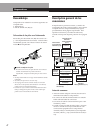
Before you begin, make sure you’ve connected all
components properly.
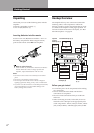
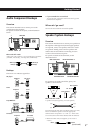
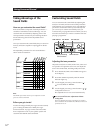
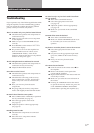
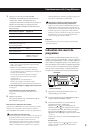
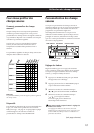
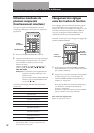
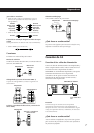
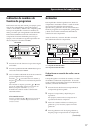
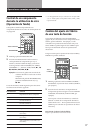
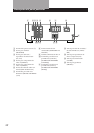
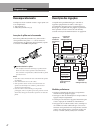
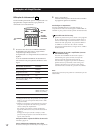
ç: Audio signal flow
c: Video signal flow
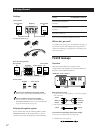
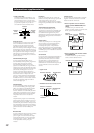
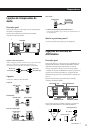
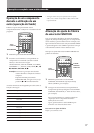
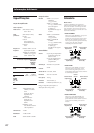
Recording on an audio tape or MiniDisc
You can record on a cassette tape or MiniDisc using the
amplifier. See the instruction manual of your cassette
deck or MD deck if you need help.
1 Press one of the function buttons to select the
component to be recorded.
2 Set the component to be ready for playing.
For example, insert a CD into the CD player.
3 Insert a blank tape into the recording deck and
adjust the recording level, if necessary.
4 Start recording on the recording deck and then
start playing the component.
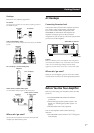
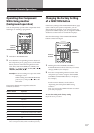
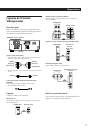
Recording on a video tape
You can record from a VCR, a TV, or an LD player
using the amplifier. You can also add audio from a
variety of audio sources when editing a video tape. See
your VCR or LD player’s instruction manual if you
need help.
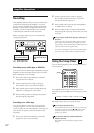
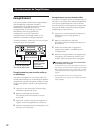
1 Press one of the function buttons to select the
programme source to be recorded.
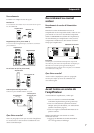
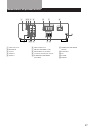
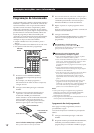
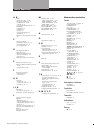
Playback component
(programme source)
c
ç
ç
c
Recording component
(tape deck, MD deck,
VCR)
2 Set the component to be ready for playing.
For example, insert the laser disc you want to
record from into the LD player.
3 Insert a blank video tape into the VCR (VIDEO 1
or VIDEO 2) for recording.
4 Start recording on the recording VCR and then
start playing the video tape or laser disc you want
to record.
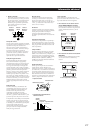
You can replace audio while copying a video tape or
laser disc
At the point you want to start adding different sound,
press another function button (for example, CD) and
start playback. The sound from the selected component
will be recorded over the original audio.
To resume recording the sound of the original playback
source, press the function button for that component.
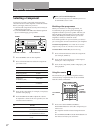
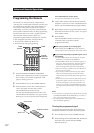
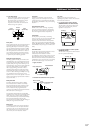
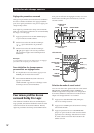
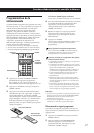
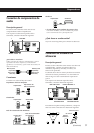
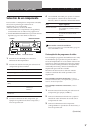
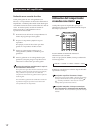
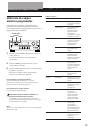
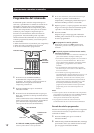
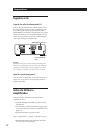
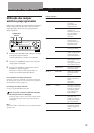
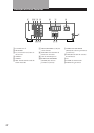
Function buttons
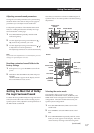
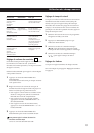
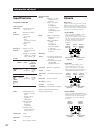
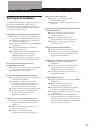
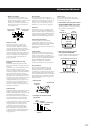
Using the Sleep Timer
You can set the amplifier to turn off automatically at a
time you specify.
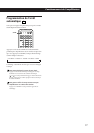
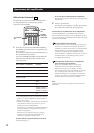
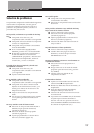
Press SLEEP on the remote while the power is on.
Each time you press SLEEP, the time changes as shown
below.
The display dims after you specify the time.
You can freely specify the time
Press SLEEP first, then specify the time you want using
the digital processing control ( or ) buttons. The
sleep time changes in 1 minute intervals. You can
specify up to 5 hours.
You can check the time remaining before the
amplifier turns off
Press SLEEP. The remaining time appears in the
display.
SLEEP
n 2:00:00 n 1:30:00n 1:00:00 n 0:30:00 n OFF