30
To stop recording
Press MD π.
If the MD ends while recording, the MD and
the CD automatically stops.
Tip
The MD is labeled with the disc title of the CD (see
page 22) when using a new recordable MD or an
MD whose tracks have been completely erased (see
page 39) (Disc Memo Copy function).
While “TOC” is lit or is flashing
To ensure complete recording, do not move
the deck or pull out the mains lead . The
deck updates the Table of Contents (TOC)
while “TOC” is flashing.
Notes
•The MD recording is complete only after all the
recording information is entered to TOC at which
point TOC stops flashing and goes out. Be careful
disconnect the mains lead or move the deck before
this point. Before disconnecting the mains lead, do
the following:
– Remove the MD.
– Press POWER, to turn off the system.
•If the MD is record protected, “MD Protected”
appears in the display and the MD cannot be
recorded on.
Press MD § and remove the MD, slide the record
protection tab to the closed position (see page 28),
reinsert the MD and try again.
Recording the favorite CD tracks
on an MD (continued)
8 Press MD ·∏.
Recording starts from the last recorded
portion of the MD. The CD player stops
and the MD deck pauses automatically
when the recording is completed. If
there is no remaining recording time on
the MD, the MD deck stops.
Recording on an
MD manually
The system automatically locates the end of
any recorded portion of an MD and starts
recording from that point.
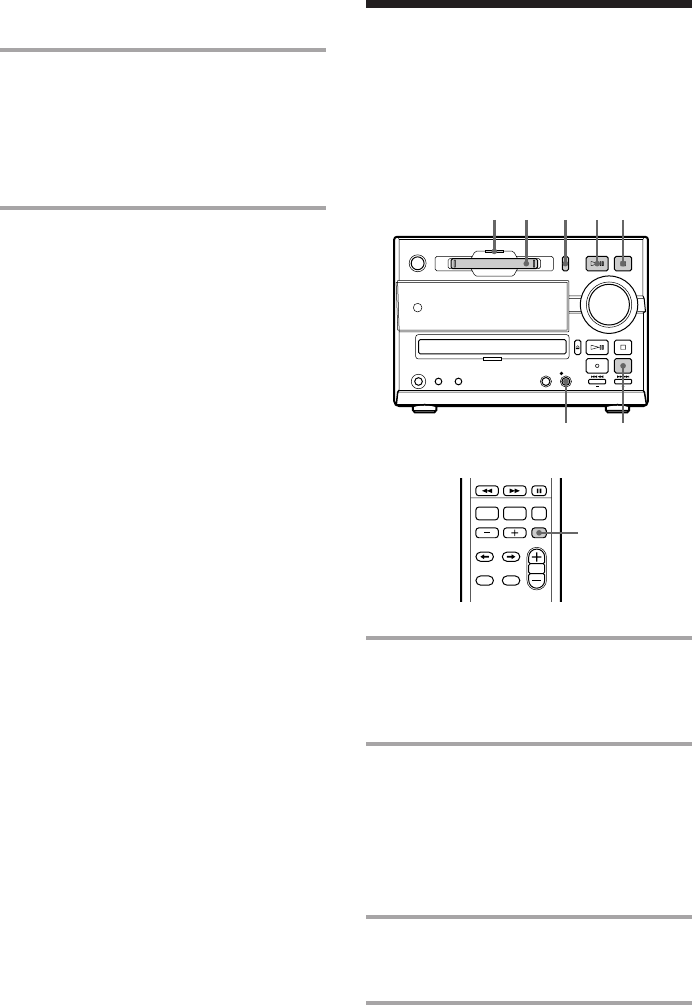
1 Insert a recordable MD.
If the MD indicator is lit red, another MD
is already inserted, press MD § and
remove the MD.
2 Press FUNCTION to select the
source (e. g., CD) you want to
record.
• CD : Recording from the CD.
• TUNER : Recording from the radio.
• TAPE : Recording from other
components.
3 Press r REC.
The MD deck is now ready for
recording.
4 Press MD ·∏.
Recording starts.
MD
indicator
1
32
4
MD π
MD §
DISPLAY


