7
Getting Started
3 Reinstall the rear cover (see step 4 on the
page 5).
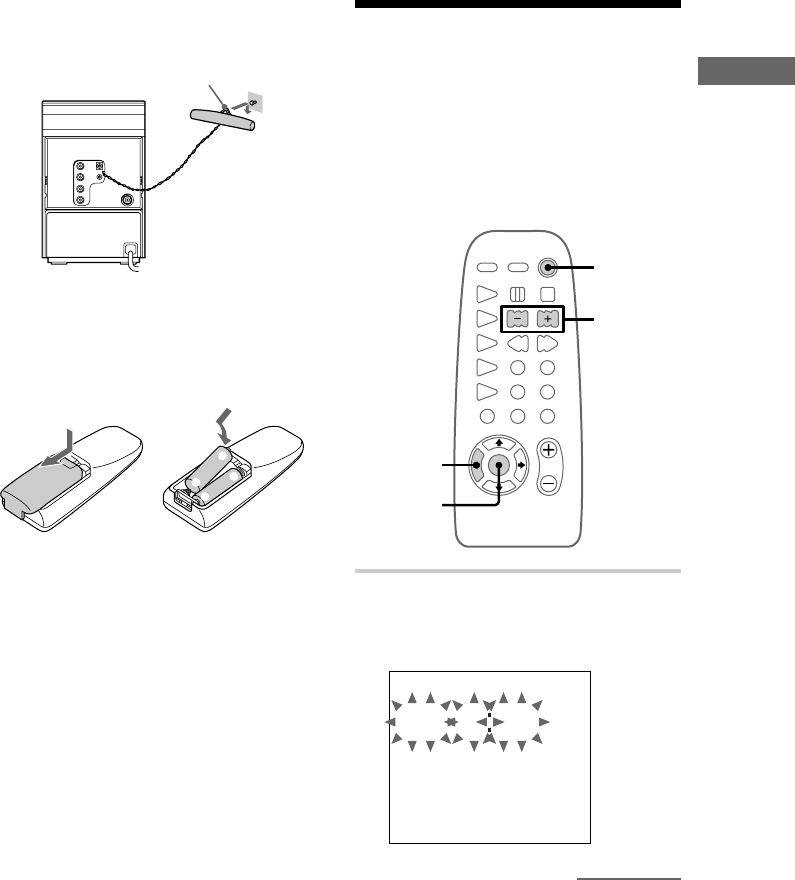
You can hang the AM antenna on a wall as
shown below.
If noise is heard while listening to an FM
station, remove the FM antenna from the rear
panel and place the antenna outside.
Inserting two size-AA (R6)
batteries into the remote
E
E
e
e
Tip
With normal use, the batteries should last for about
six months. When the remote no longer operates the
system, replace both batteries with new ones.
Notes on batteries
• Make sure the battery poles (plus/minus) are
properly oriented.
• Do not use a new battery with an old one.
• Do not use different types of batteries together.
• If you do not use the remote for a long period of
time, remove the batteries to prevent possible
damage from battery leakage and corrosion.
• Do not use a battery that is leaking.
• If a battery has leaked, clean the battery
compartment and replace all the batteries.
• Do not place the remote in an extremely hot or
humid place.
• Do not expose the remote sensor to direct sunlight
or lighting apparatuses. Doing so may cause a
malfunction.
continued
Hook
Step 2: Setting the time
Before you can use the system’s timer functions,
set the internal clock.
The clock uses a 24-hour system on the European
model, and a 12-hour system on other models.
The 24-hour system is used here for illustration
purposes.
To turn on the system, press ?/1.
3,5,7
2,4,
6,8
1
1 Press TIMER SET.
The clock on the display begins to flash.
When “DAILY” or “c REC” appears, press
l/L repeatedly until it disappears.
SU 000
?/1
(Power)


