29
GB
Getting Started
Step 5: Performing the
Easy Setup
Follow the Steps below to make the basic
adjustments for using the system.
Displayed items vary depending on the country
model.
1 Turn on the TV.
2 Connect the calibration mic to the
A.CAL MIC jack on the rear panel.
Set up the calibration mic at ear level using
a tripod, etc. (not supplied). The front of
each speaker should face the calibration
mic, and there should be no obstruction
between the speakers and the calibration
mic.
3 Press [/1.
4 Switch the input selector on your TV so
that the signal from the system
appears on the TV screen.
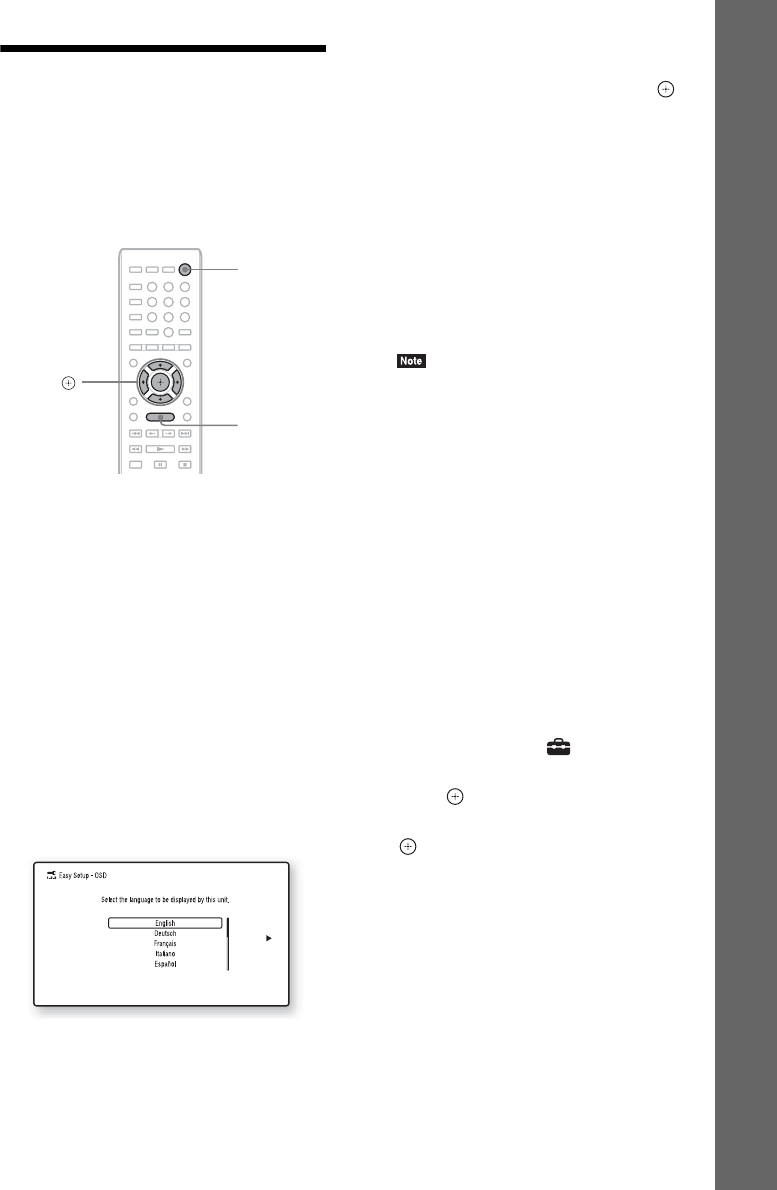
The Easy Setup Display for OSD language
selection appears.
5 Perform the [Easy Setup]. Follow the
on-screen instructions to make the
basic settings using C/X/x/c, and .
Depending on the connection method
(page 22), perform the following setting.
• HDMI cable connection: Follow the
instructions that are displayed on the TV
screen.
• Component video cable connection (for
non-European/non-Saudi Arabian
models): Select the picture quality. The
available settings are as follows, from
lowest to highest picture quality: 480i/
576i, 480p/576p, 720p, and 1080i.
• BD-ROM playback of protected content via
component video output is only supported at
480i/576i output resolution. For details, see
“Copy Protection” (page 3).
• Video cord connection: Select [16:9] or
[4:3] so that the picture is displayed
correctly.
For details about [Auto Calibration]
settings in [Easy Setup], see “Calibrating
the Appropriate Settings Automatically”
(page 48).
To recall the Easy Setup Display
1 Press HOME.
The home menu appears on the TV screen.
2 Press C/c to select [Setup].
3 Press X/x to select [Easy Setup], then
press .
4 Press C/c to select [Start], then press
.
The Easy Setup Display appears.
8
0
97
564
231
C/X/x/c,
HOME
"/1


