


8 Installing Your SMART Audio 240 System 99-00855-20 C0
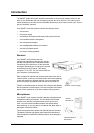
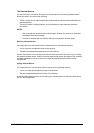
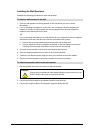
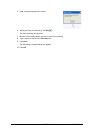
3. Connect the RG-59 cable to the F-type jack on the
ceiling sensor.
4. Tighten two screws through the mounting bracket screw holes and into the ceiling using
the appropriate screws for your ceiling.
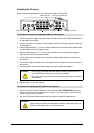
Installing the Ceiling Speakers
Complete the following procedures for each ceiling speaker.
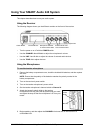
1. Remove the ceiling tile that you want to install the ceiling speaker into.
2. Mark the center of the ceiling tile with a pencil.
3. Draw a circle 8 3/16" (20.8 cm) in diameter around the center mark on the tile with a pencil.
4. Cut out the circle with a drywall saw.
5. Replace the ceiling tile in the ceiling grid.
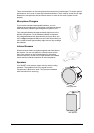
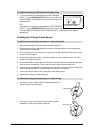
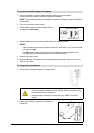
1. Remove the speaker’s grille with a flat screwdriver.
2. From beneath the ceiling, insert the speaker through the hole you cut in the ceiling tile.
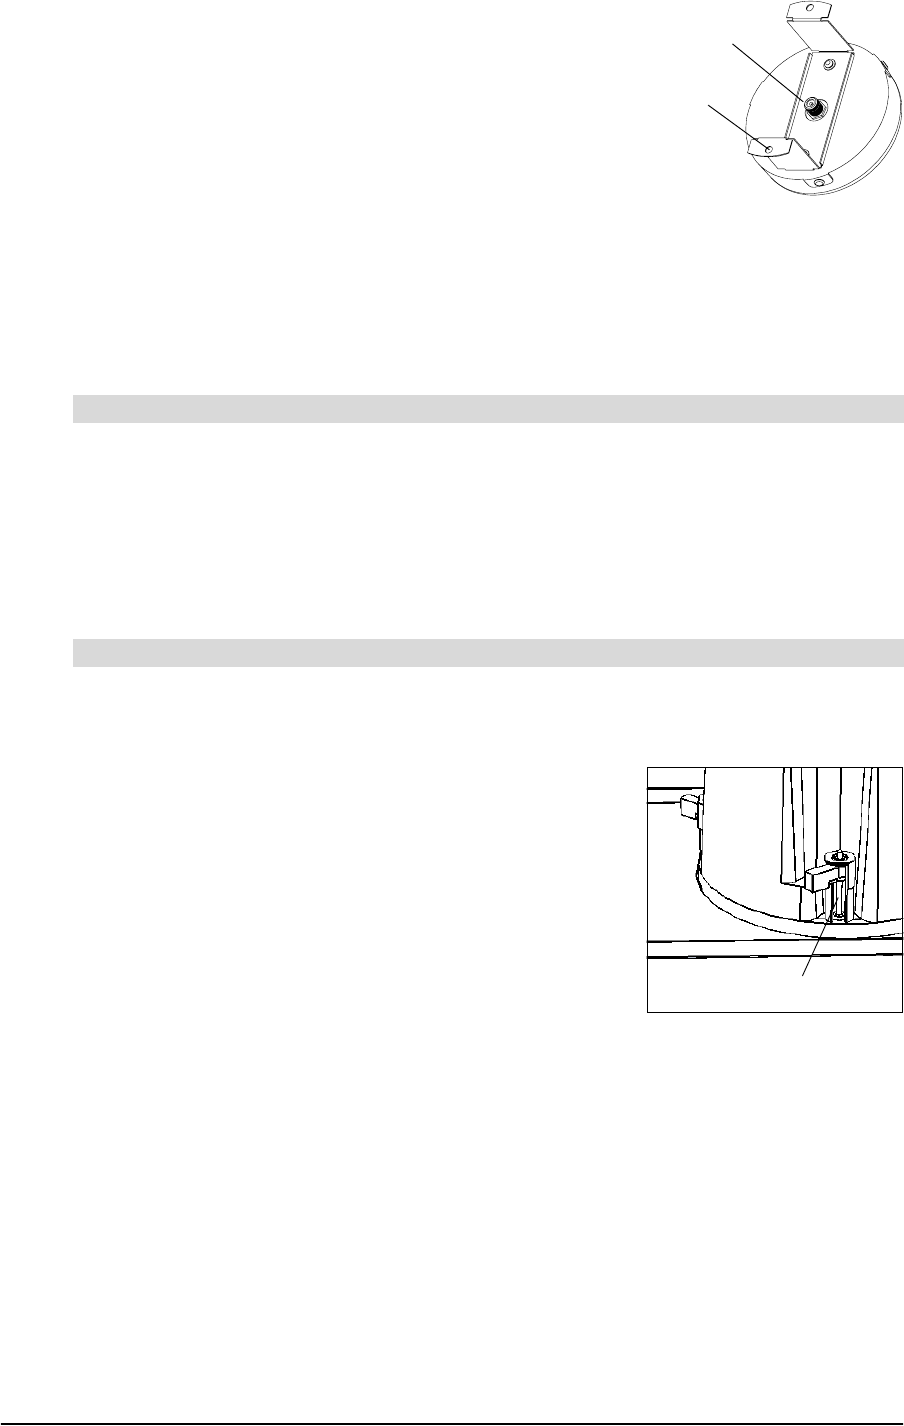
3. While holding the speaker in place, tighten the four
ceiling-clamp screws with a Phillips screwdriver.
The ceiling clamp on the back of the speaker clamps the
speaker to the ceiling tile.
NOTE: You can order an optional ceiling tile reinforcement
plate. Contact your local SMART reseller for more
information.
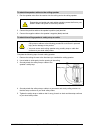
4. Press the speaker grille against the face of the speaker to attach it to the speaker.
To prepare a drop-ceiling tile for installation
To attach a ceiling speaker to the ceiling tile
F-Type Jack
Screw Hole
Ceiling-Clamp Screw