


Installation
Signature Cinema™ SC-50d/SC-60d Installation/Operation Manual 41
PRE
L
IMINAR
Y
3.8
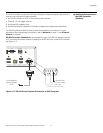
Turning on the Power
1. Power up your source components.
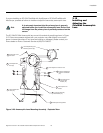
2. Turn on the main power switch at the rear of the projector.
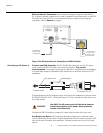
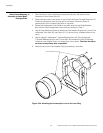
3. If this is an AutoScope-equipped projector, turn on the main power switch at the rear
of the AutoScope lens motor. The lens motor power switch is located next to the AC
input (see Figure 3-18).
4. Turn on the main power switch at the rear of the DHD Controller.
5. Press the ON button on the remote control (or the ON/STANDBY ( ) button on the
DHD Controller front panel) to turn on the system. The vacuum fluorescent display on
the DHD Controller front panel briefly displays “Initializing System,” followed by
“Starting SC-50d/SC-60d.”
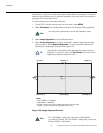
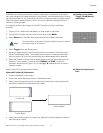
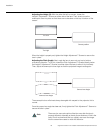
6. When the display is ready for use, the fluorescent display indicates the active source,
input resolution/frame rate and aspect ratio; for example:
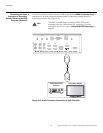
3.9
Primary Lens
Adjustments: Focus,
Zoom and Position
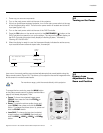
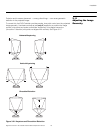
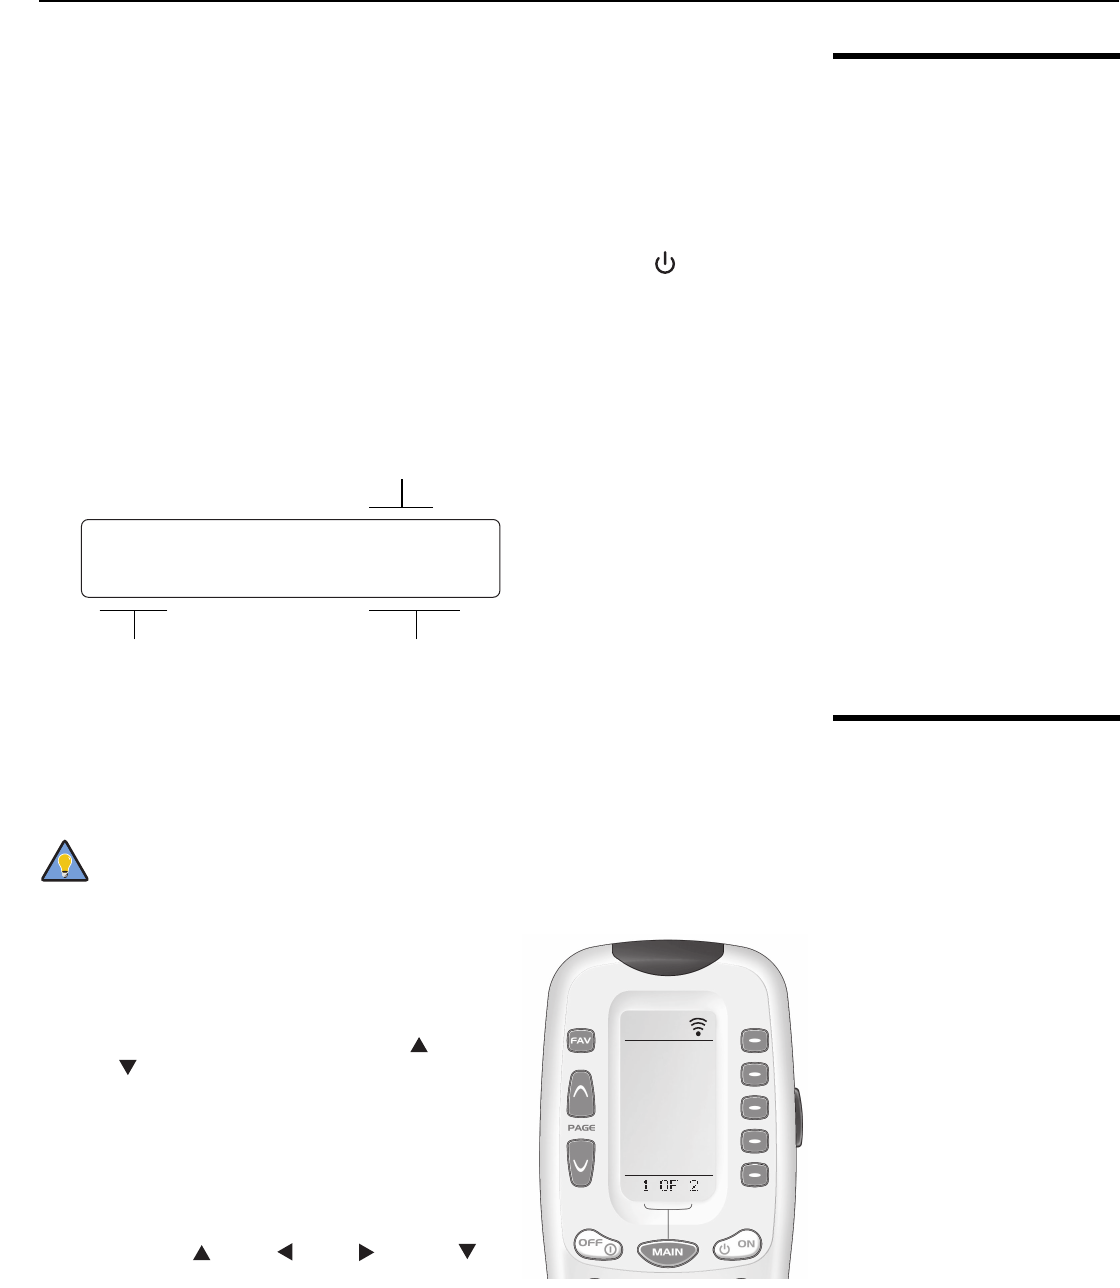
Lens zoom, focus and position are motorized adjustments that are adjustable using the
Setup remote control (Figure 2-6). This allows you to adjust the focus and image size while
at the screen for more accurate results.
To access the lens controls, press the MAIN button
on the Setup remote control to display the Main Menu
page (if not already displayed). Then:
•Focus: To focus the projected image, press
FOCUS, then press and hold the FCUS or
FCUS button.
•Zoom: To make the picture smaller (zoom out),
press ZOOM, then press and hold the ZOOM-
button. To enlarge the picture (zoom in), press and
hold the ZOOM+ button.
•Lens Shift: To change the lens (and projected
image) position, press LENSS, then press and
hold the LENS , LENS , LENS or LENS
button.
HDMI 1
16:9 1080i/60
Current
Source
Aspect Ratio
Input Resolution/Frame Rate
SC-50d/SC-60d
1080p/60
For maximum range, point the remote directly at the projector.
Tip
FOCUS
ZOOM
LENSS