


Installation
Runco LS-10d Installation/Operation Manual 43
PRE
L
IMINAR
Y
3.11
Installing and
Adjusting the
Anamorphic Lens
If you are installing an LS-10d with an anamorphic lens, proceed as follows to install and
adjust the lens.
Anamorphic Lens
Installation and
Adjustment
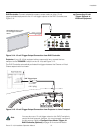
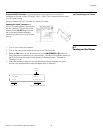
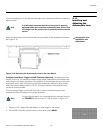
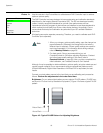
Attach the anamorphic lens to the bracket using the plastic knobs supplied with the lens.
See Figure 3-19.
Figure 3-19. Attaching the Anamorphic Lens to the Lens Mount
Configure Lens Motor Trigger on DHD Controller (Optional): The anamorphic lens
solution for the LS-10d maintains constant image height independent of the aspect ratio,
while using the full display resolution of the projector. It accomplishes this by moving the
anamorphic lens in front of the primary lens when widescreen material is being viewed.
When the viewer transitions back to 16:9 or 4:3 source material, the anamorphic lens
moves out of the light path.
If you are using a trigger on the DHD Controller to control the lens transport motor,
proceed as follows to configure it for proper operation.
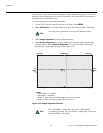
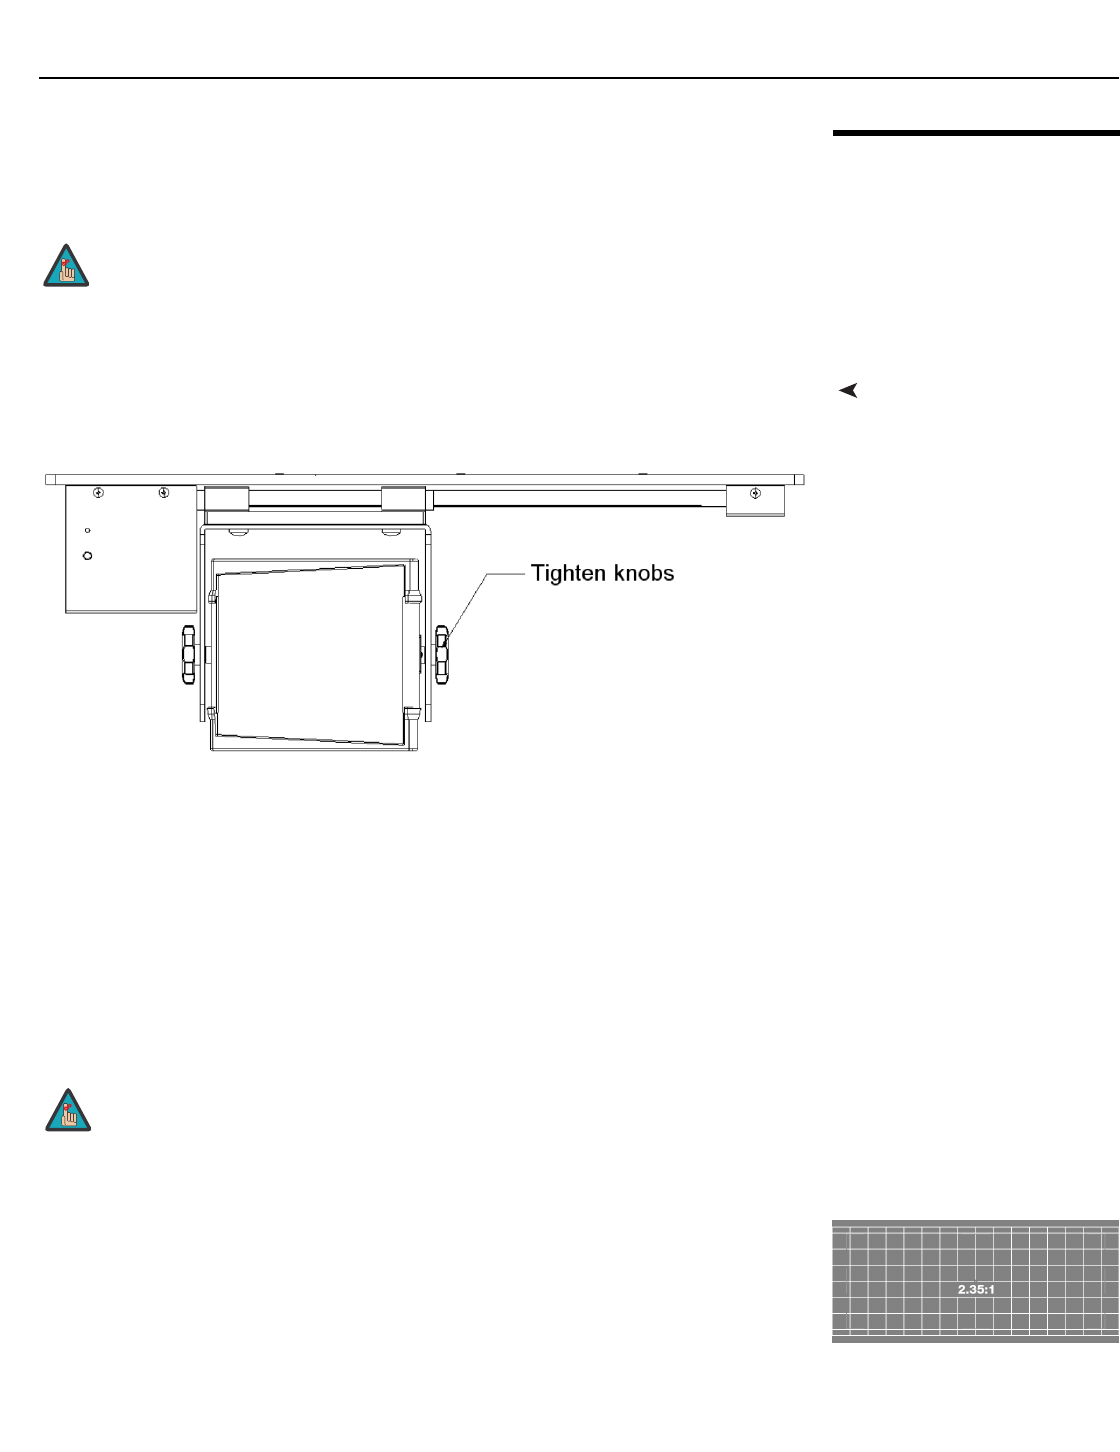
1. Project a 2.35:1 aspect ratio test pattern or other image on the screen.
2. On the DHD Controller remote control or front panel, press MENU.
It is extremely important that the primary lens is properly
adjusted before you install the anamorphic lens. Ensure that
the image from the primary lens is perfectly centered on the
screen.
Note
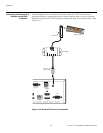
You can skip this step if you connected the lens transport motor to
the TRIGGER 1 output on the LS-10d, as shown in Figure 3-15.
Note