25
the LARGE setting (not available with SMALL
front speakers). If your rear speakers have lim-
ited bass capability or if you would prefer that
the bass go to a subwoofer, use the SMALL set-
ting. If your system has no rear surround speak-
ers, select the NONE setting (surround infor-
mation will be added to the front speakers).
SUBWOOFER (yes/no): Use the YES set-
ting if your system has a subwoofer. If your
system does not have a subwoofer, select NO.
NOTE
: Speaker configuration is a global set-
ting for all surround modes and need only be
done once.
To change a setting, place the highlight on the
desired line using the UP/DOWN buttons and
use the +/– buttons to toggle through the
available settings. To return to the MAIN menu,
press the ENTER button. Press the MENU key
on the remote to cancel the display and re-
turn to normal operation.
DELAY SETUP Menu
DELAY SETUP
Dolby Dolby
Digital Pro Logic
CENTER: 1ms
R SURROUND: 15ms 30ms
L SURROUND: 15ms 30ms
ENT KEY=MAIN MENU UP KEY=up
+/– KEY=change DWN KEY=down
This menu, which is reached from the MAIN
menu, allows you to set the delay for individual
speakers. This ensures that the sound from each
speaker arrives simultaneously at the listening
position, even when the speakers are not all
placed at equal distances from the listener.
Although personal preference is the ultimate
guide, you typically increase the delay to speak-
ers located closer to the seating area and de-
crease the delay to speakers located farther
from the seating area.
Start by measuring the distance from your
seating position to each speaker. The speaker
farthest away should receive no additional
delay. Each of the other speakers will receive
one millisecond of delay for each foot (30 cm)
closer to you than the farthest speaker. For ex-
ample, if the left front speaker is farthest away
at 13 feet and the left rear speaker is 8 feet
away, you should add 5 milliseconds of de-
lay to the left rear speaker. Continue setting
delays for each speaker until you have com-
pensated for each speaker that is closer to you
than the farthest speaker.
The delay times for the surround speakers are
set longer for Dolby Pro Logic mode than in
Dolby Digital mode. When you change de-
lay setting for Dolby Digital, the delay time
for Dolby Pro Logic will automatically be set
15ms longer.
The available settings for the CENTER chan-
nel (Dolby Digital only) are 0ms, 1ms, 2ms,
3ms, 4ms, and 5ms. For SURROUND (Dolby
Digital), the settings are 0ms, 5ms, 10ms, and
15ms. For SURROUND (Dolby Pro Logic), the
settings are 15ms, 20ms, 25ms, and 30ms.
To change a setting, place the highlight on the
desired line using the UP/DOWN buttons and
use the +/– buttons to increase or decrease
the delay setting. To return to the MAIN menu,
press the ENTER button. Press the MENU key
on the remote to cancel the display and re-
turn to normal operation.
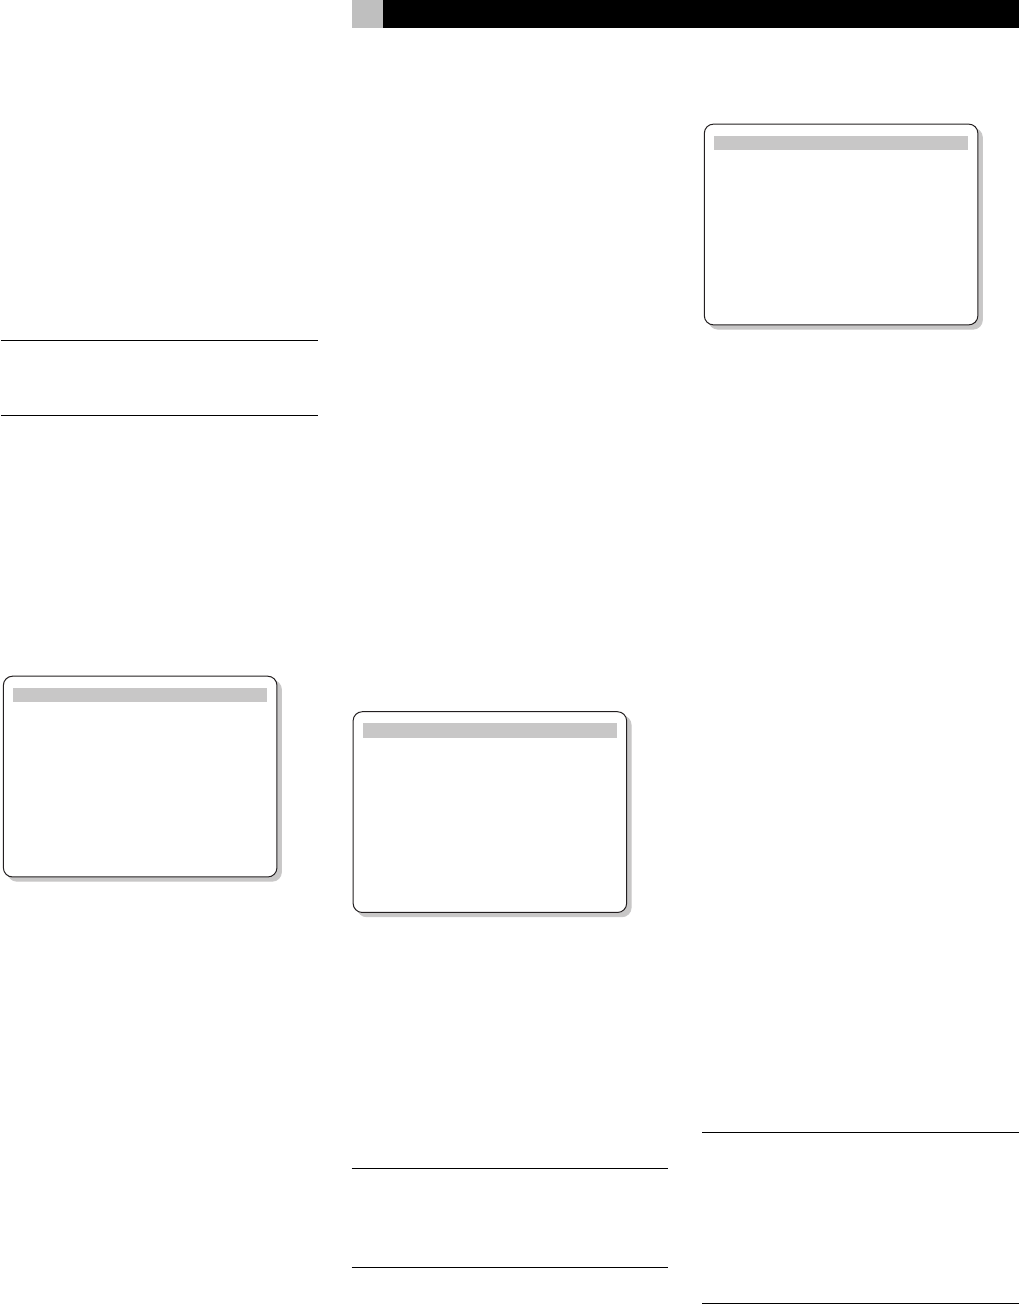
SUBWOOFER LEVEL Menu
SUB LEVEL
DOLBY: +1
DTS: -2
STEREO: +5
MUSIC: +3
ENT KEY=MAIN MENU
+/– KEY=change
The SUBWOOFER LEVEL menu provides in-
dependent adjustment of subwoofer level for
each surround mode. These settings are memo-
rized and engaged automatically each time
a music or theater surround mode is selected.
When going to the SUBWOOFER LEVEL menu
from the MAIN menu, the current surround
mode is automatically highlighted.
NOTE
: Only the current surround mode can
be adjusted on this menu. You will need to
change surround modes using the front-panel
or remote buttons to adjust a different mode.
Use the +/– buttons to adjust the subwoofer
level for the current surround mode. To return
to the MAIN menu, press the ENTER button.
Press the MENU key on the remote to cancel
the display and return to normal operation.
TEST TONE Menu
TEST TONE
LEFT: +1dB
CENTER: -1dB
RIGHT: +1dB
R SURROUND: +5dB
L SURROUND: +4dB
SUBWOOFER: +9dB
ENT KEY=MAIN MENU UP KEY=up
+/– KEY=change DWN KEY=down
This menu uses test tones to set equal volume
levels for all speakers (left front, center, right
front, right surround, left surround, and sub-
woofer) to ensure proper surround sound re-
production. Setting the output levels using the
test procedure provides the most accurate
adjustment so that digital surround sound
material will be reproduced as it was intended.
To access this menu and perform the test tone
calibration, you must be in one of the surround
modes. To do this, press any of the MODE
buttons except 2CH. Then, enter the ON-
SCREEN DISPLAY menu system and select TEST
TONE from the MAIN menu to reach this
screen.
When you enter the TEST TONE menu, you
will hear a test tone coming from the highlighted
speaker. Highlight different speakers by moving
the cursor to the desired line using the UP/
DOWN buttons. The test tone will shift accord-
ingly to the selected speaker.
While seated in the normal listening location,
switch the test tone to the various speakers.
Using the loudest speaker as a fixed reference,
listen to hear if any other speakers are notice-
ably louder or quieter. If so, adjust that speaker’s
volume levels up or down (in 1dB increments)
to match using the +/– buttons. Continue switch-
ing among the speakers and adjusting until
all speakers are the same volume.
NOTE
: This calibration will be more accurate
using a sound pressure level (SPL) meter in-
stead of relying on your ear. Set the meter to
its SLOW response time with C-weighting and
hold it away from your body. Adjust the lev-
els until the meter provides the same reading
for each of the speakers in your system.
To return to the MAIN menu, press the ENTER
button. Press the MENU key on the remote to
cancel the menu display and return to normal
operation.
English


