


23
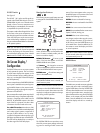
IR OUT Jacks
See Figure 5
The IR OUT 1 & 2 jacks send IR signals re-
ceived at the ZONE REM IN jack or the EX-
TERNAL REM IN jack to an infrared emitter
placed in front of a source component or to
Rotel CD players, cassette decks, or tuners with
a compatible rear panel IR connector.
This output is used to allow IR signals from Zone
2 to be sent to the source components, or to
pass along IR signals from a remote in the main
room when the sensors on the source compo-
nents are blocked by installation in a cabinet.
See your authorized Rotel dealer for information
on IR repeater systems.
NOTE
: The EXT REM IN jack located to the
right of these jacks is for use with an external
IR sensor duplicating the front-panel IR sen-
sor and located in the primary zone. It should
not be used for ZONE 2 IR connections.
On-Screen Display /
Configuration
The RSX-972 features two on-screen systems
to help operate the system. The first consists
of simple status displays that appear on the
TV screen whenever primary settings (Volume,
Input, etc.) are changed. These status displays
are self-explanatory.
A more comprehensive ON-SCREEN DISPLAY
menu system is available at any time by press-
ing the MENU button on the remote control.
These menus guide you through the setup and
operation of the RSX-972.
We recommend that initial system setup should
be done while using a Composite video cable.
Connect a Composite video cable from the
RSX-972 TV MONITOR outputs to the video
input of the TV or projector. No other video
connections should be made at this time.
For a PAL TV monitor: Note that on a PAL
standard monitor, the OSD cannot be displayed
until a video signal is present, irrespective of
the type of video cables in use. For setup,
connect the Composite video output from your
DVD player and select its input on the RSX-972.
The OSD will be displayed as an overlay to
the video signal from the DVD player.
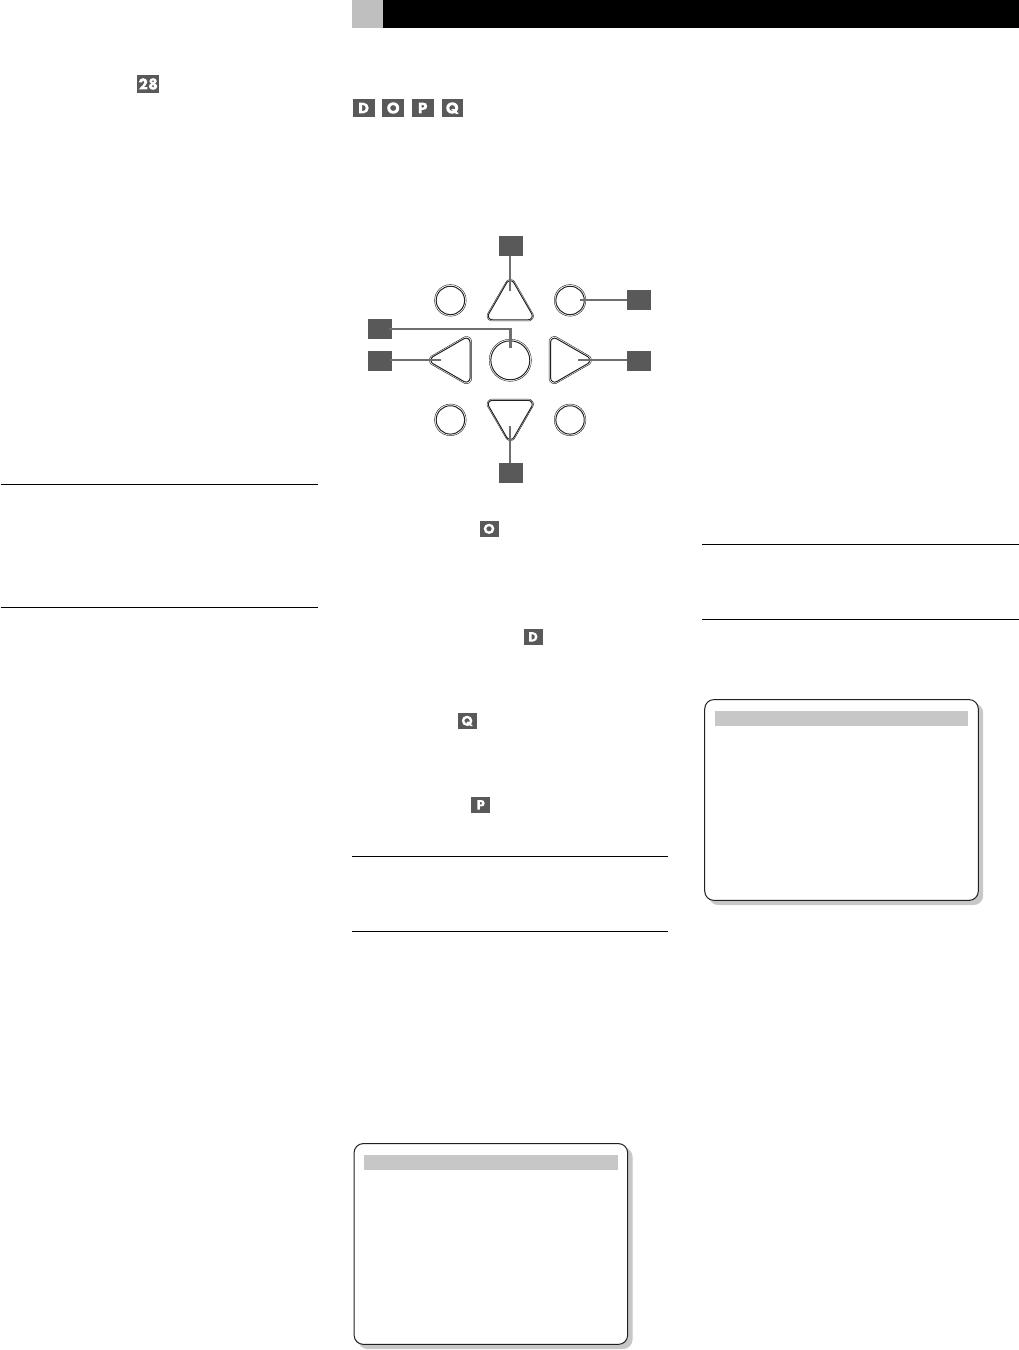
Navigation Buttons
The following remote control buttons are used
to navigate the ON-SCREEN DISPLAY menu
system:
S
R
CM
-
+
UP
DWN
ENT
GUIDE MENU
PREV CH
OSD
SEARCH +
SEARCH –
Q
D
O
D
P
Q
MENU Button : To display the MAIN
screen. All other menus are reached from this
menu. If a menu is already visible, push this
button to cancel the display.
DOWN/UP Buttons
: To move up and
down in the lists that appear on the ON-
SCREEN DISPLAY menu system.
+/– Buttons
: To change the current set-
tings for a selected menu choice on some menus
in the ON-SCREEN DISPLAY menu system.
ENTER Button
: To confirm a setting and
return to the MAIN menu.
NOTE
: A help system at the bottom of each
ON-SCREEN DISPLAY menu reminds you
which buttons to press.
Figure 7 at the front of this manual shows all
of the menus in the ON-SCREEN DISPLAY sys-
tem and how to reach them. Most menus are
used only to configure the system and not typi-
cally during normal operation.
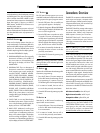
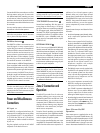
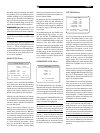
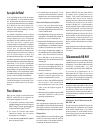
SYSTEM STATUS Menu
SYSTEM STATUS
LISTEN: Tuner
RECORD: CD
MODE: Dolby Digital
INPUT: Coaxial 1
VOLUME: 65
ENT KEY=MAIN MENU
OSD KEY=EXIT
The SYSTEM STATUS menu provides a snap-
shot of the current system settings and a start-
ing point for reaching all other screens and
menus. This screen appears when you press
the MENU button on the remote control and
displays the following information:
LISTEN: the source selected for listening.
RECORD: the source selected for the VIDEO
outputs.
MODE: the current surround sound mode.
INPUT: the input selected for the current source:
Optical, Coaxial, Analog, etc.
VOLUME: the current volume setting.
No changes can be made using this screen;
it only provides information. To go to the rest
of the menus, press the ENTER button to go
to the MAIN menu. Press the MENU key on
the remote to cancel the display and return
to normal operation.
NOTE
: The SYSTEM STATUS screen appears
for ten seconds when the unit is turned on
and automatically turns off.
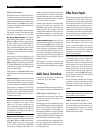
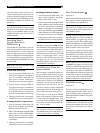
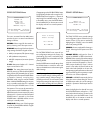
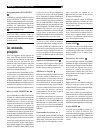
MAIN Menu
MAIN MENU
INPUT SPEAKER
DELAY TEST TONE
SUB LEVEL ZONE 2
OTHER RESET
ENT KEY=ENTER
UP KEY=up DWN KEY=down
The MAIN menu provides access to eight other
screens and menus and is reached by press-
ing the ENTER button from the SYSTEM STA-
TUS menu described above or from most other
menus. To go to another menu, move the high-
light to the desired line using the UP/DOWN
buttons on the remote and press the ENTER
button. Press the MENU key on the remote to
cancel the display and return to normal op-
eration.
English