7
First Things First
Have a blast - Just not in your
ears!
Make sure you turn down the volume
before you put on the headphones.
Increase the volume to the desired level
after headphones are in place.
Connecting the
antennas
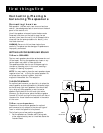
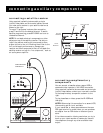
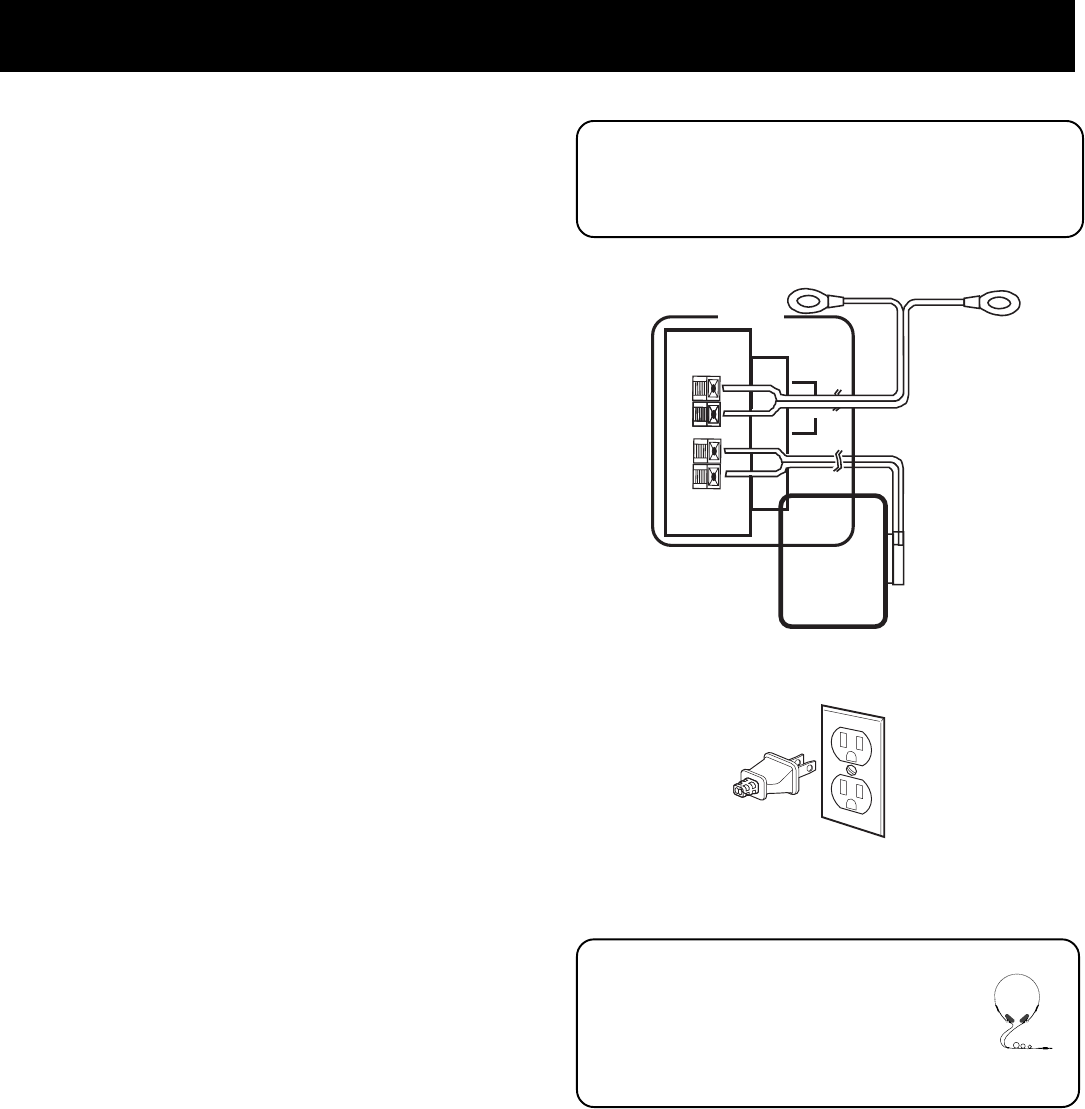
The AM and FM antennas connect to the AM and FM
terminals on the system’s back panel. They must be
hooked up for you to receive clear reception.
Uncoil the antenna wires and locate the bare ends.
Press down on the tab to open the terminal and insert
the wire. Snap the tab closed.
After connecting the antennas, extend them to their
full length and adjust their positioning for better
reception.
Connecting for power
Make sure you connect all your other electronic
components and your speakers before plugging your
receiver into the outlet.
Plug the power cord in the wall outlet, matching the
wide blade of the plug with the wide slot in the outlet.
Be sure to insert the plug completely.
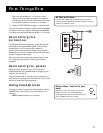
Using headphones
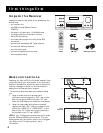
To listen privately through your audio system, use the
PHONES jack to the right of the volume dial on the
receiver.
NOTE: Headphones are not included.
Each time you press the + or - button on your
remote control to adjust a channel, the receiver
provides you with two more seconds of pink noise
to that channel before moving on to the next.
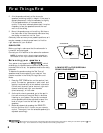
4. Press the TEST TONE button again to end the test.
You may not need to check or adjust these levels again
unless you move your system, rearrange the speakers,
or change your preferred seating location in the room.
Sit Back and Listen ...
Fine tuning is best performed with the remote
control so that adjustments can be made from the
viewing or listening area.
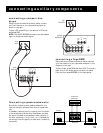
FM
AM
LOOP
ANTENNA


