13
Setting up the DCA Accessories in the Cinema Sound System
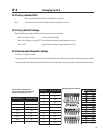
If you are unable to obtain a satisfactory frequency response or SPL on a channel, carefully check the wiring
and connections. Some likely causes are reversed speaker polarity on one or more drivers, loose or broken
wiring or connections, or blown or damaged speaker drivers.
1. Set up the analyzer microphone in the center of the cinema audience seating area
or in another recommended location.
2. Set the all DCA amplifiers’ gain controls to maximum.
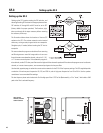
3. Route the pink noise test signal from the cinema processor to the left channel XC-
3 input. Observe the frequency response on the spectrum analyzer and use the HF
trim control on the XC-3 and the LF trim on the LF-3 to balance the levels of their
frequency bands to that of the mid-frequency band, within specifications. If the
shape of the HF response is not correct, use a boost setting that better corrects the
deficiency; turn the amplifiers off before changing the switch settings.
4. Repeat this process for the center and right screen channels and any surround
channels that are bi- or tri-amped.
5. Follow the processor instructions for setting sound pressure level outputs of all the
channels, including the subwoofer.
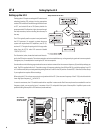
Setting up the DCA accessories in the B chain of the cinema sound system primarily involves setting the trim
levels on the XC-3, LF-3, and SF-3. This requires the cinema processor’s internal pink noise generator and an
acoustical real-time spectrum analyzer.
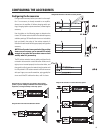
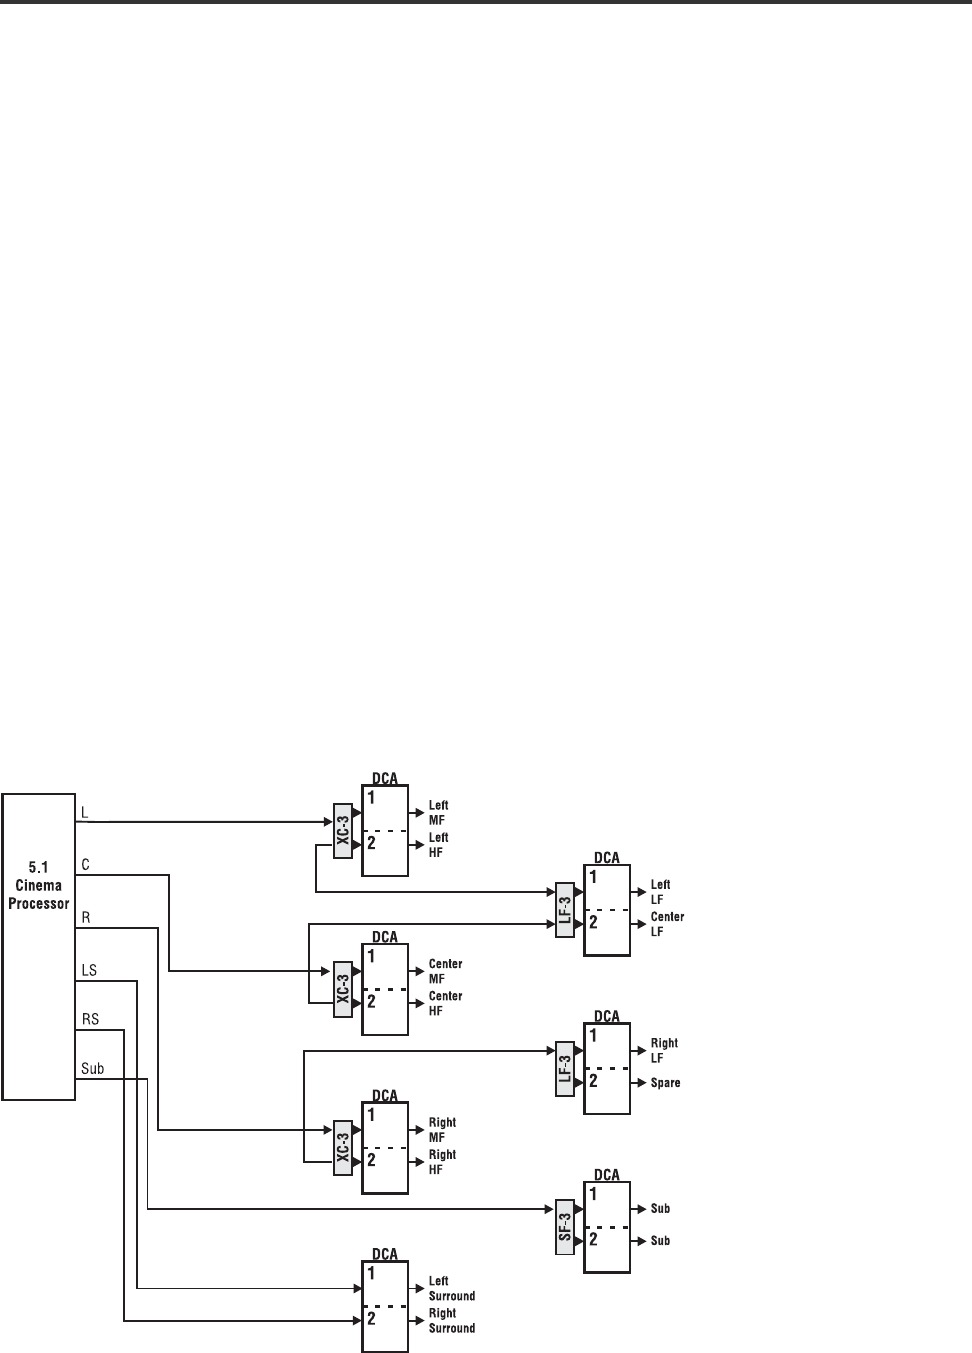
A typical 6.1 surround system with DCA amplifiers and LF-3, SF-3, and XF-3 cinema accessories
APPLICATION EXAMPLE- Setting Up in the Cinema Sound System


