


For Customer Service, call 800-377-7655.
13
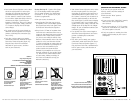
PAINTING THE CABINET, BRACKET
KNOBS AND BRACKET:
1. Apply two thin coats of primer to the cabi-
net and knobs. The bracket does not
require a primer.
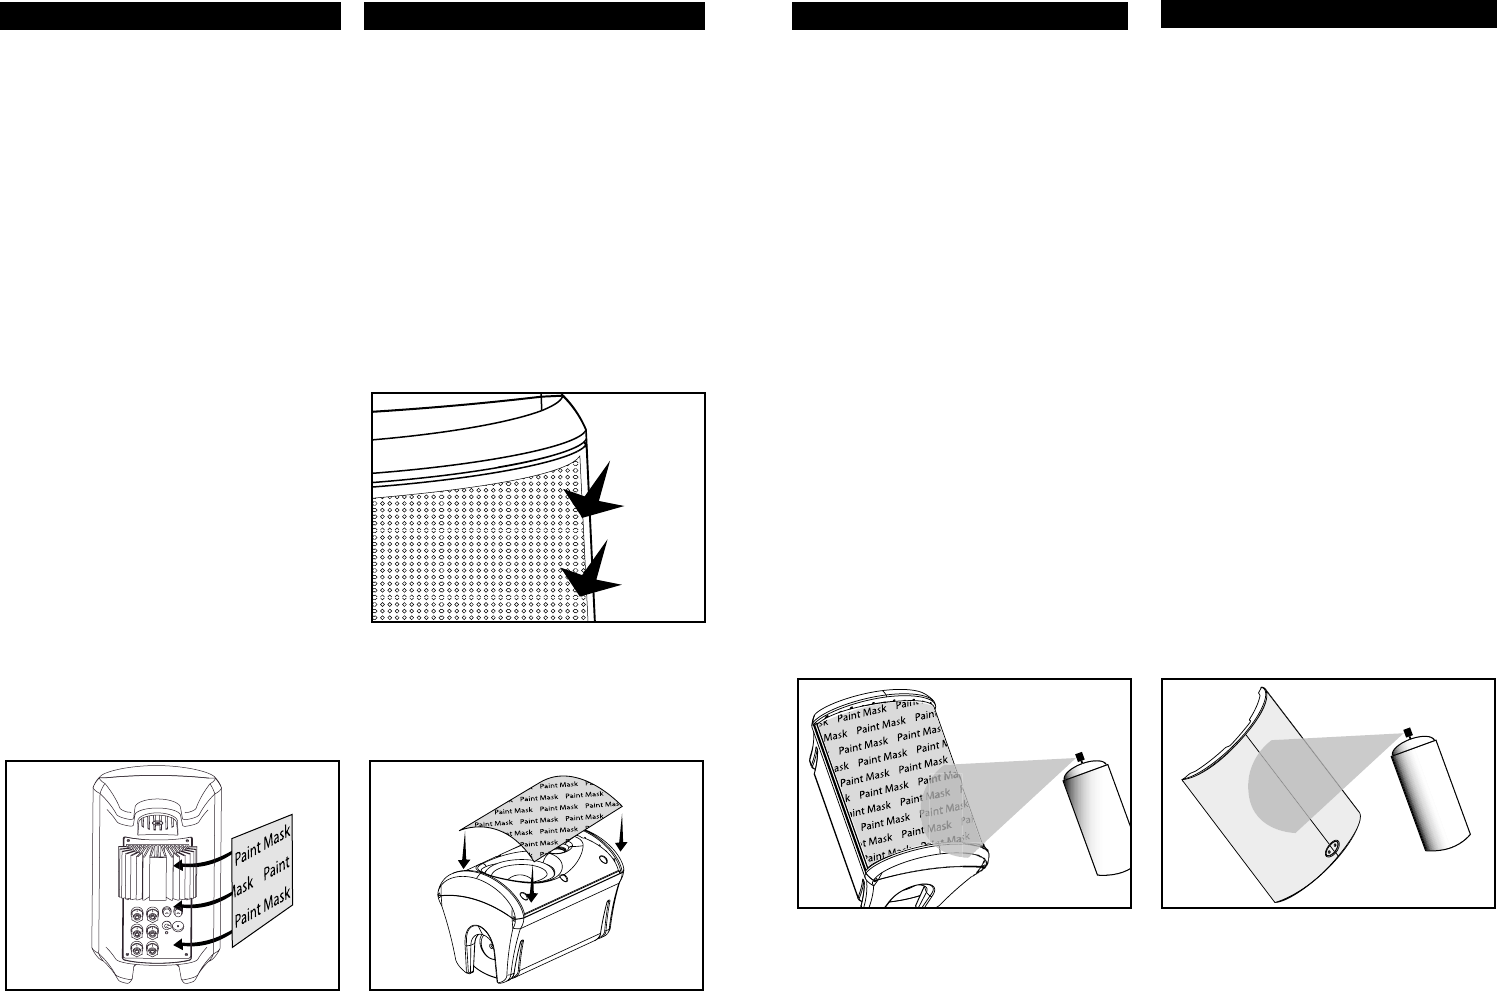
2. When the primer is completely dry, apply
the finish color [figure 21].
3. When the paint is completely dry, remove
the masking material.
4. Do not reattach the speaker to the bracket
until the bracket is mounted. Try to keep
all handling of freshly painted parts to
a minimum.
PAINTING THE GRILLE:
1. The grille of the Atrium speaker features
an even, protective powder coating. This
powder coating is an ideal primer.
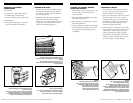
2. Spray on two thin coats of finish color with
no primer [figure 22]. If you’re using a
compressor and spray gun, use the finest,
most diffuse setting. Be careful not to fill
the holes in the grille with paint. Thick
paint may clog the grille holes.
3. When the paint is completely dry, carefully
fit the grille into its recess so that it is just
resting on the cabinet. Starting with one
corner, go around the speaker and push
the grille into the grille notch a little bit at
a time. Be gentle; the grille may be easily
bent out of shape by rough handling.
FIGURE 21
After priming, apply thin coats of finish color.
Después de aplicar la capa de imprimación (primer),
aplique capas delgadas del color del acabado.
Suite à la couche d'apprêt, appliquez la
peinture de finition en couches minces.
Nach der Grundierung tragen Sie eine
dünne Schicht des Farbanstrichs auf.
FIGURE 22
Paint the grille. Use thin coats of spray paint.
Do not block grille holes with paint.
Pinte la rejilla. Use capas delgadas de pintura aerosol.
No tape los agujeros de la rejilla con pintura.
Peinturez la grille. Appliquez des couches minces de peinture
aérosol. N'obstruez pas les trous de la grille de peinture.
Streichen Sie den Gitteraufsatz. Verwenden Sie dazu dünne
Spritzlackschichten. Die Öffnungen des Gitteraufsatzes dürfen
nicht mit Farbe blockiert werden.
12
Get more information and exclusive accessories, visit www.polkaudio.com
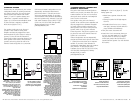
PREPARING TO PAINT:
1. Separate the parts of the speaker. Remove
the brackets and bracket knobs. Remove
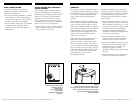
the grille by carefully pushing forward on
the sides [figure 18].
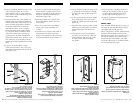
2. Mask off the binding posts and amplifier
heat sink on the back of the speaker
[figure 19], and carefully mask the front of
the speakers to protect the drivers and
baffles while painting [figure 20].
FIGURE 18
Push forward along the side of the grille to remove it.
Empuje hacia adelante a lo largo de los lados de la rejilla para
quitarla.
Pour retirer la grille, poussez son rebord vers l'avant.
Drücken Sie zum Entfernen des Gitteraufsatzes nach vorne ent-
lang der Gitterseite.
FIGURE 19
Mask the binding posts and the amplifier heat sink on
the rear of the speaker.
Enmascare los tornillos de presión y el disipador térmico del
amplificador ubicados en la parte de atrás del altavoz.
Decken Sie die Anschlussklemmen und den Kühlkörper des
Verstärkers auf der Rückseite des Lautsprechers ab.
FIGURE 20
Mask the drivers and baffles.
Cubra con cinta de enmascarar los excitadores y los bafles.
Masquez les haut-parleurs et les écrans acoustiques.
Decken Sie die Treiber und Resonanzwände ab.
PAINTING YOUR ATRIUM
LOUDSPEAKERS
You will need:
• A spray can of primer paint (Krylon
Sandable Spray Primer #1318)
• A spray can of the paint of your choice
• Masking tape
• Paint masks (craft paper cut to size to
cover driver baffle and amplifier)