


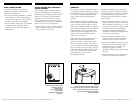
For Customer Service, call 800-377-7655.
9
8
Get more information and exclusive accessories, visit www.polkaudio.com
MOUNTING
The Atrium’s swiveling wall bracket allows it
to be mounted either horizontally or vertically
and aimed to deliver the best possible sound
in a variety of situations. Follow the steps
below to safely secure the brackets and
speakers.
When choosing a location for mounting your
Atrium speakers, remember that one speaker
in the pair is the Powered speaker. It has a
built-in power amplifier and must be plugged
into a standard household AC power source in
order to operate. The other speaker is the
Passive (non-powered) speaker, and can be
placed as near or far from the Powered
Speaker as is convenient.
Self-Powered Atrium Loudspeakers are not
magnetically shielded and should not be
placed closer than 1’ (30cm) from a televi-
sion set or computer monitor. If you notice
video distortion or discoloration, immediately
move the speakers away from the TV and call
Polk Audio Customer Service 800-377-7655
(US & Can), 410-764-5266, 9am-6pm EST,
Monday through Friday, or email:
polkcs@polkaudio.com.
Installation of Atrium Series Loudspeakers
requires basic skills in using tools such as a
drill and screwdriver. If you are in doubt that
you possess the necessary skills or tools,
consult your Polk Audio dealer, or a profes-
sional installer.
• Make certain that the location you plan to
mount the Powered speaker is near a stan-
dard household AC power source. Use the
cord on the external power supply to judge
convenient distance. It’s a good idea to
leave the speaker unplugged until the
installation is finished (see hookup instruc-
tions on the previous page).
• Check for obstacles that could hinder a
cable run from your remote installation
location to your receiver or processor.
• Make sure the material on which you plan
to mount the speakers (plaster, drywall,
paneling, stone, etc.) can support the
weight of the speakers (Atrium
45P=[8lbs/3.63kg powered] [6lbs/2.72kg
passive]).
• Make sure the locations you select do not
conceal electrical wiring or plumbing.
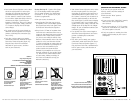
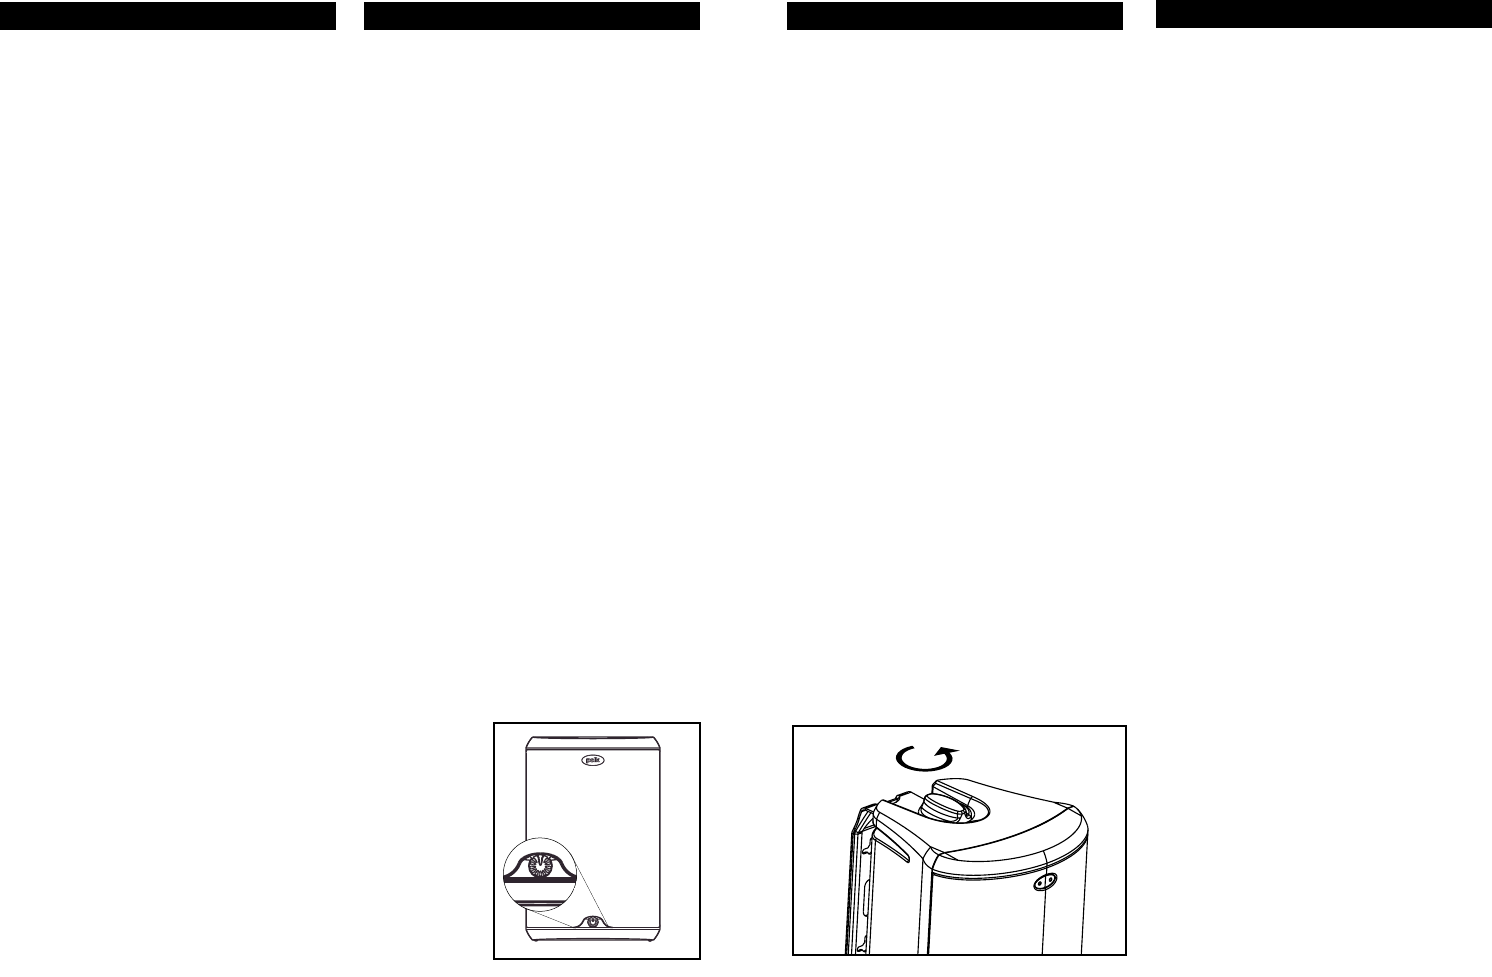
FIGURE 13
Turn the bracket knobs to remove the bracket assembly.
Gire las perillas de los soportes para quitar la unidad de soporte.
Tournez les boutons du support pour retirer le bloc-support.
Drehen Sie die Halterungsknöpfe, um die gesamte
Halterung abzunehmen.
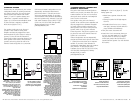
MONO/STEREO SETTING
Use this switch [figure 11] to improve
imaging, especially in remote room and
long distance installations.
• For the best acoustic performance, position
your speakers 4 - 8 feet (240cm) apart on
the same wall. Choose the “Stereo” setting
to achieve successful stereo imaging.
• If your speakers are far apart, or positioned
in separate rooms, choose the “Mono”
setting to send the same information to
both speakers.
SETTING VOLUME WITH SECONDARY
VOLUME CONTROL
The Secondary Volume Control for the Self-
powered Atrium Speakers is located on the
front of the Powered Speaker below the grille
[figure 12]. It is factory set at the halfway
point position. You can use this secondary
volume control to set the level of the speak-
ers according to the sensitivity of your source
input. Once you set it you can forget it.
• Set the volume of your electronics and then
adjust it remotely using the volume control
on the speaker, or visa versa.
FIGURE 12
Front Panel of Powered Atrium Speaker.
Panel anterior del altavoz
alimentado Atrium.
Panneau avant de l'enceinte
Atrium amplifiée.
Vorderseite des Atrium-Powered-
Lautsprechers.