


Easy Setup Guide Part 1
12
En
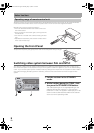
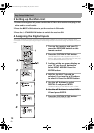
3 Setting up the Main Unit
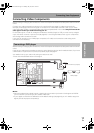
1 Connect the supplied AC power cord to the AC IN on this receiver and plug in the
other end to a wall outlet.
2 Press the OFFON button to put the receiver in ON mode.
3 Press the STANDBY/ON button to switch the receiver ON.
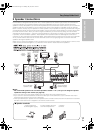
4 Assigning the Digital Inputs
This is only necessary if you did not hook up your DVD player to DIGITAL IN 3 using a coaxial cable but rather
connected it to one of the optical digital inputs. The following example shows how to assign the DIGITAL IN 2 jack to
DVD.
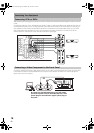
1 Turn on the receiver and your TV,
press the RECEIVER button on the
remote control.
2 Press the SYSTEM SETUP button.
The SYSTEM SETUP menu appears on your TV (if it
doesn’t, refer to page 10 to make sure you have prop-
erly connected the receiver to your TV).
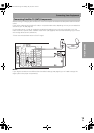
3 Looking at the on-screen display on
your TV, use the buttons to
select INPUT ASSIGN. Press the
ENTER button.
4 DIGITAL IN-SELECT should be
selected, if not use the buttons
to select it. Press the ENTER button.
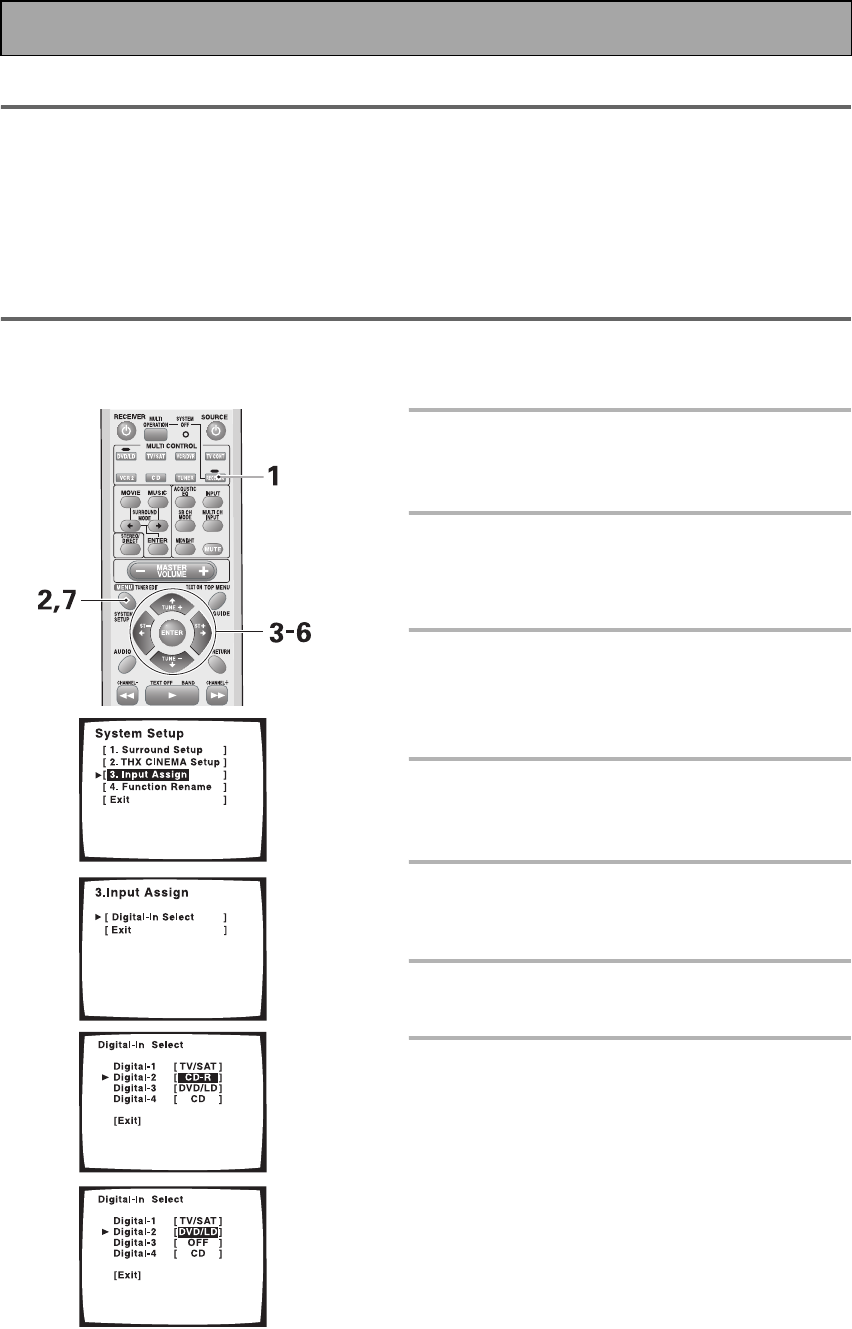
5Use the buttons to select
DIGITAL-2 and press ENTER.
The default setting for the DIGITAL-2 jack is CD-R.
6Use the buttons to select DVD/
LD and press ENTER.
7 Press the SYSTEM SETUP button.
The receiver exits the setup process.
3
4
5
6
00_VSX-AX3.book Page 12 Monday, May 19, 2003 1:05 PM